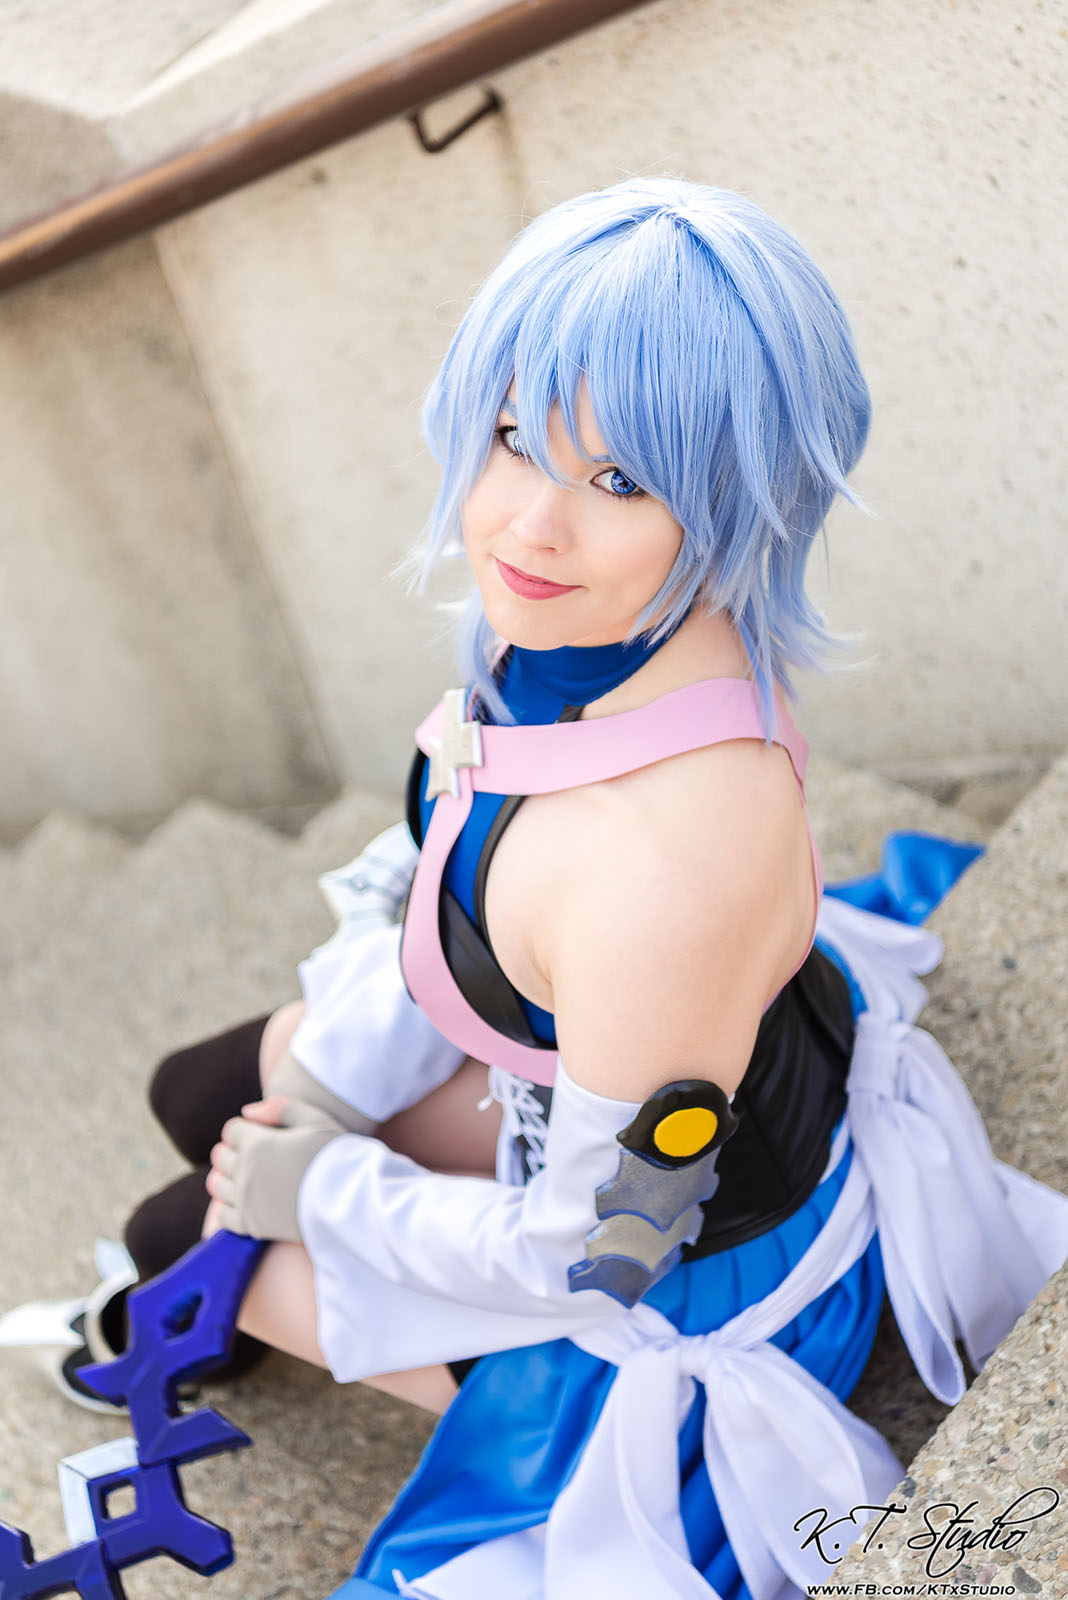
Cos-truction Notes: Aqua from Kingdom Hearts

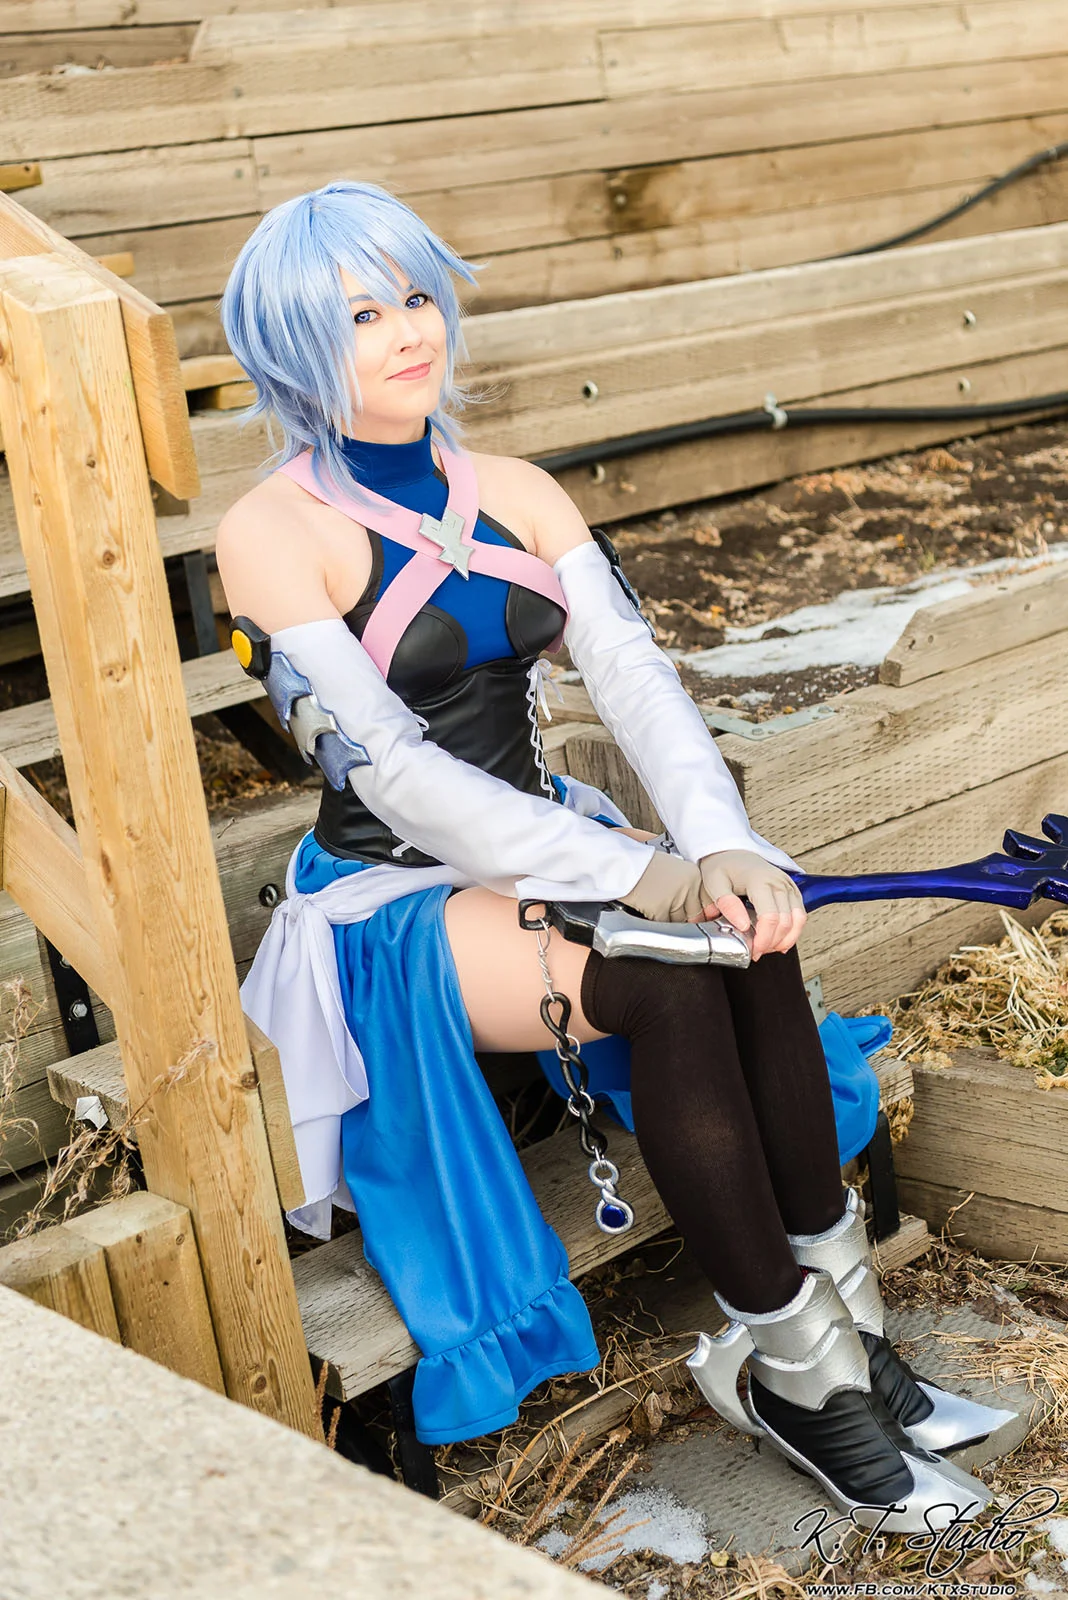
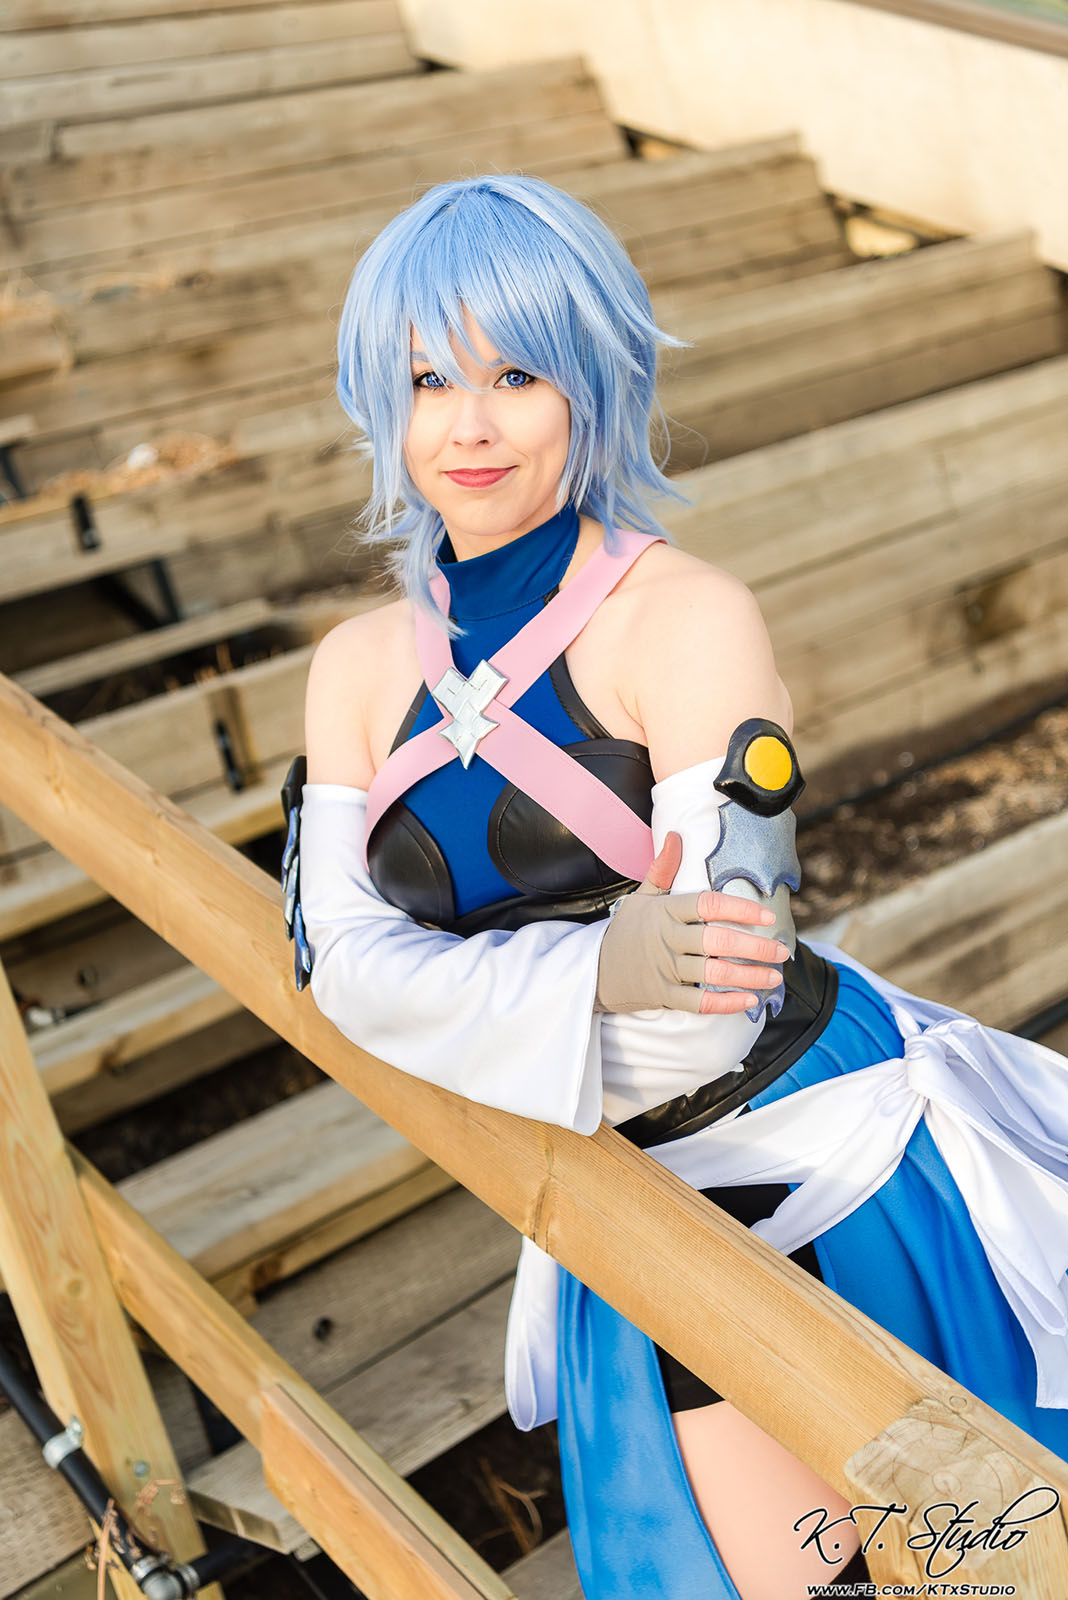
Photo by K.T. Studio.
Originally published on Patreon (November Early Access).
So you might have noticed that it's been a while since my last costume write-up. A really... long... while. I had meant to get this post done not long after I had finished Aqua, but both school and curling ramped up right after A Taste Of Animethon and I wasn't able to find time to blog during the semester. Then after school ended I dove right into sewing and con season to keep myself occupied while I started looking for a job and... here we are, ten months later. Whoops.
Let's get right into the process, shall we?
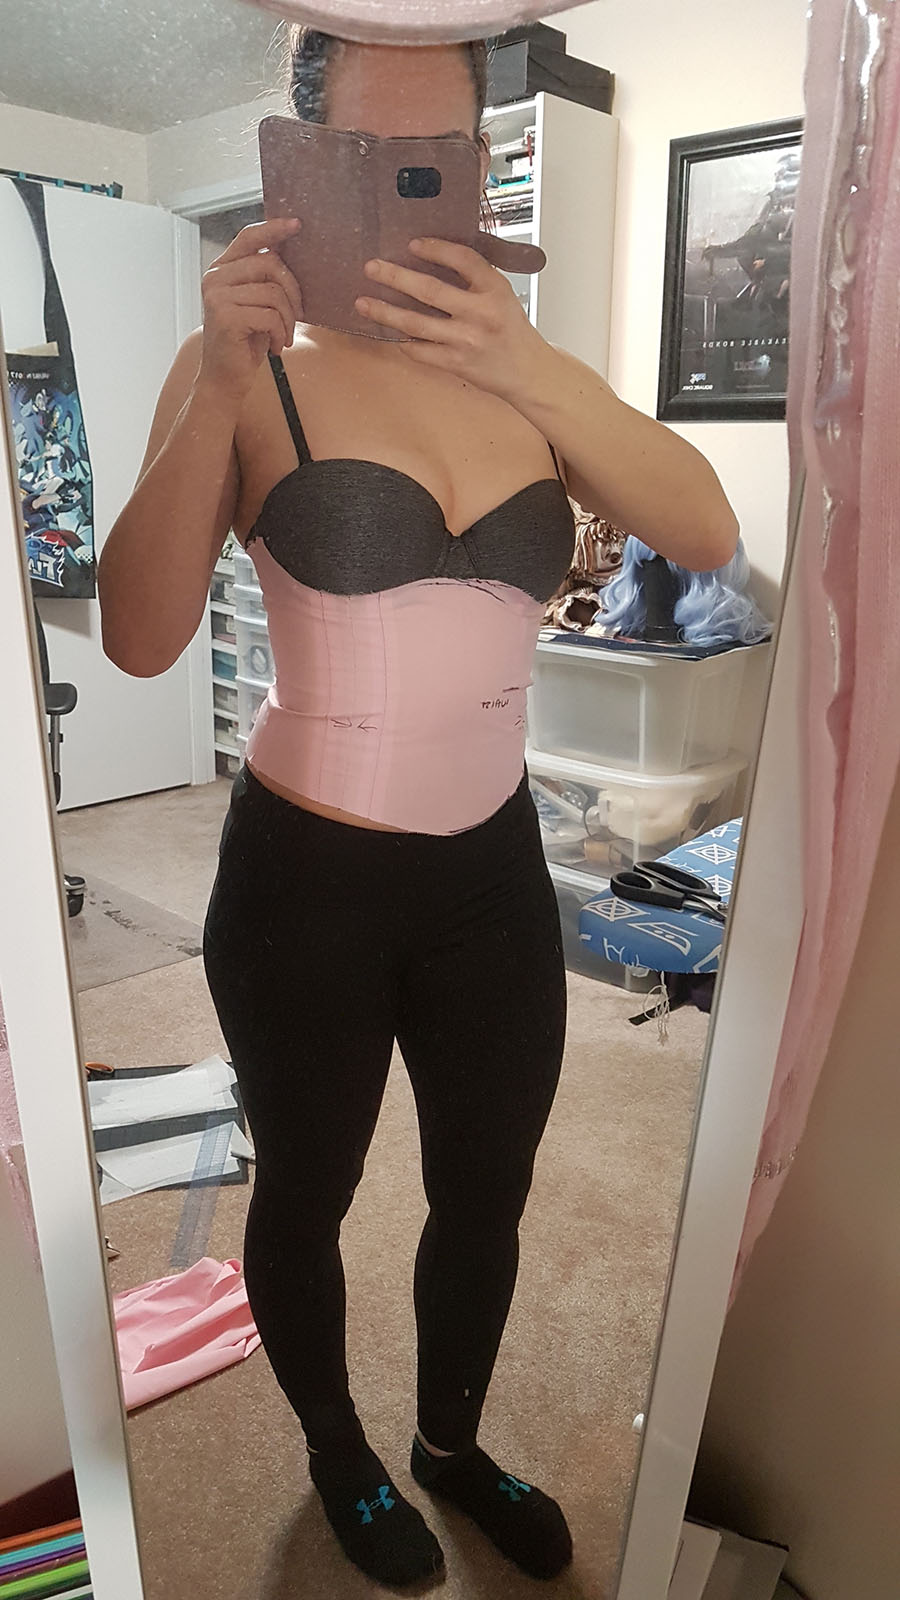
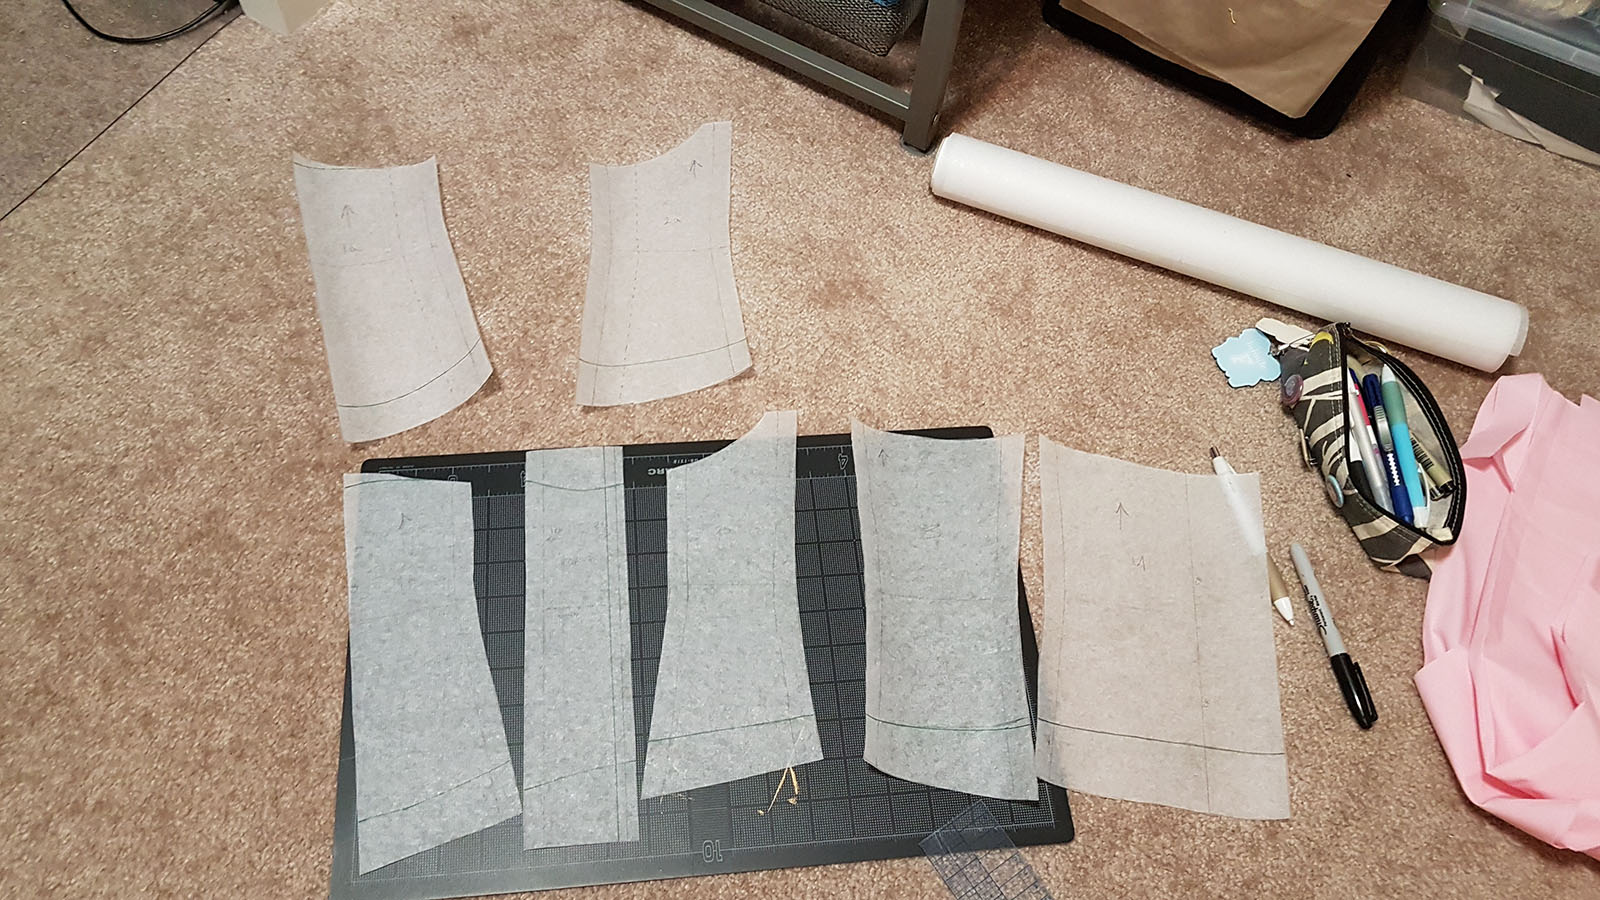
I technically started work on Aqua during the summer of 2016. She was my "reward" cosplay for reaching my (then) fitness goals. I ended up creating the pattern for the underbust bodice back then, which took about an afternoon's worth of work between drafting and sewing the mockup.
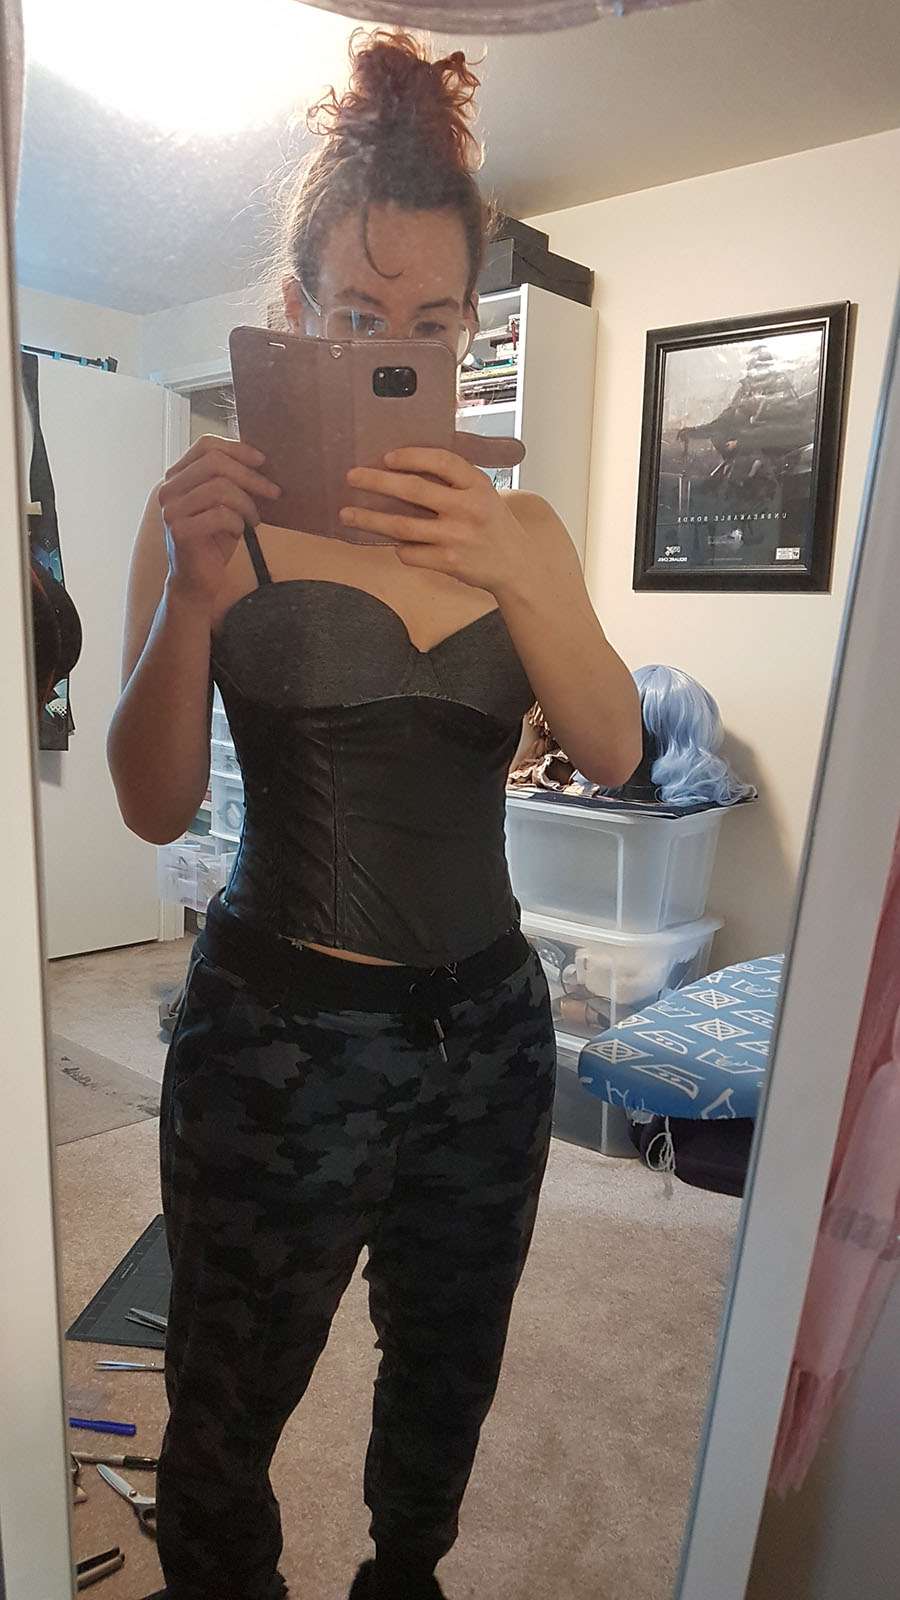
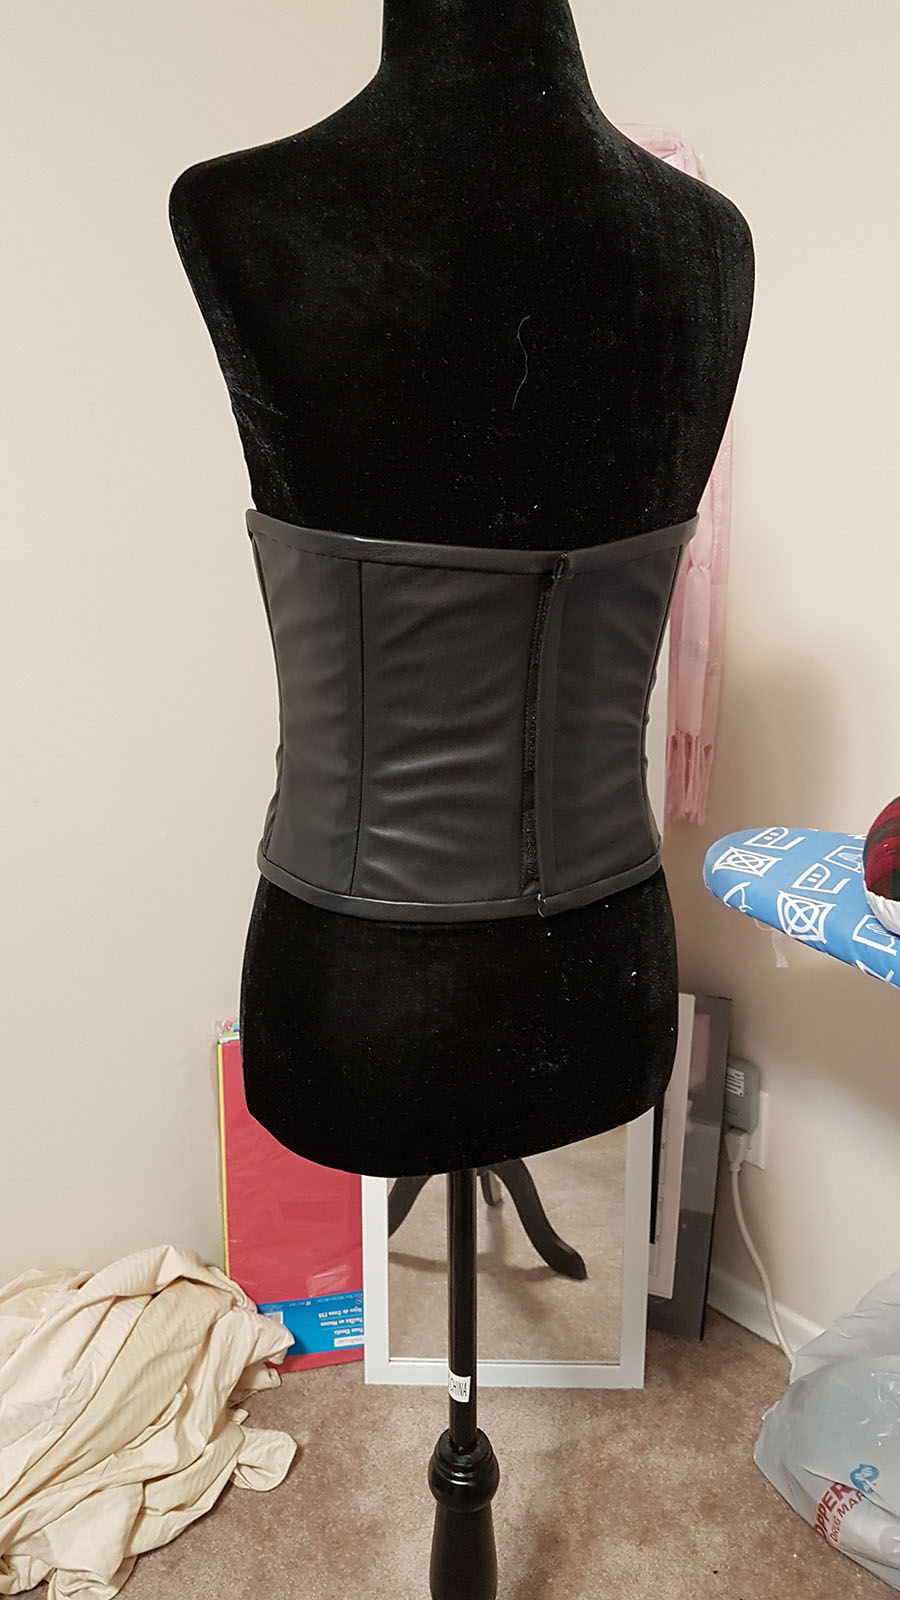
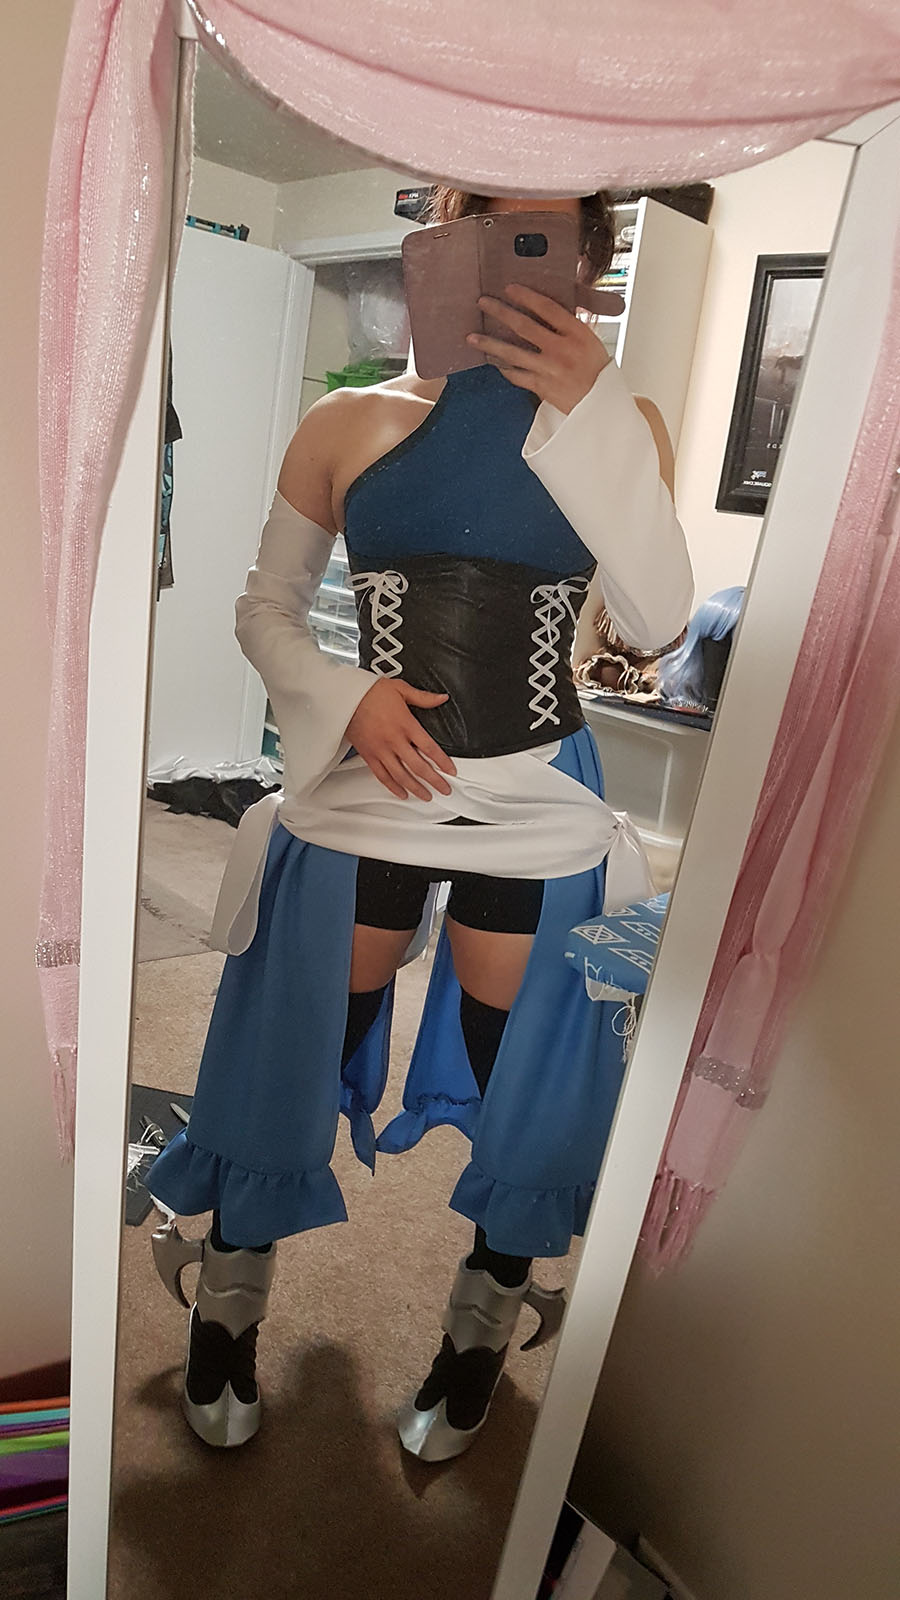
Fast forward to December 2017, when I actually had time to put her into action. Using that same pattern, modified slightly as my body composition had changed since then, I did a mockup first to determine boning placement and how to attach the cups. I didn't want to do an actual corset for Aqua, as the back of her bodice had no laces and the front lacing looked to be purely decorative. Instead, I opted to do a bodice with boning that would be form-fitting and cinch slightly at the waist to emphasize an hourglass figure. Much like my Dizzy costume--they even use the same pattern!
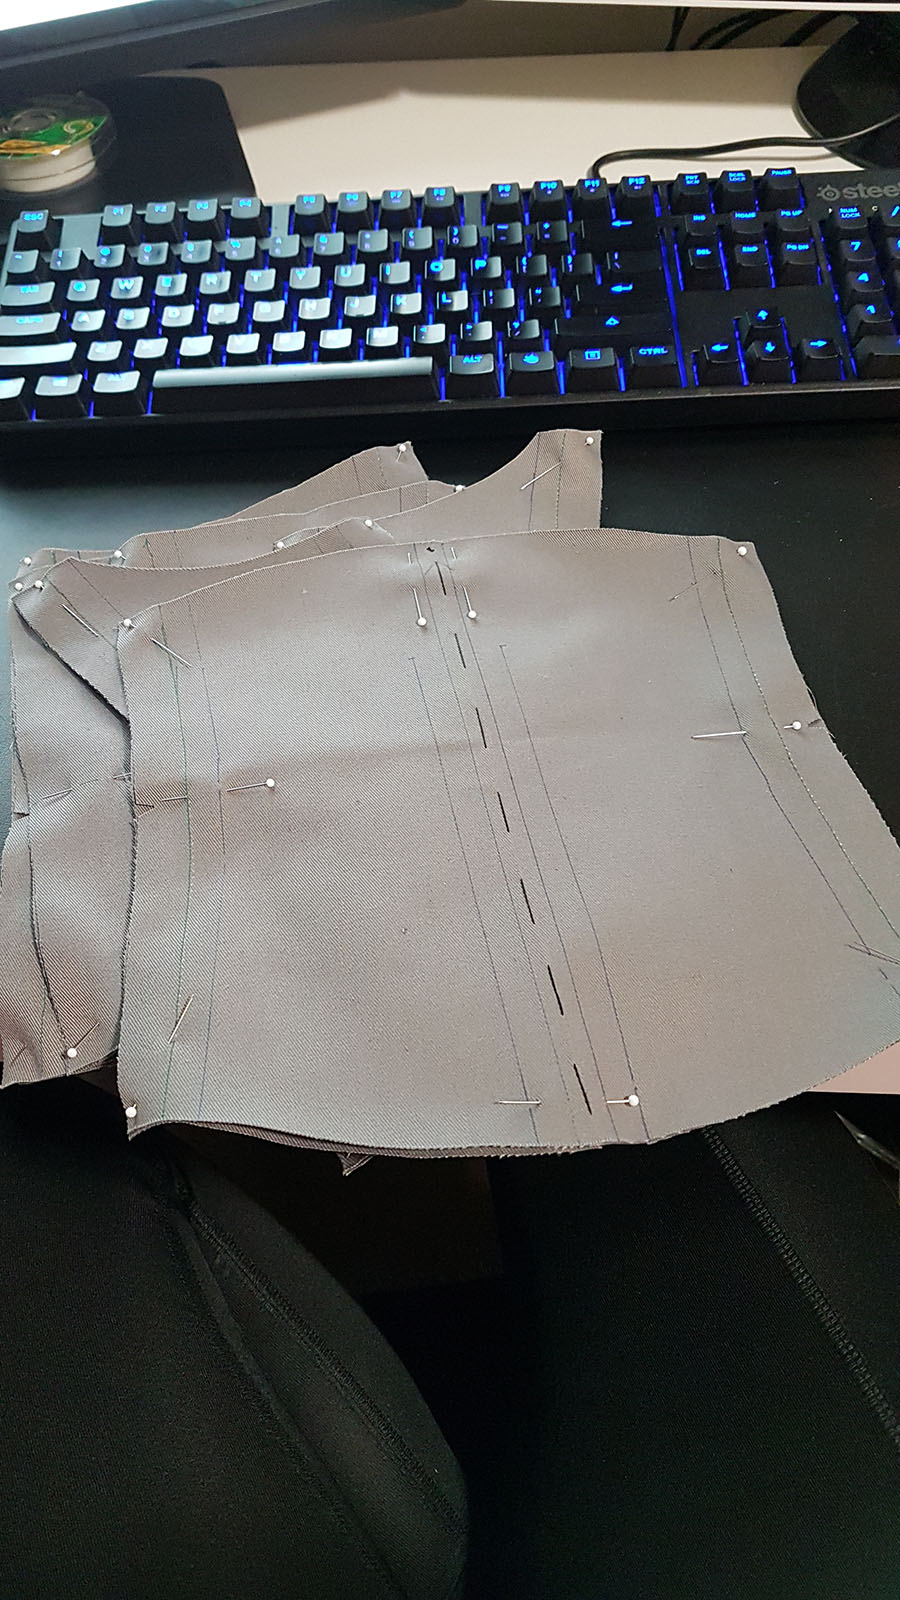
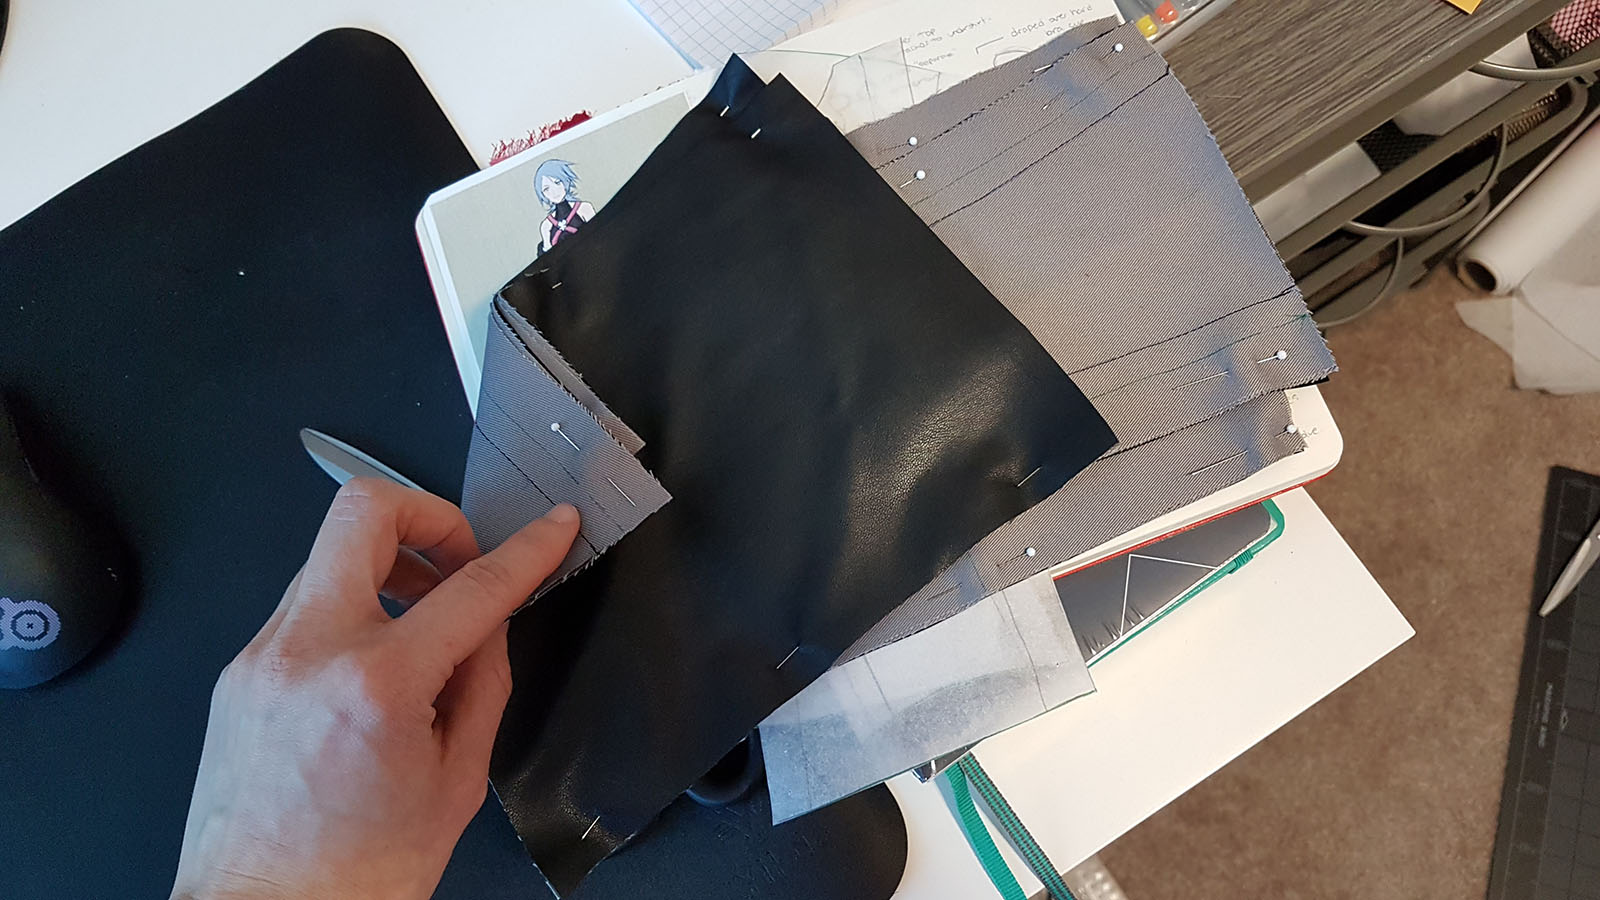
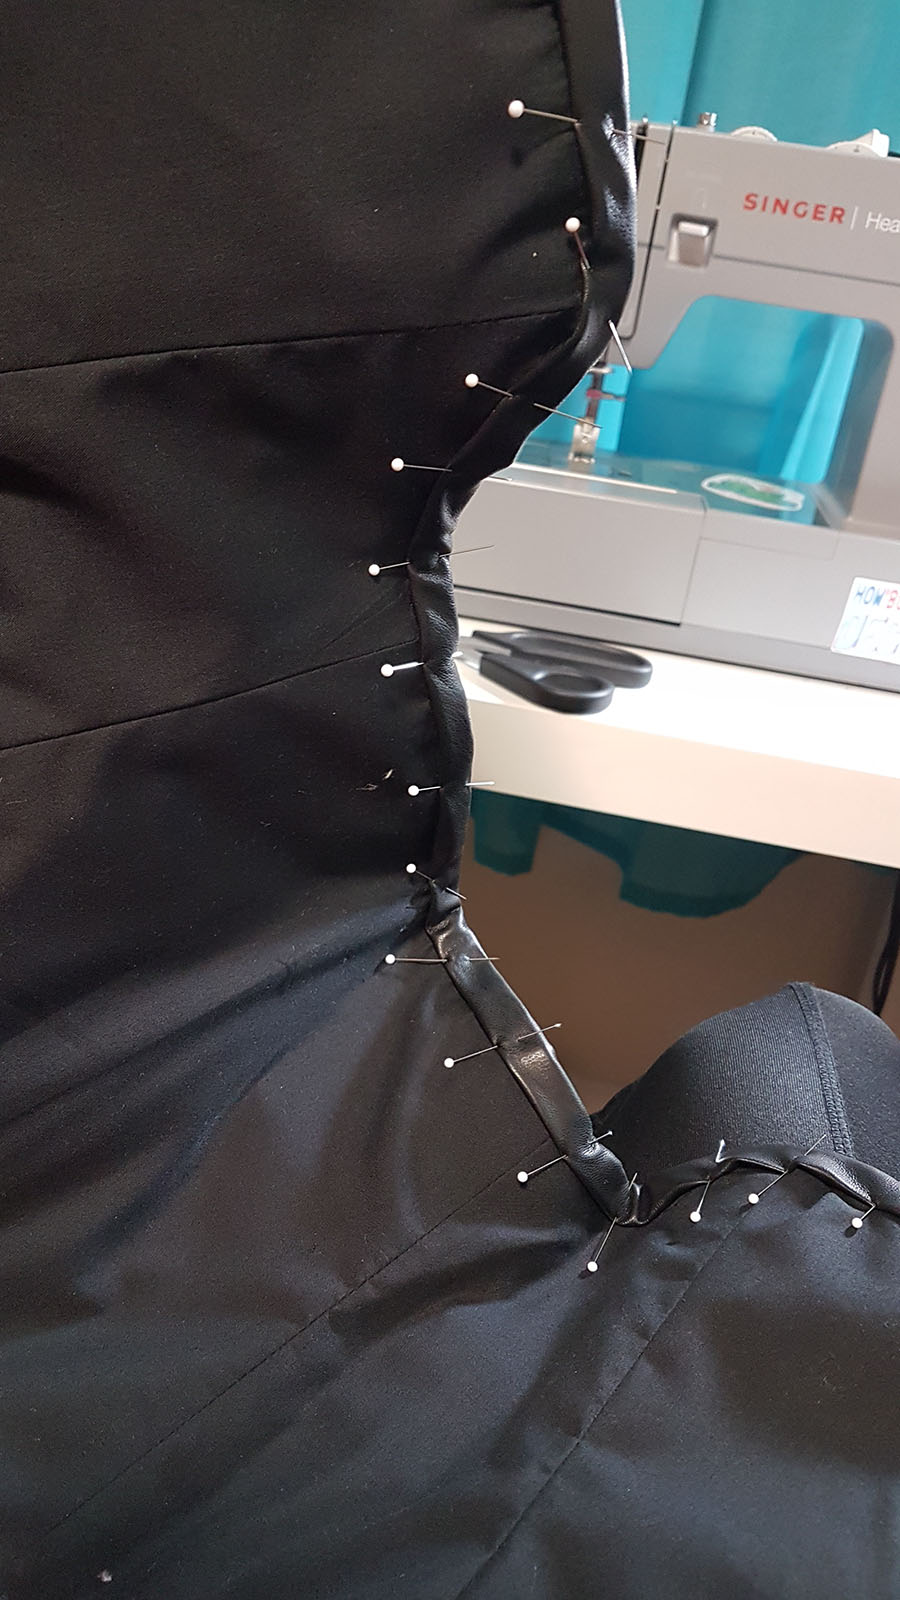
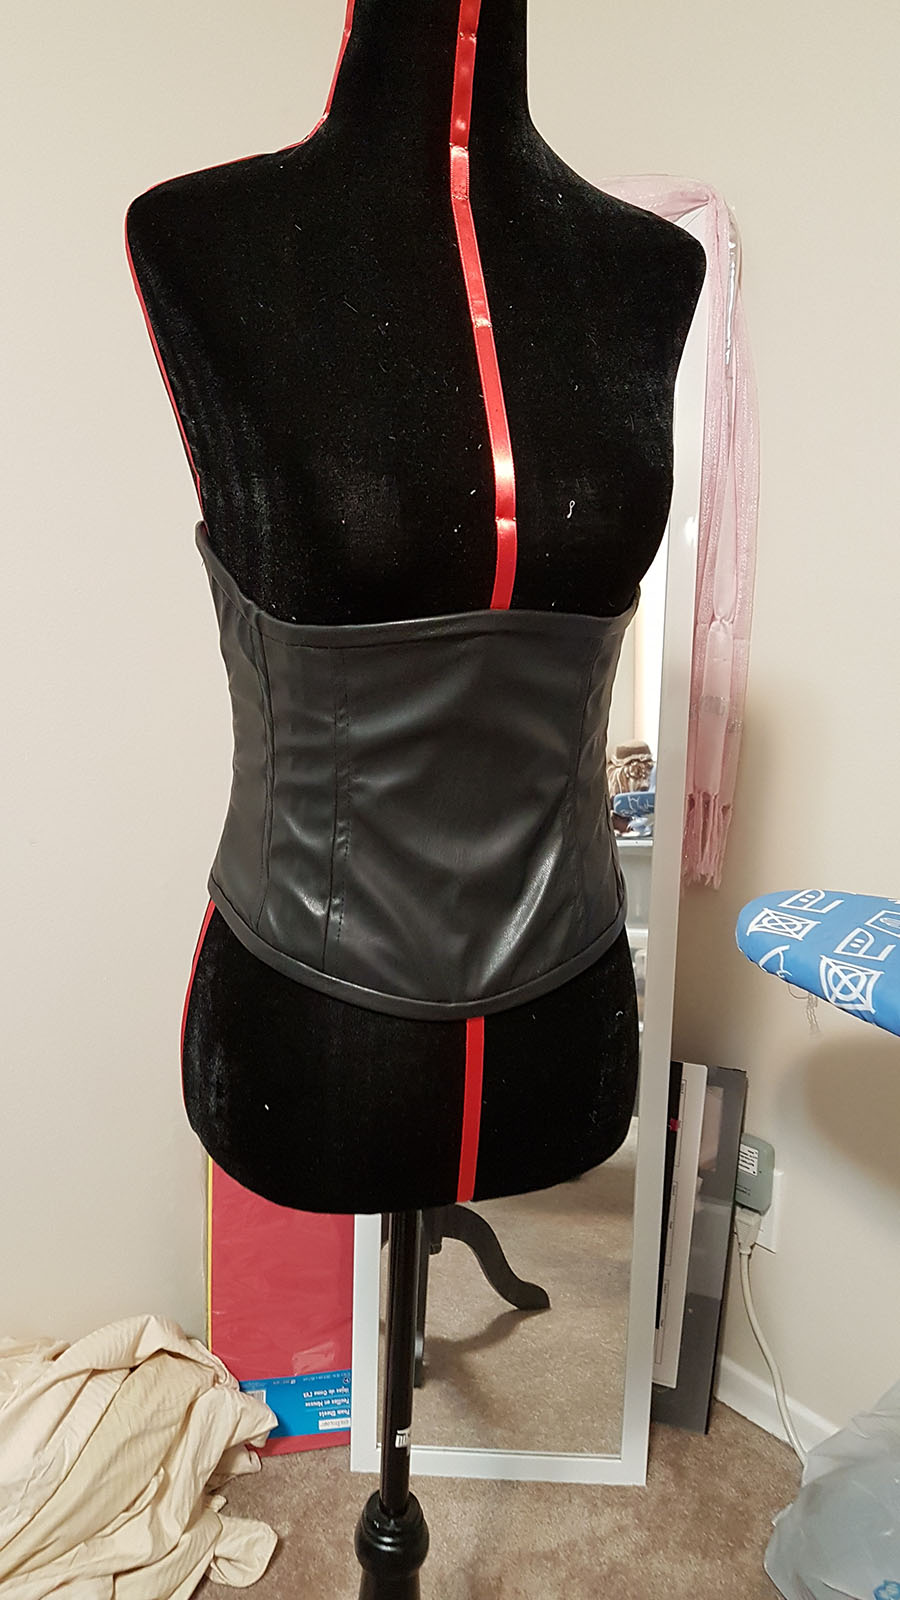
Once the mockup was fitted, I transferred the pattern to my fashion fabrics. The boning channels were sewn into two layers of cotton, to which I flat basted my pleather fashion fabric on top to hide them. The whole thing was pieced together and stitched, and a lining of black quilting cotton was sewn in. Finally, I created bias tape out of the same pleather and bound all the edges, first by machine stitching it to the front, then securing the trim to the back side using hand stitches (0/10 would not make pleather bias tape again).

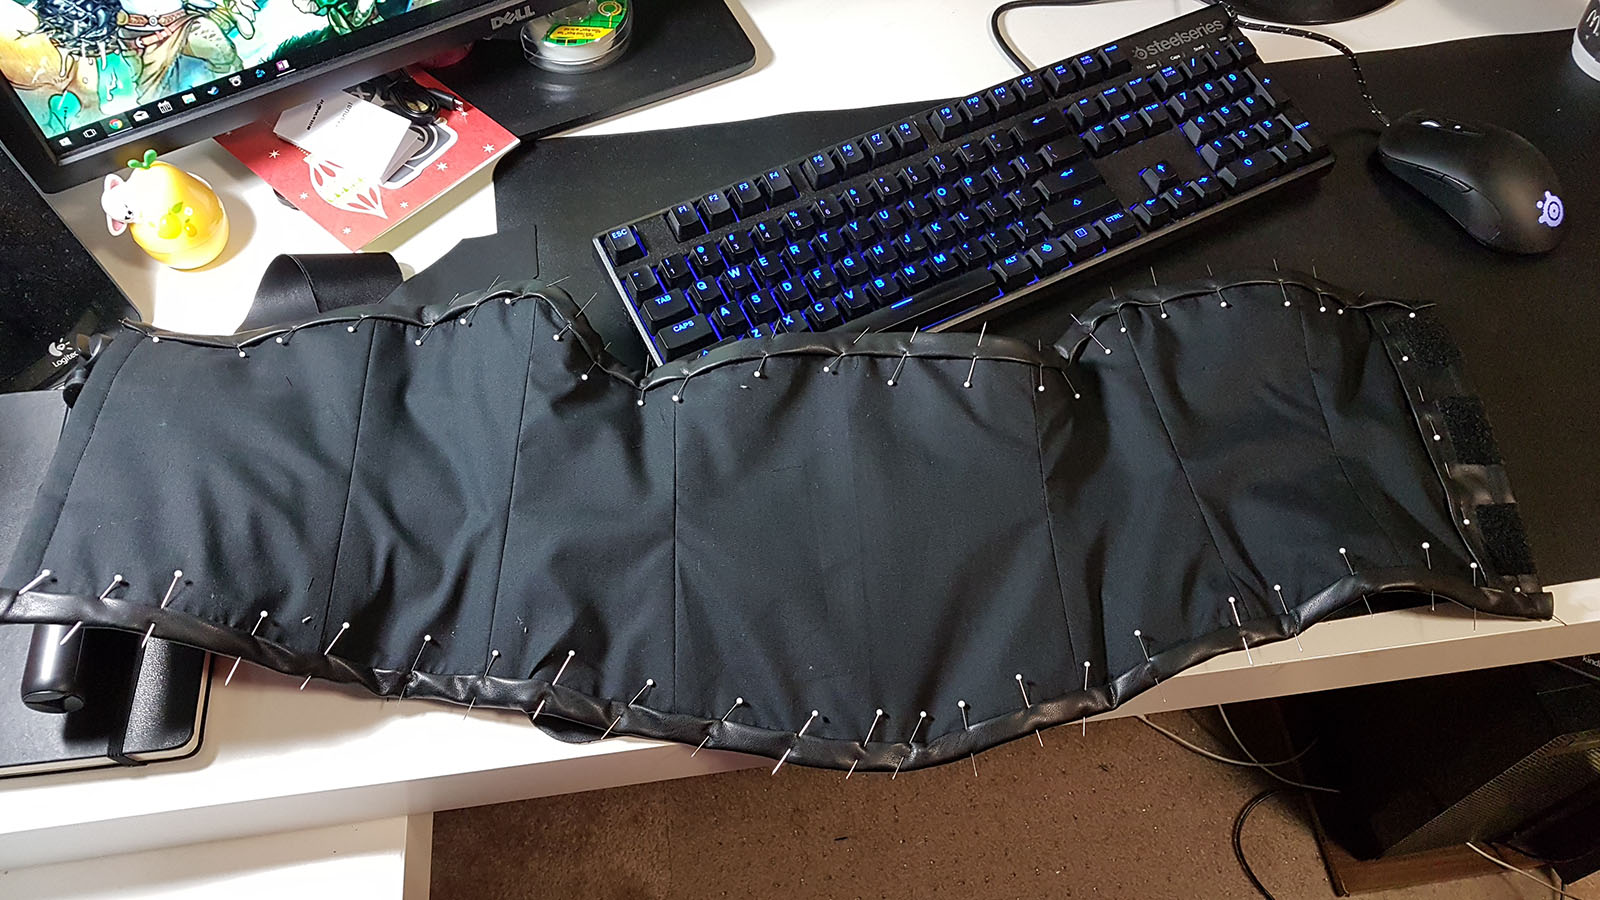
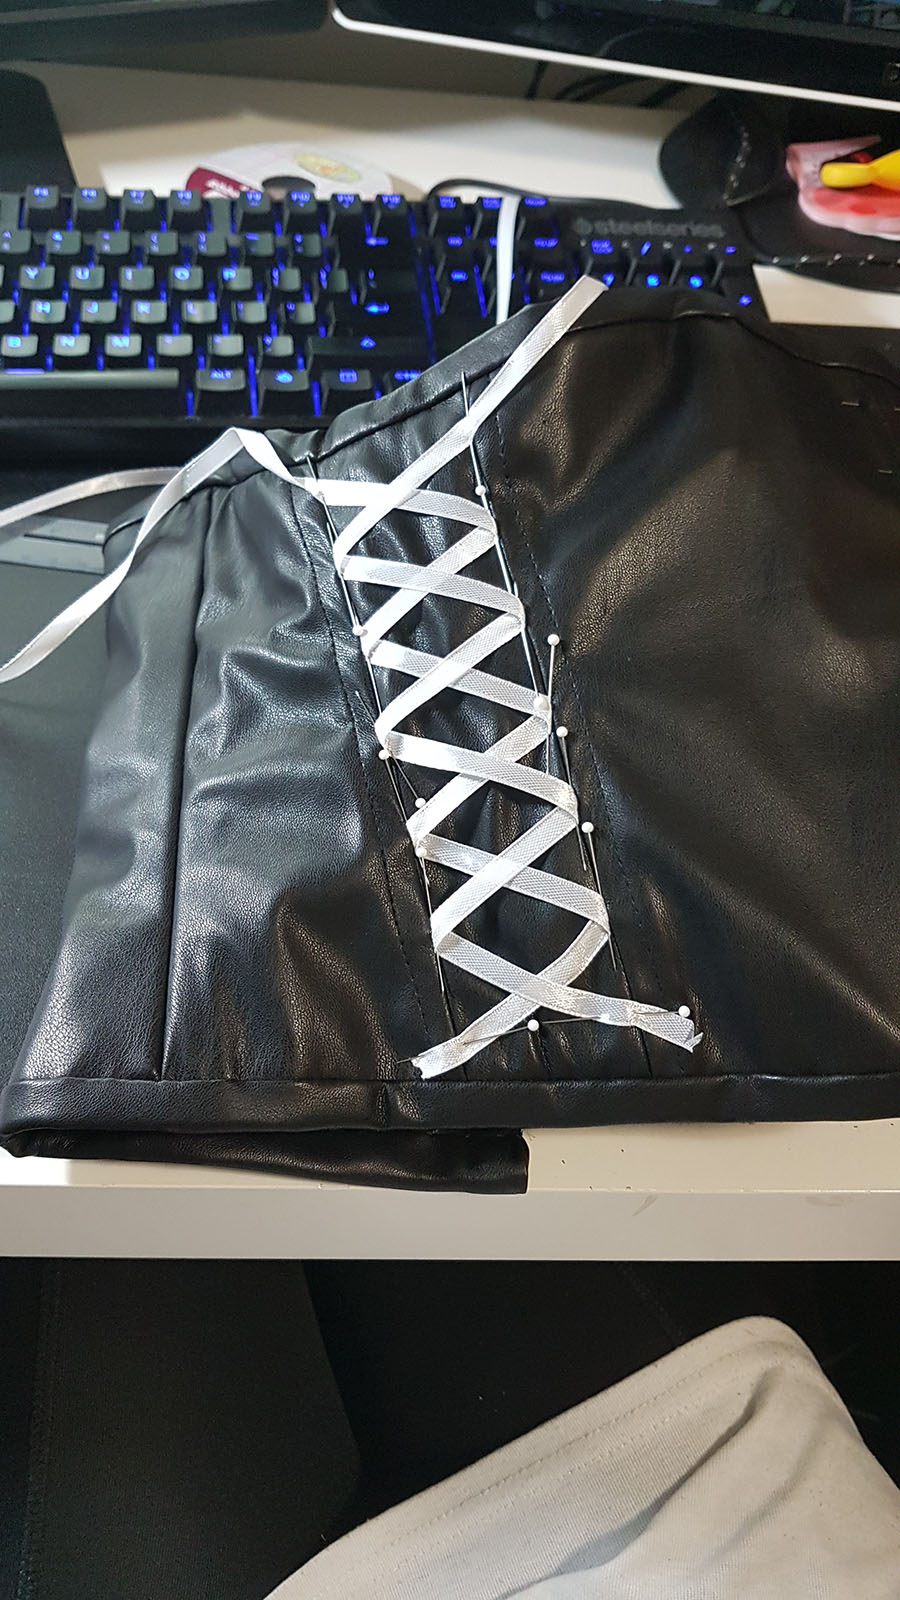
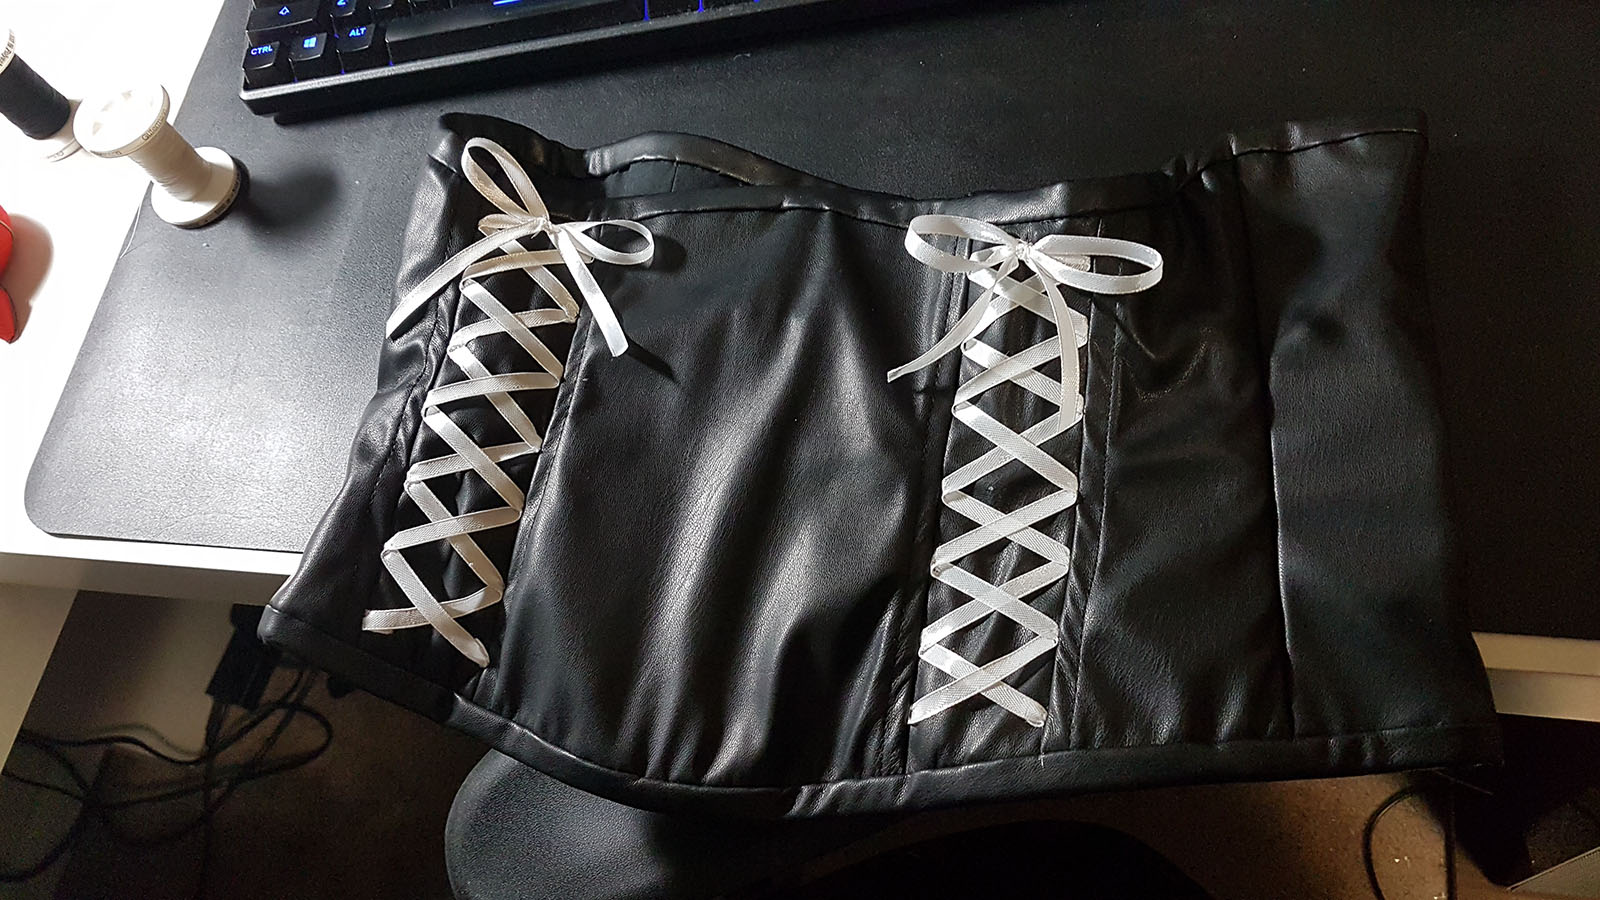
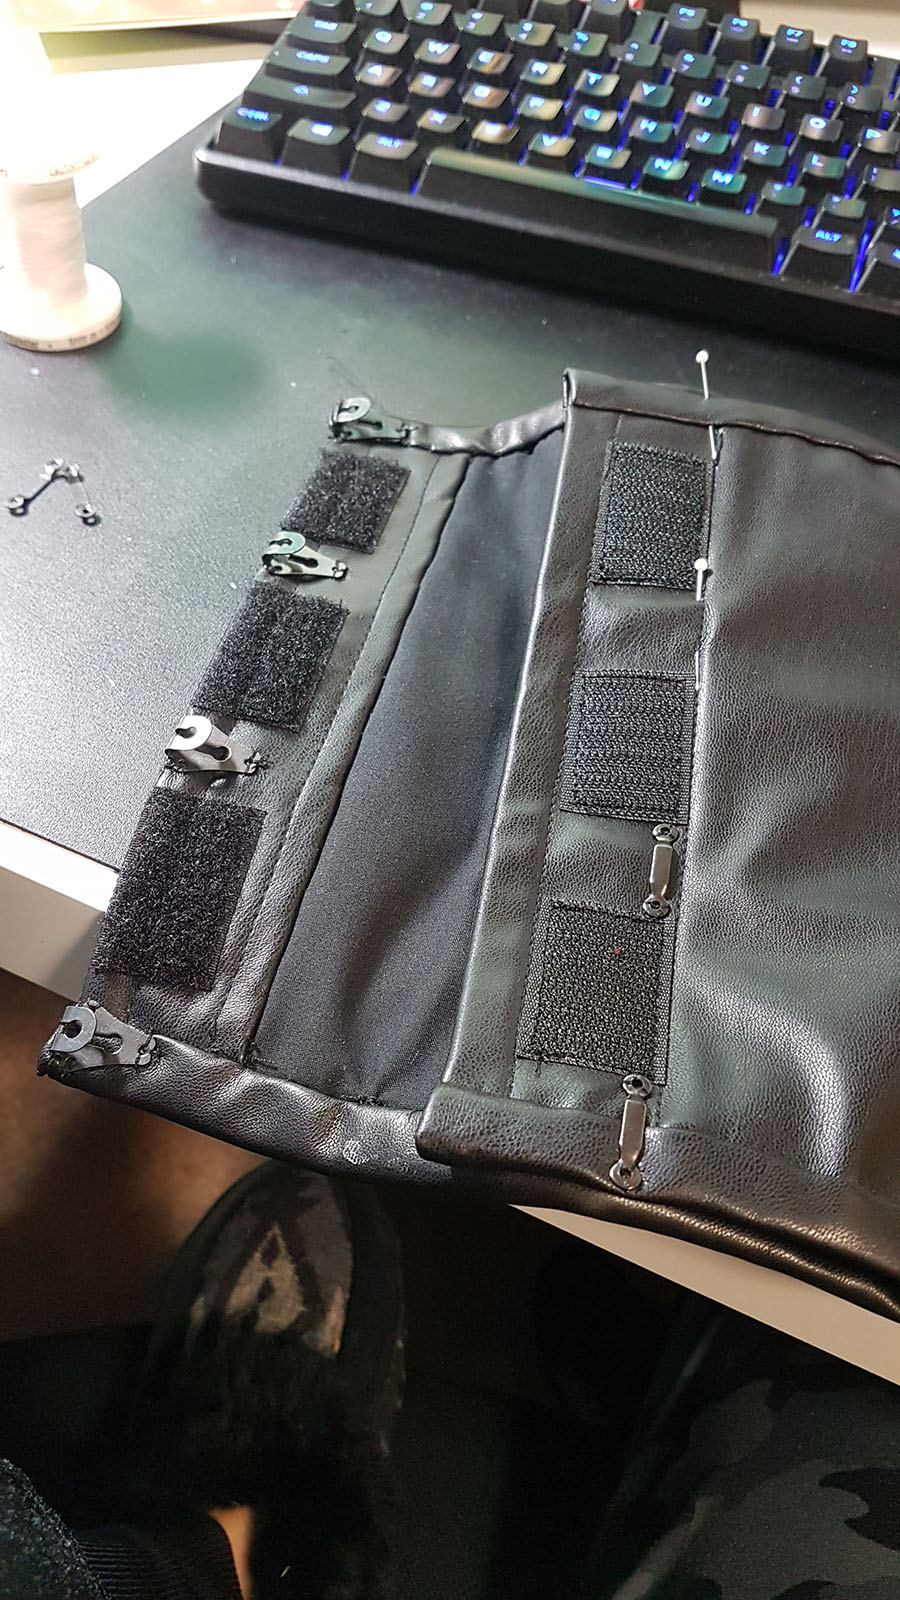
The back closure is velcro and hooks, which makes it both very secure (no fear of it popping open) and a pain in the butt to get into by myself (I need a second person to do up the back). The white lacing detail is simply white ribbon hand sewn to the panels at the front.
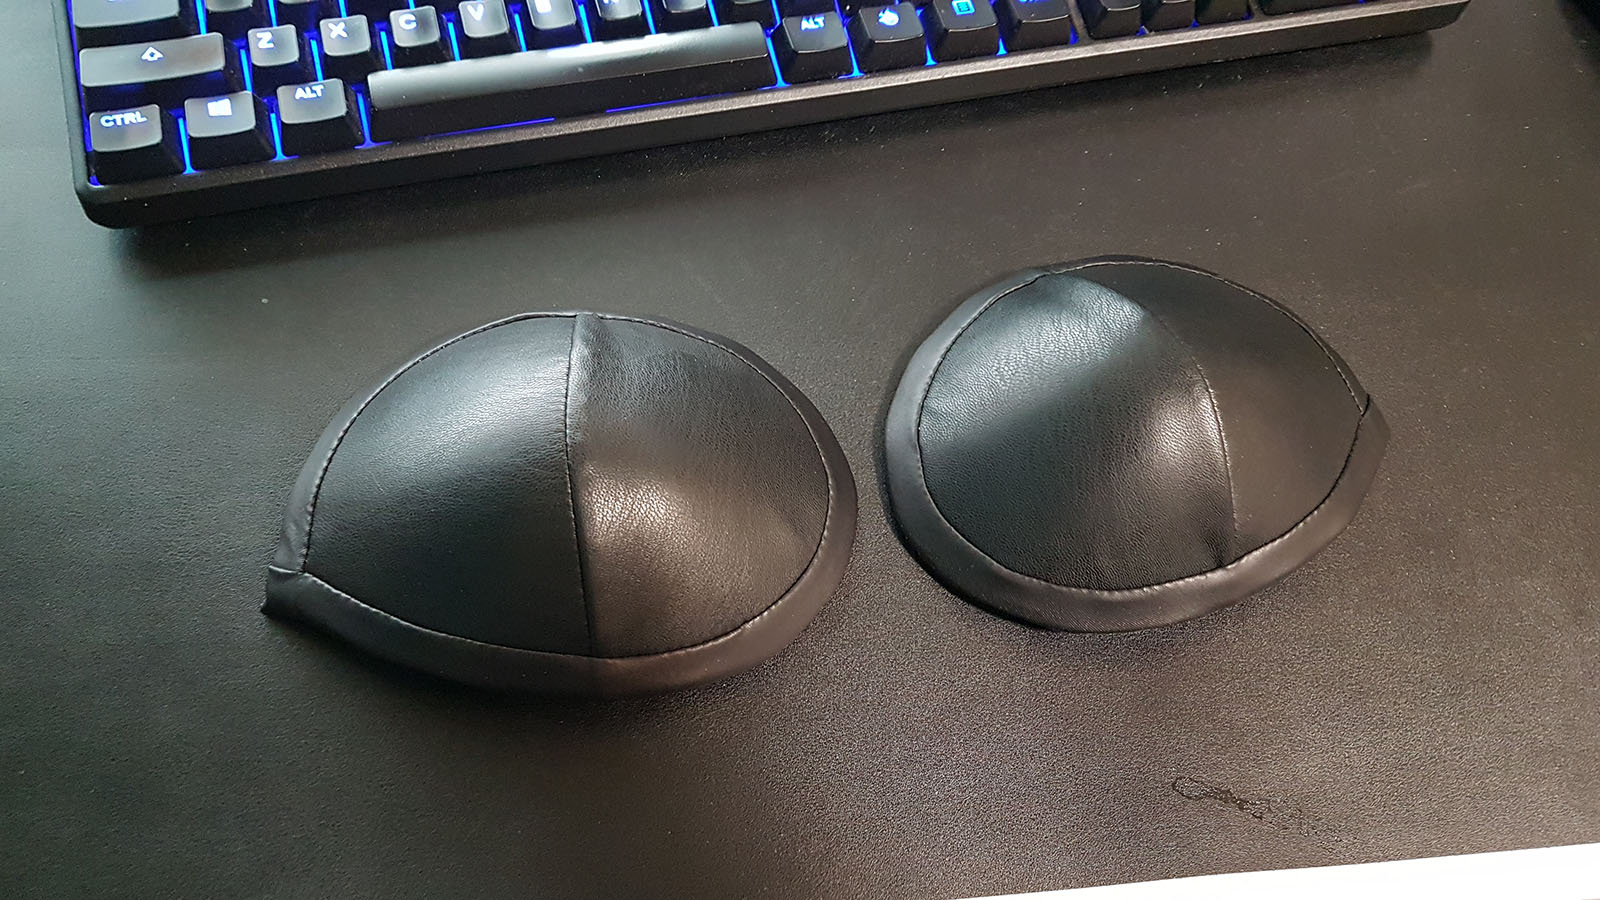
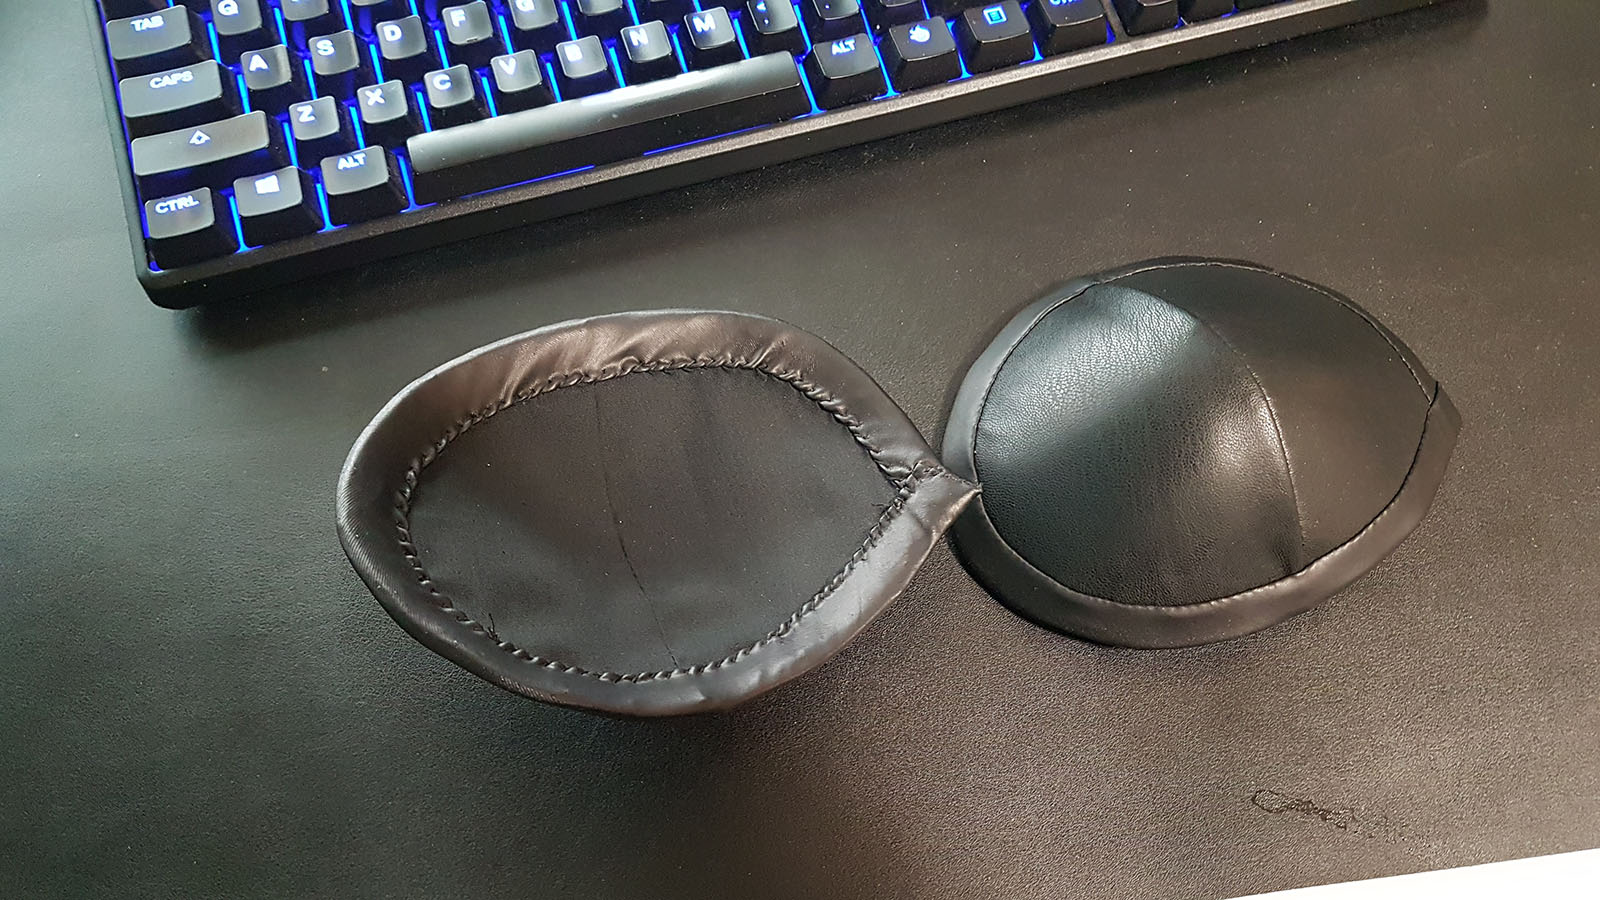
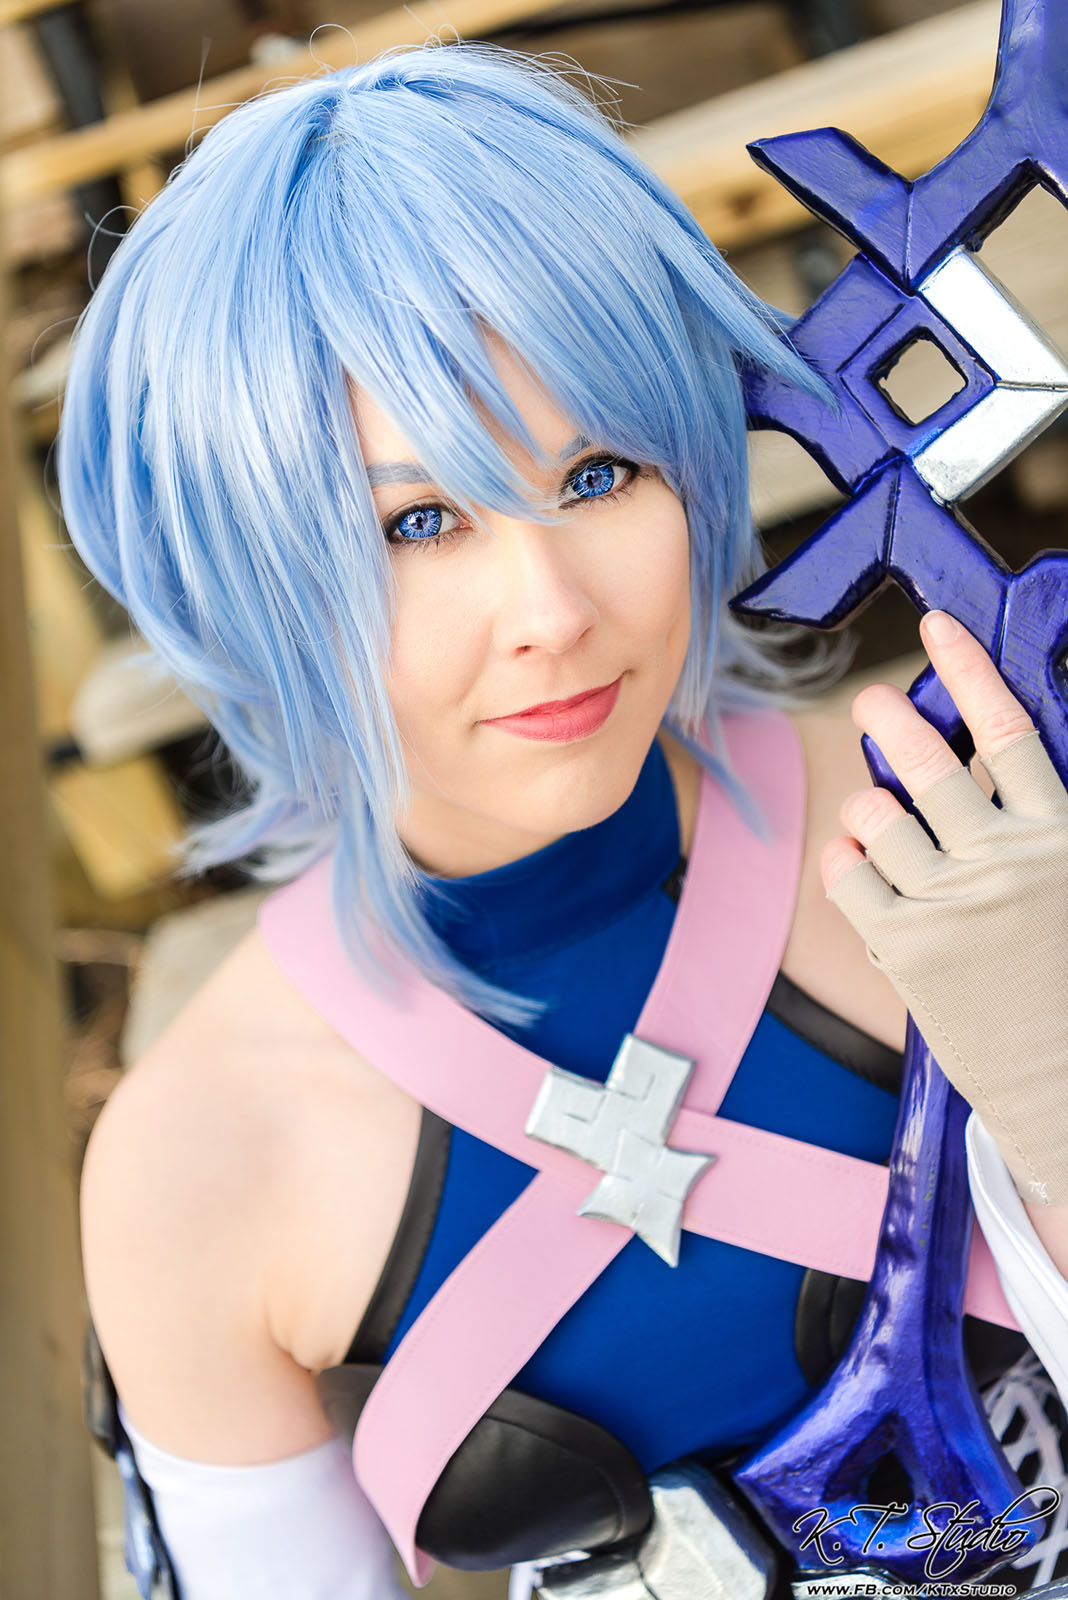
For the bra cups, I went with the method that I had seen GSTQ use for an Aqua commission a couple years ago. Instead of sewing them into the bodice, I made them separate and attached them to the top of the bodice which mimicked the in-game look a lot better. The cups themselves were regular old bra cups from Fabricland that I covered in pleather. They involved a lot of hand sewing. A lot. That said, while I loved how this looked, this made them prone to flopping "open" as they didn't have any sort of under structure holding them up. At Taste I used fashion tape to attach them to my shirt, which worked well enough, but for Anime Expo I opted to sew snaps in instead which secured them a lot better.
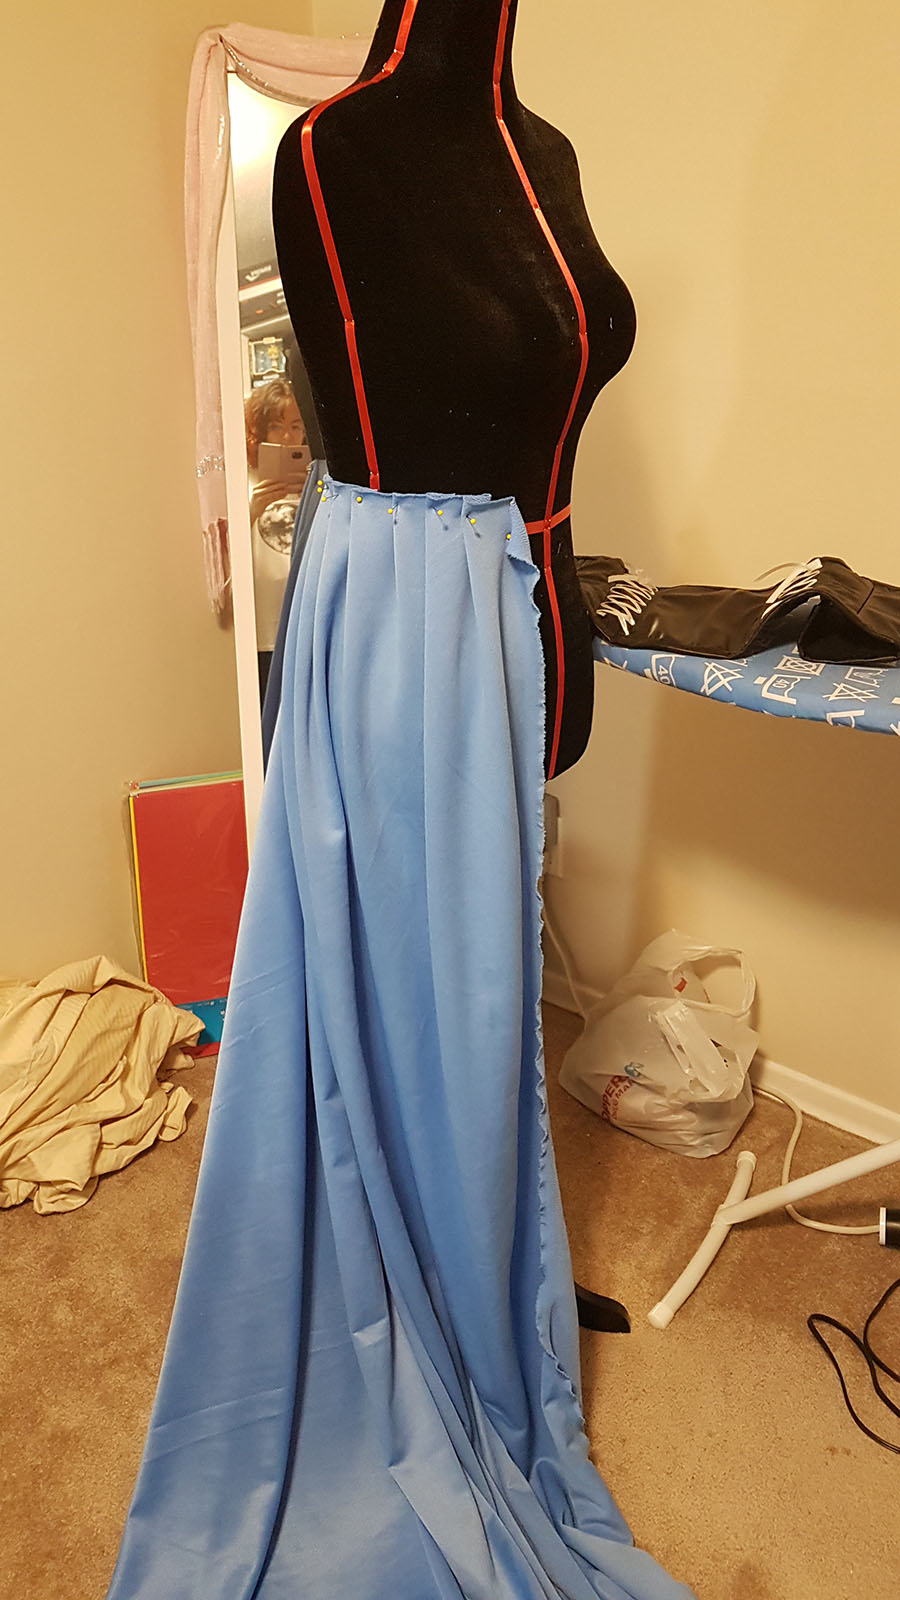
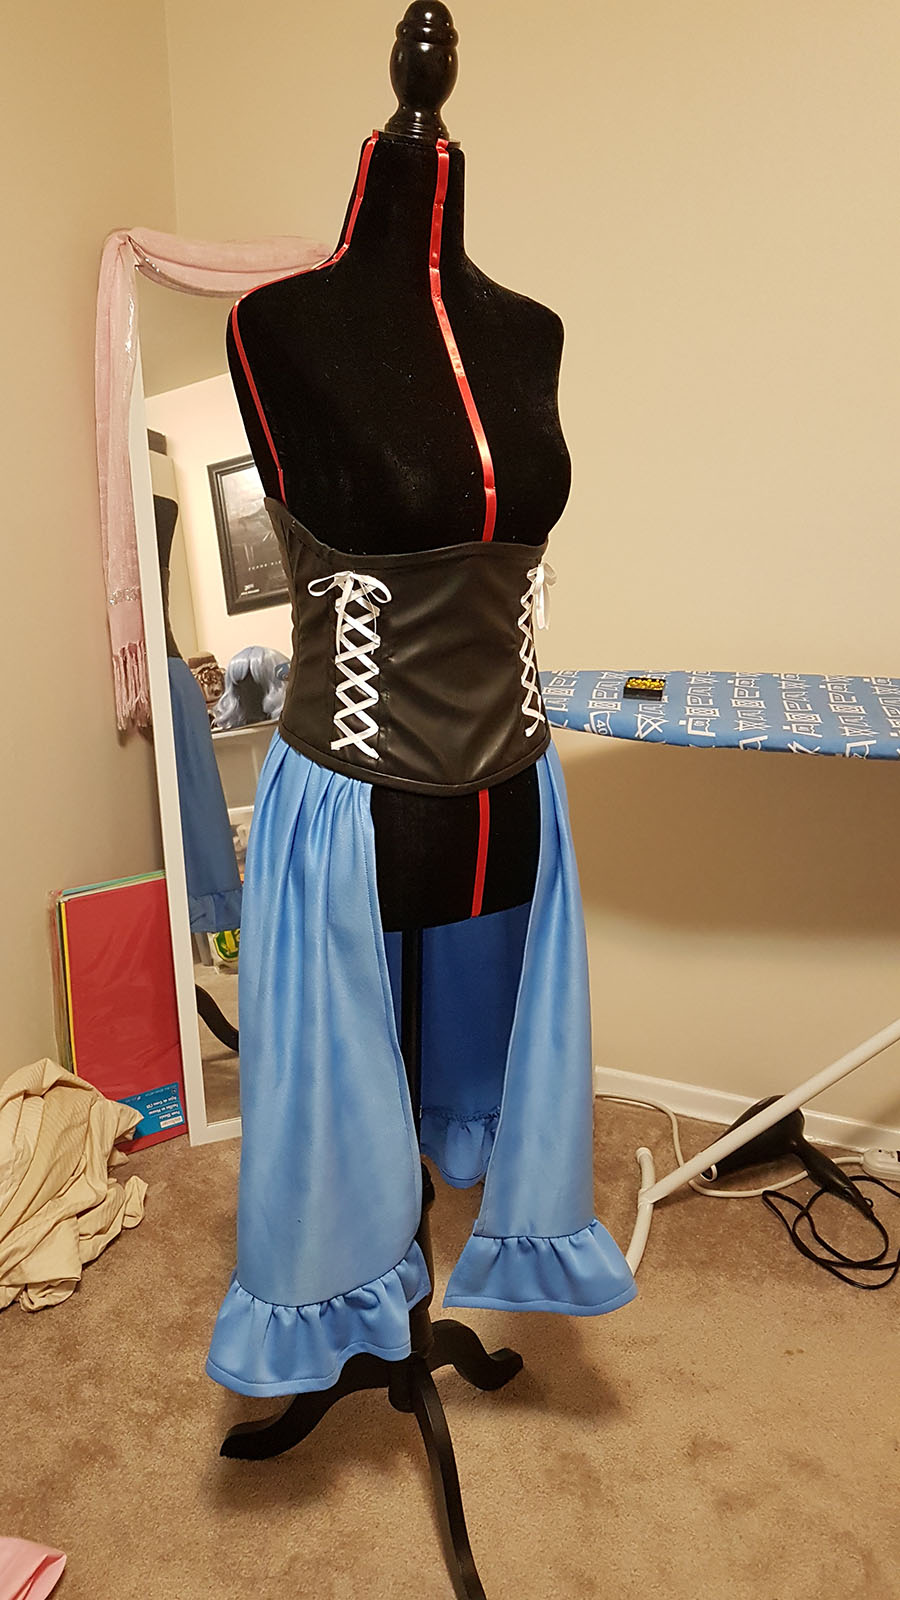
With the bodice being the most difficult part done and out of the way, I moved forward with the skirt next. I found this incredibly strange fabric in the clearance section at Fabricland for it, which was this weird crepe knit polyester (?) that was the perfect colour, sheen AND drape, which if you sew regularly you know is like finding a unicorn. There was no patterning involved; rather, I used twill tape to act as a waistband/ties for the skirt as it would create minimal bulk under the bodice and draped it on my dress form using knife pleats. Once it was pinned and looked the way I wanted, I removed it from the form, evened the pleats so that both skirt panels were the same, and stitched them down and onto the waistband.
The ruffle was then stitched to the bottom edge of each panel, and was created by taking strips of fabric that were double the width, hemming them (which was a nightmare as this fabric did NOT want to hem without excessive pinning), and gathering them down.

The white waist ties were the next part, as I needed both the skirt and bodice to be done to know how to drape and place them. One of the challenges was figuring out how to attach the side bows, as they appeared to be tied from fabric that came from nowhere? There's a lot going on around Aqua's hips.
I used an old bed sheet to drape and create the pattern pieces, then transferred them over to leftover white satin from both Dizzy and Lunafreya to hem and stitch together. This costume actually used almost all remnants from previous projects, minus the skirt and gloves!
Part of the ties were sewn to the waistband of the skirt, which would help anchor the whole thing. The other part is a separate piece that drapes in front of the crotch, which is what the bows are attached to.
Finally, the back bow attaches on the bodice using hooks.
The sleeves were probably the easiest part to put together, as it was a one-piece bell sleeve pattern. They stay up using 1 inch elastic at the top, sewn a bit further down from the top edge to hide them and ensure the pointed part wouldn't sag. Gloves were also easy, using my "turkey hand" pattern to do them up quickly as I used stretch fabric.
I patterned the undershirt by draping the stretch fabric on my dress form and cutting it down to the shape I wanted. I opted to make it a crop top under the corset to remove potential bulk and eliminate extra layers so that I wouldn't overheat. The edges were finished with bias tape made from a vinyl-look lycra.
And then there was... the armor.
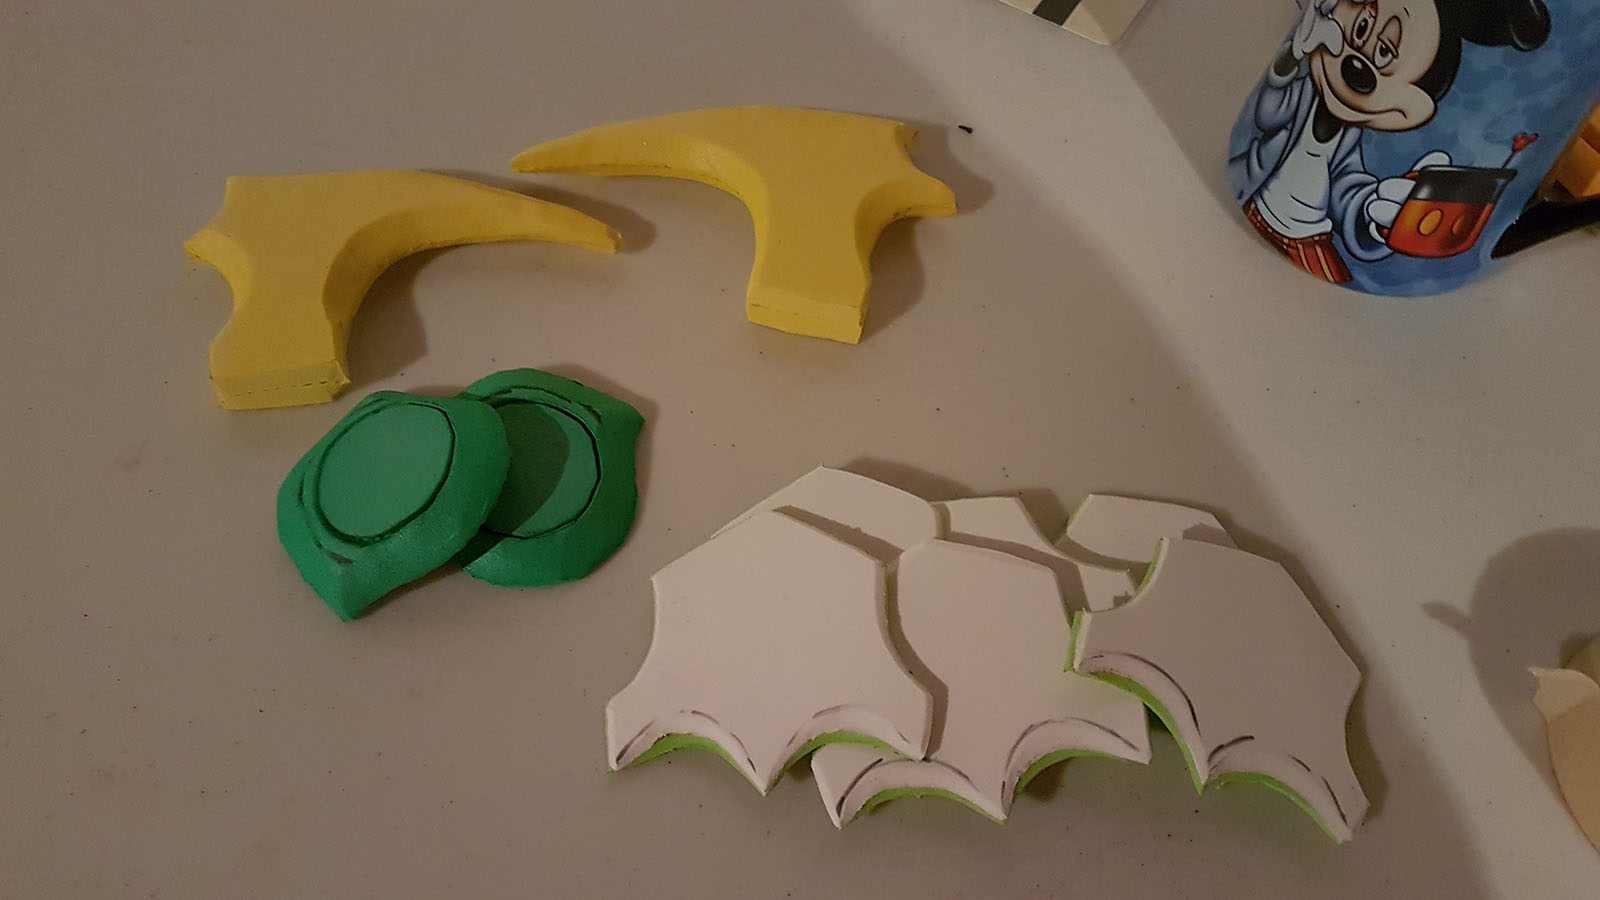
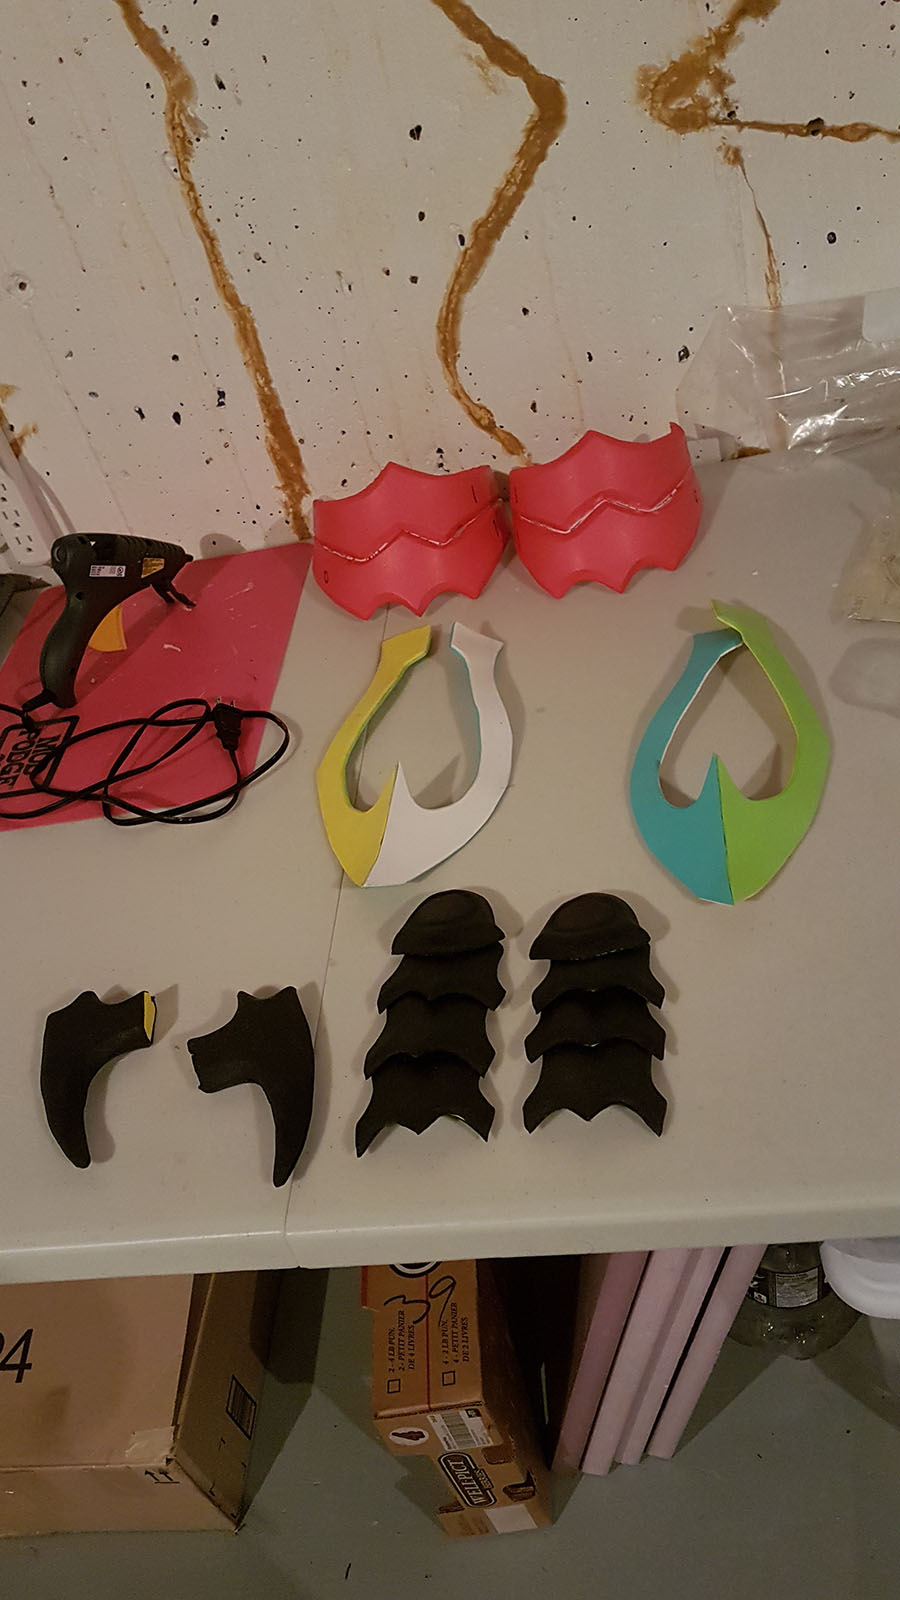
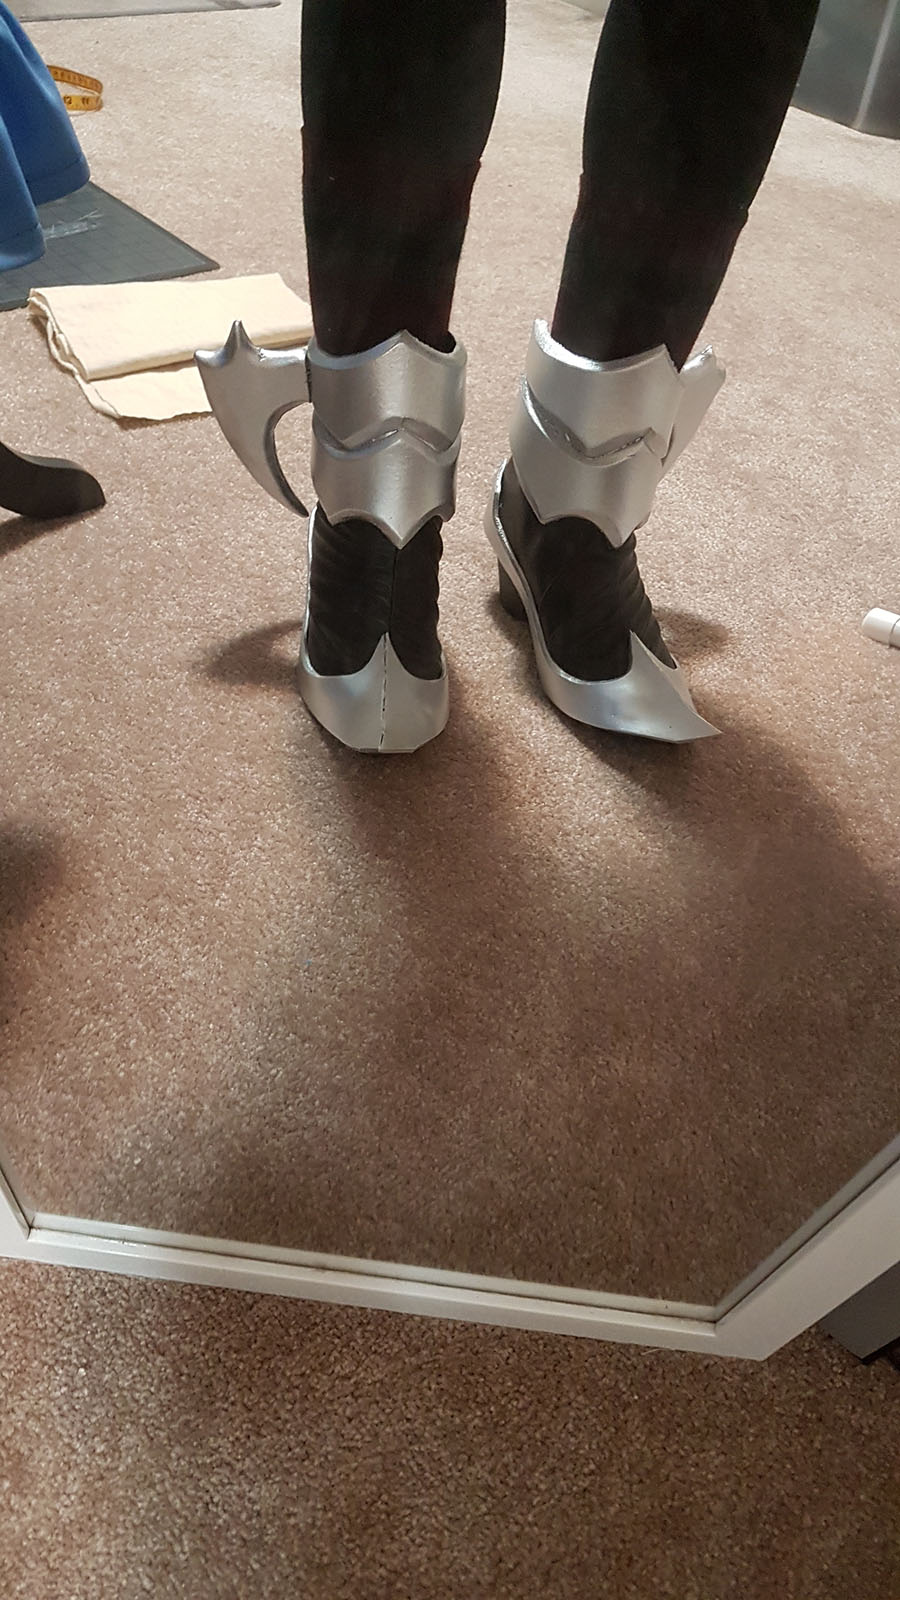
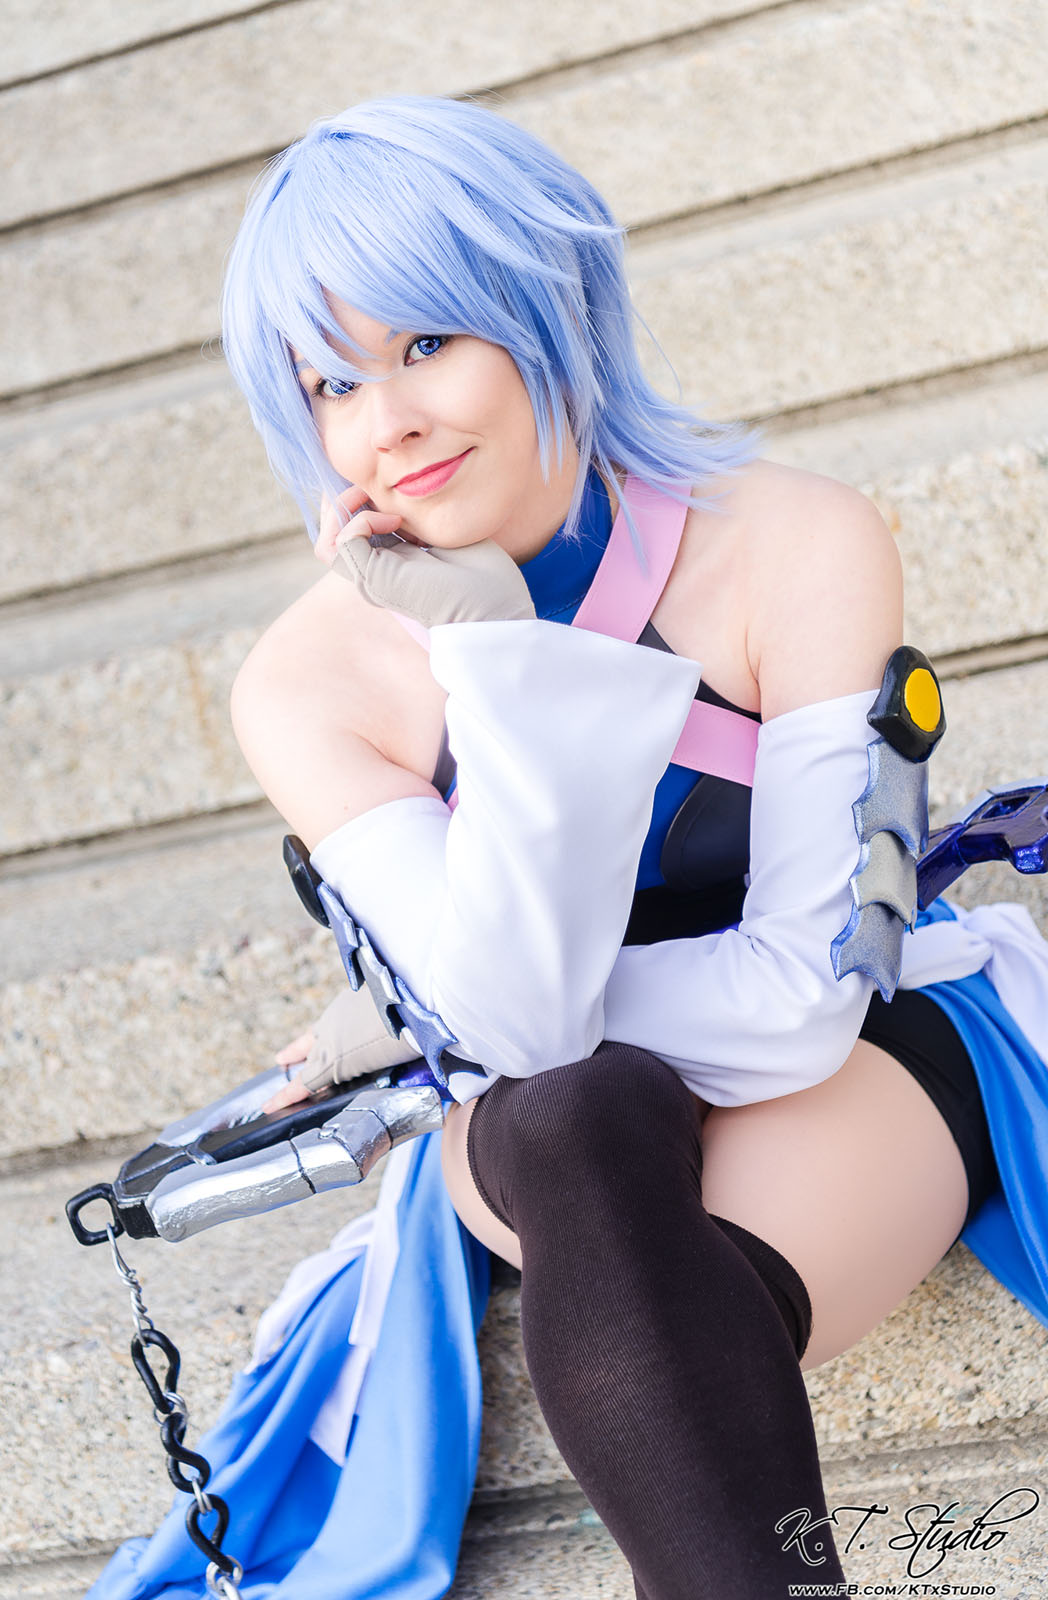
Aqua's armor in her regular form is actually quite simple to do as it involves a lot of repeating shapes. The most complex part was the shoe armor, which involves patterning around your base boot and figuring out how to attach the weird "wing" to the outside. I used a combination of worbla-covered foam and plain EVA foam as I needed some pieces to be flexible (shoes) and others to be rigid and hold up to potentially getting smacked around (shoe "wing", sleeve armor).
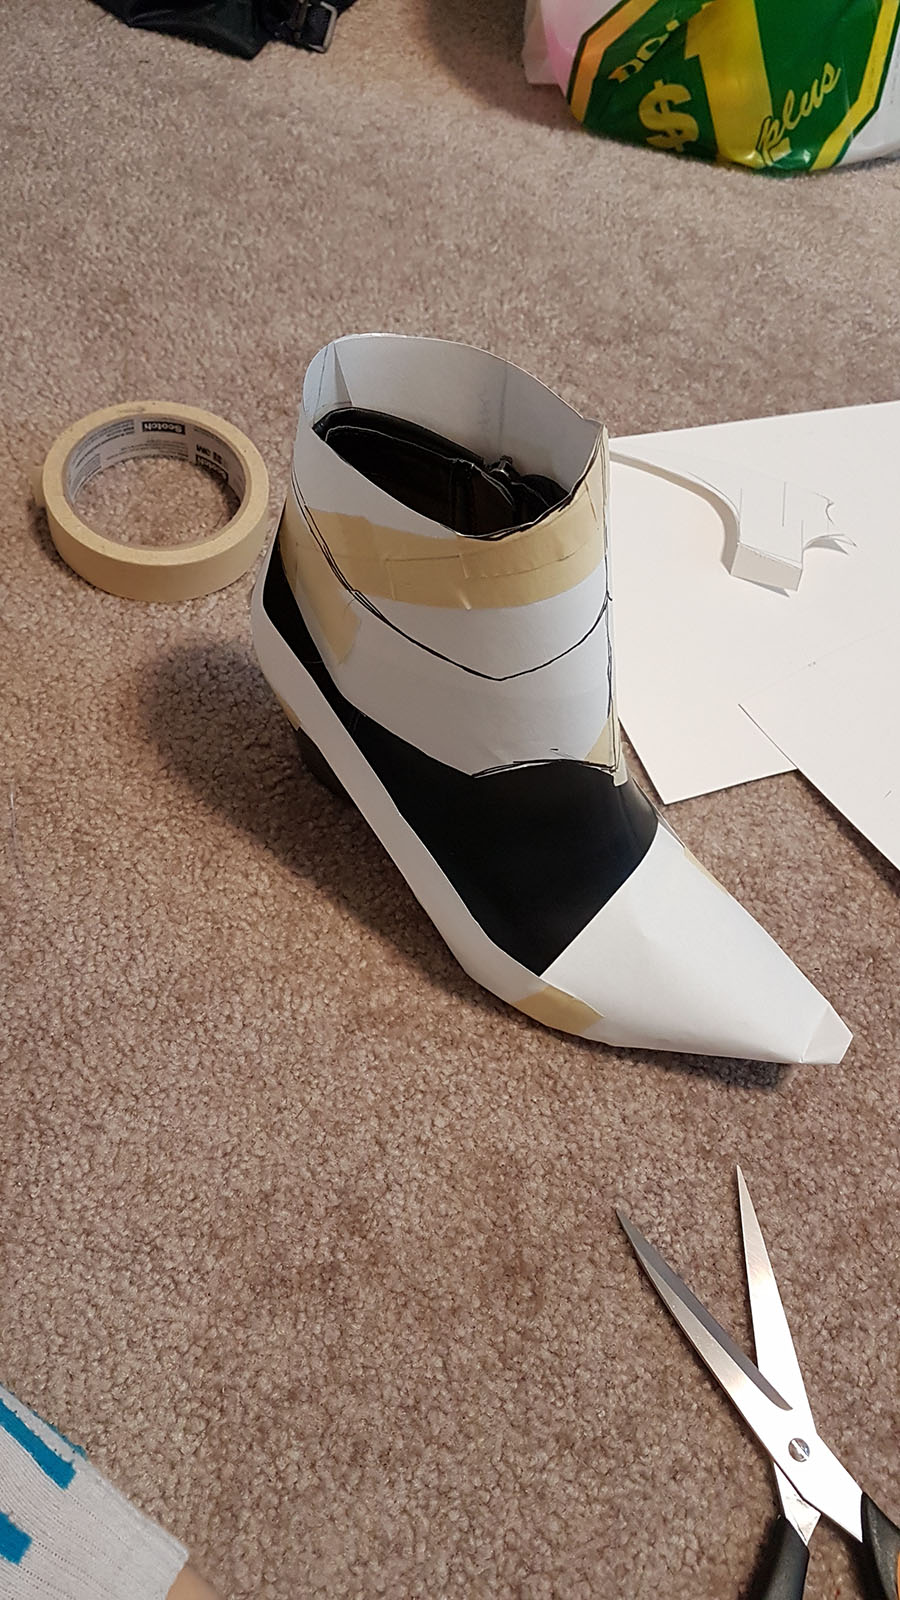
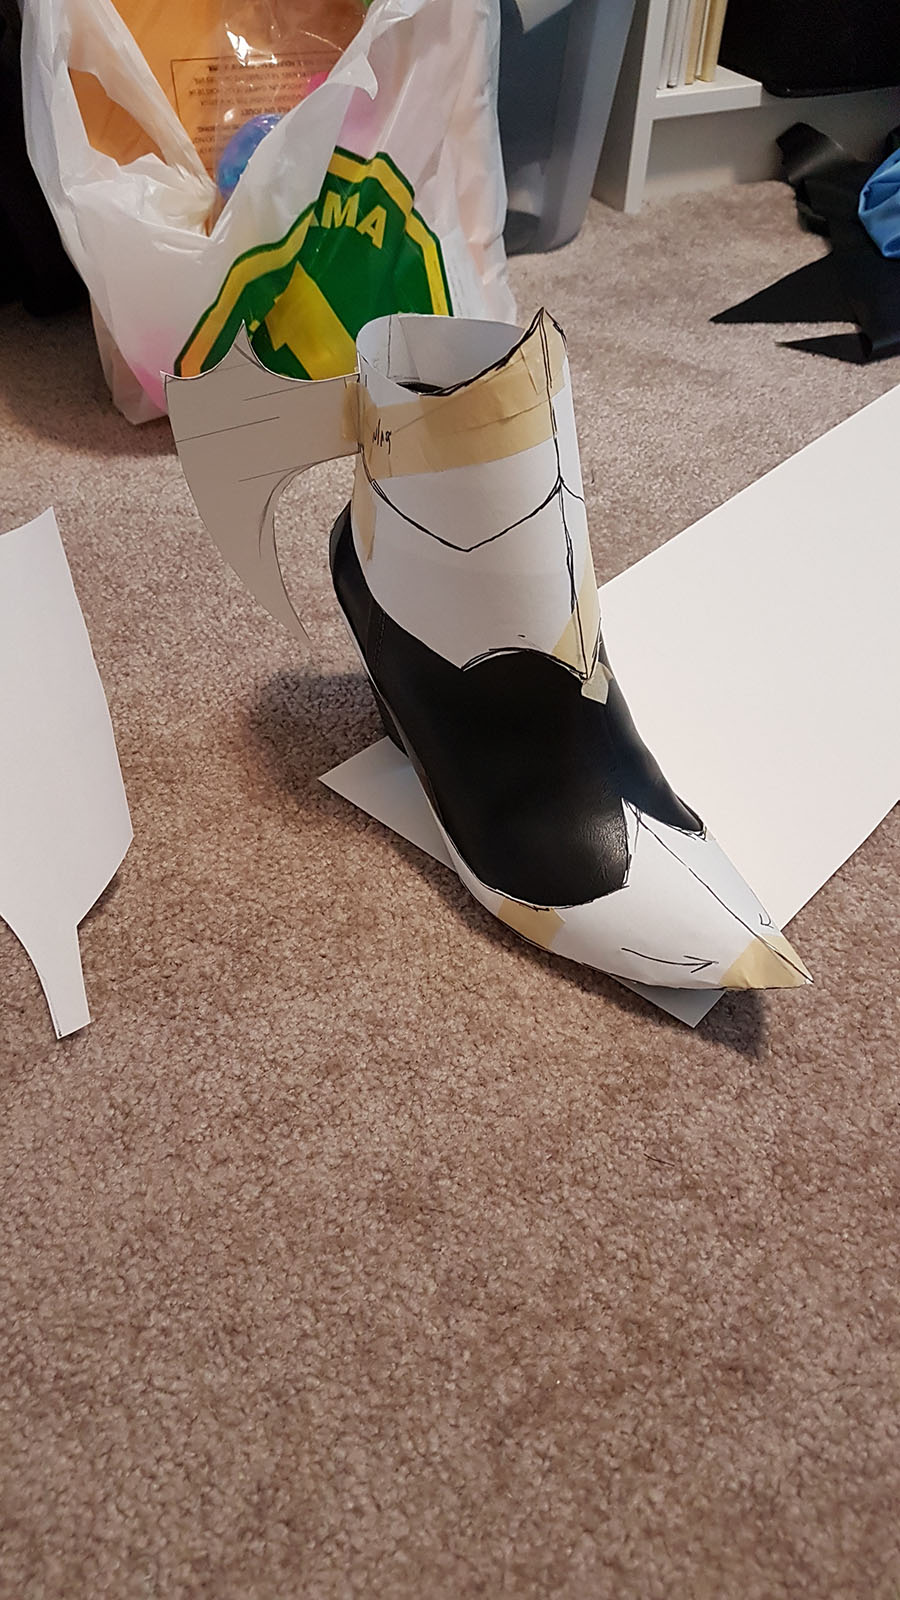
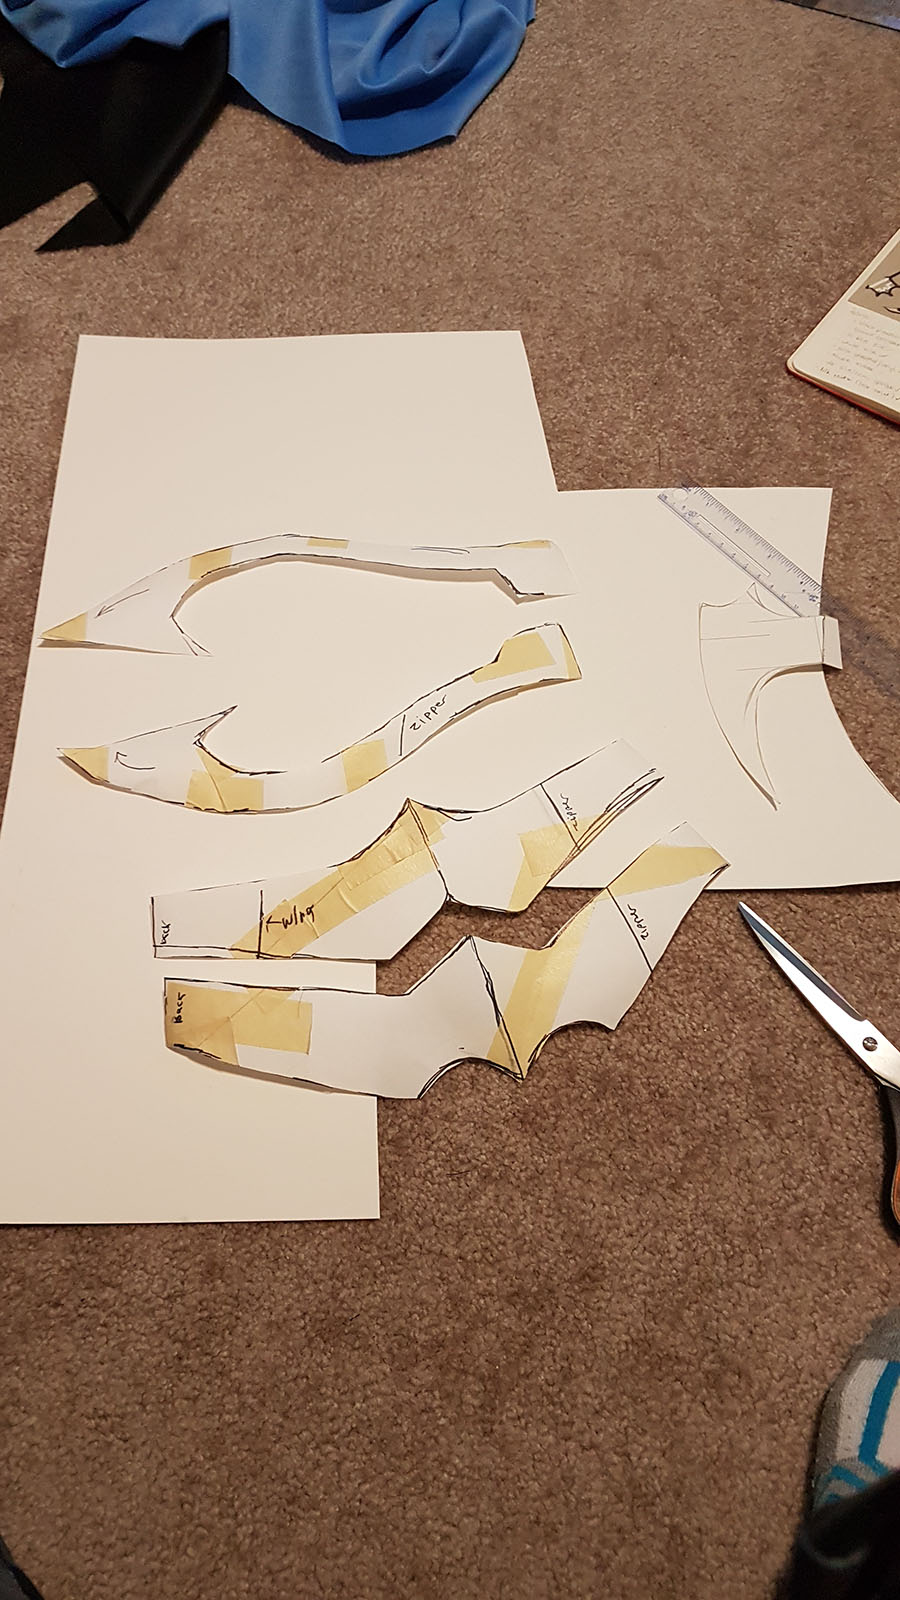
I used Flexbond for the first time to try and glue some foam pieces together flat and seal the EVA foam before painting. It worked incredibly well as a sealant, but as a glue I wasn't a fan. I'll stick to contact cement for that in the future, I think. I used silver spray paint for most of the armor, and acrylics for the small blue and black pieces. To attach it, I glued d-rings to the back of the sleeve armor, which was used as an anchor to sew them to the sleeves, while the shoe armor was glued directly to removable boot covers. This way I can reuse the same boots for other cosplay, as well as it making the shoe armor easy to pack away as I can "deflate it" to save space.
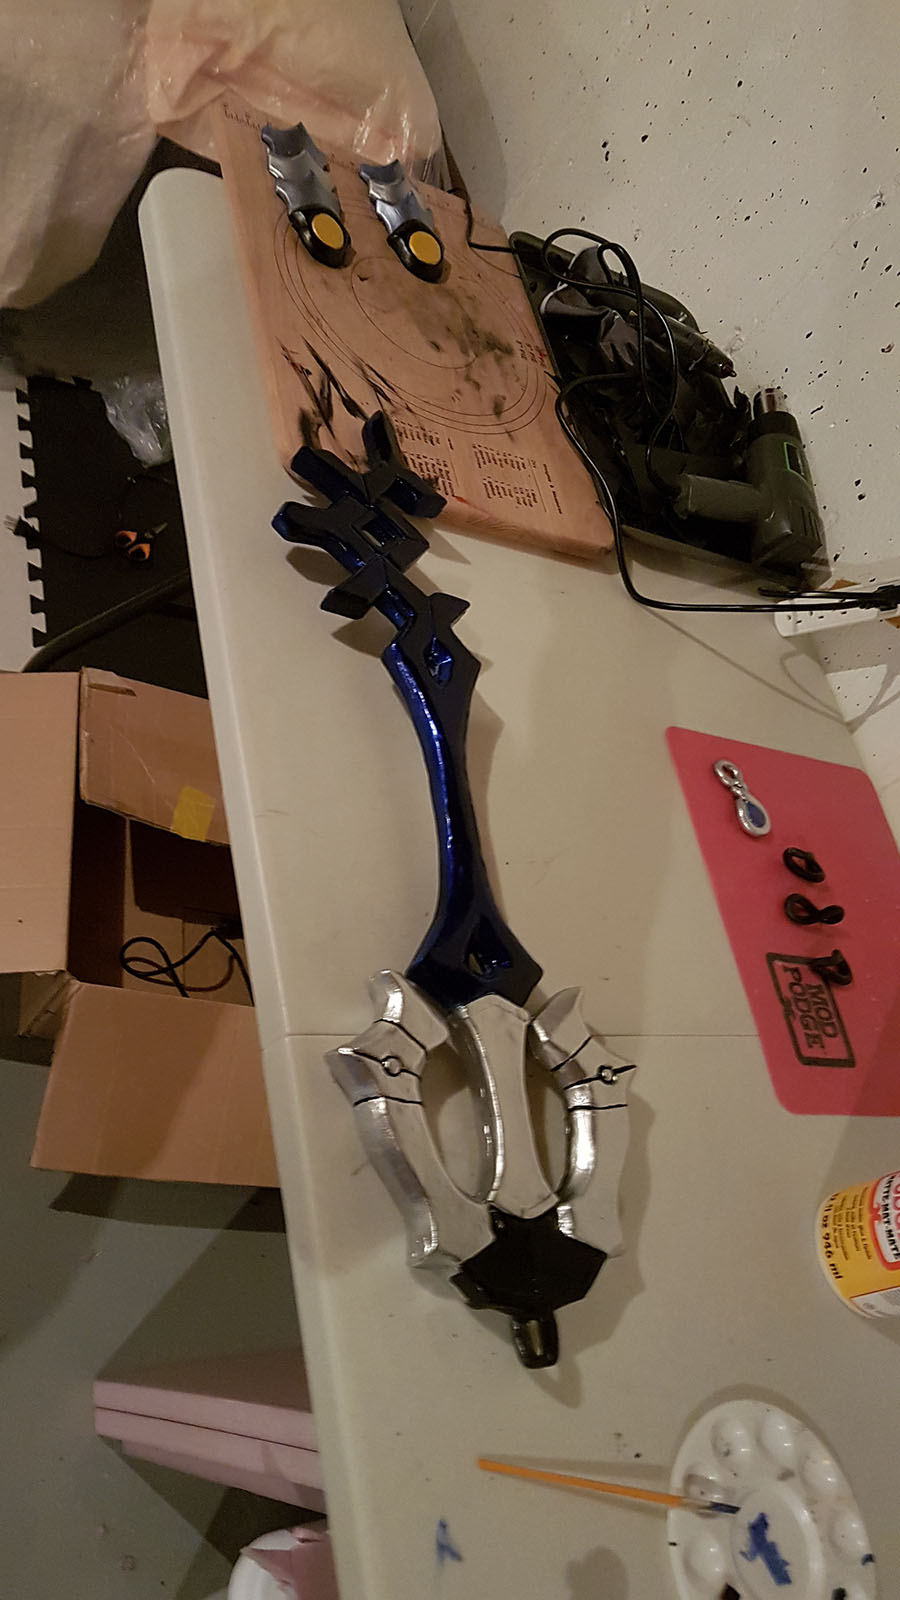
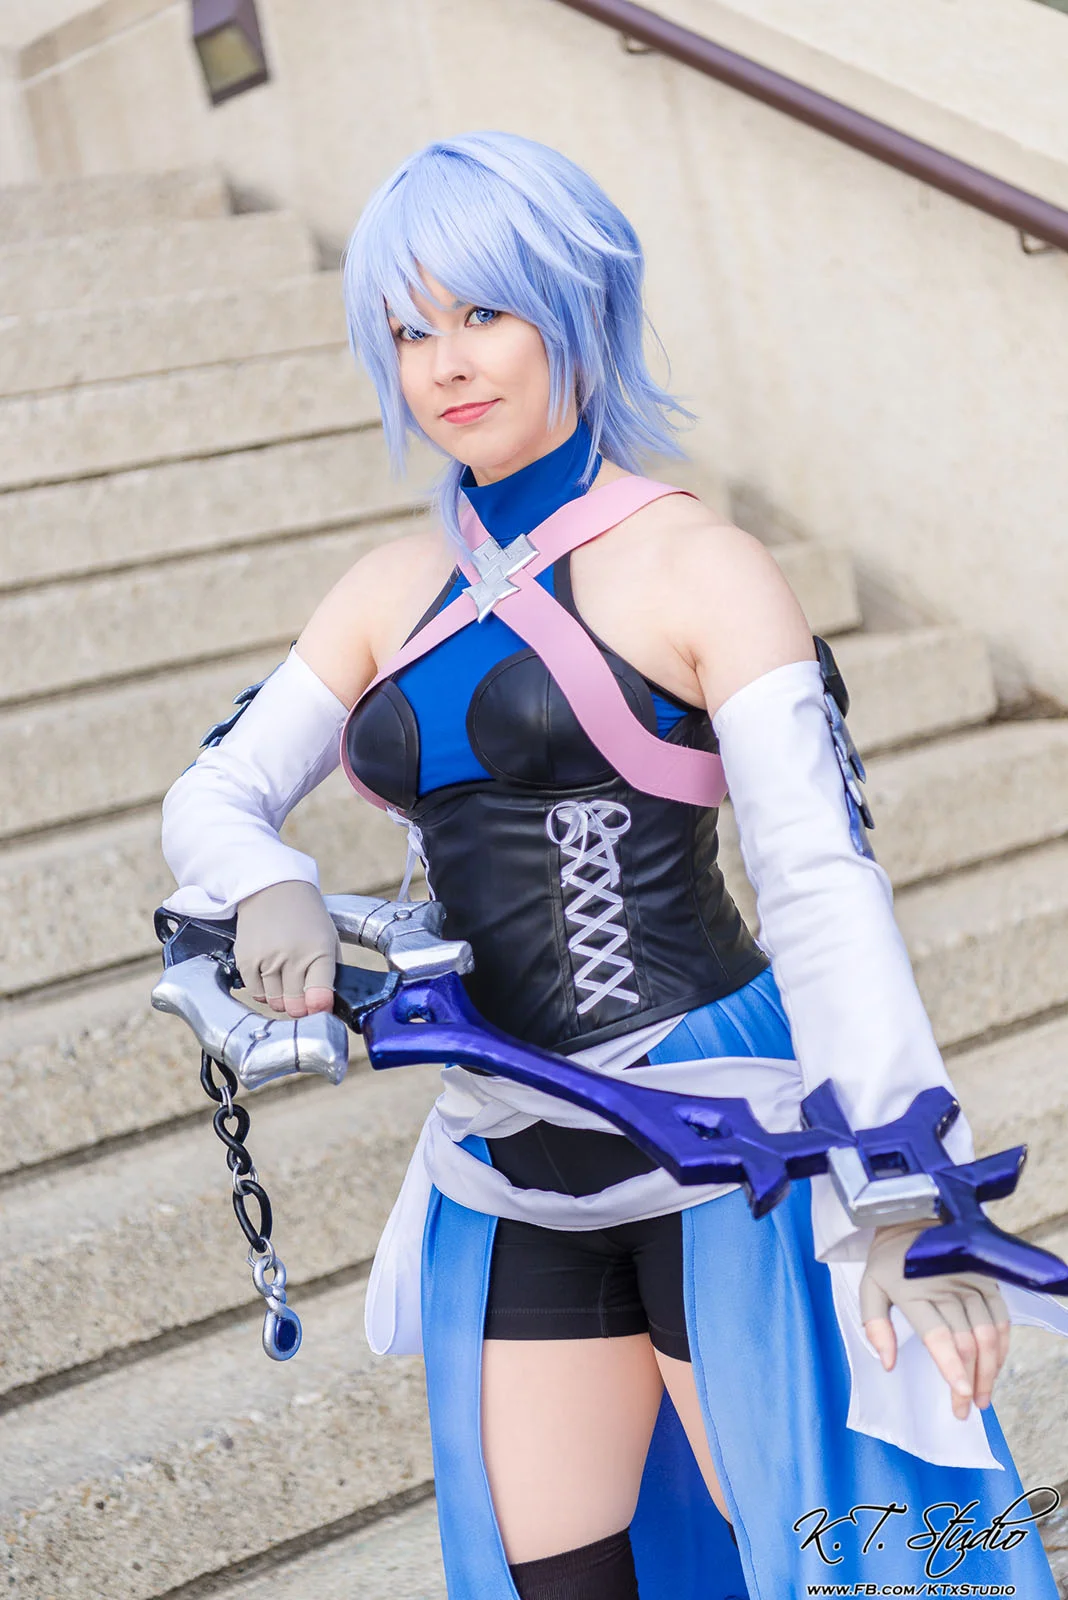
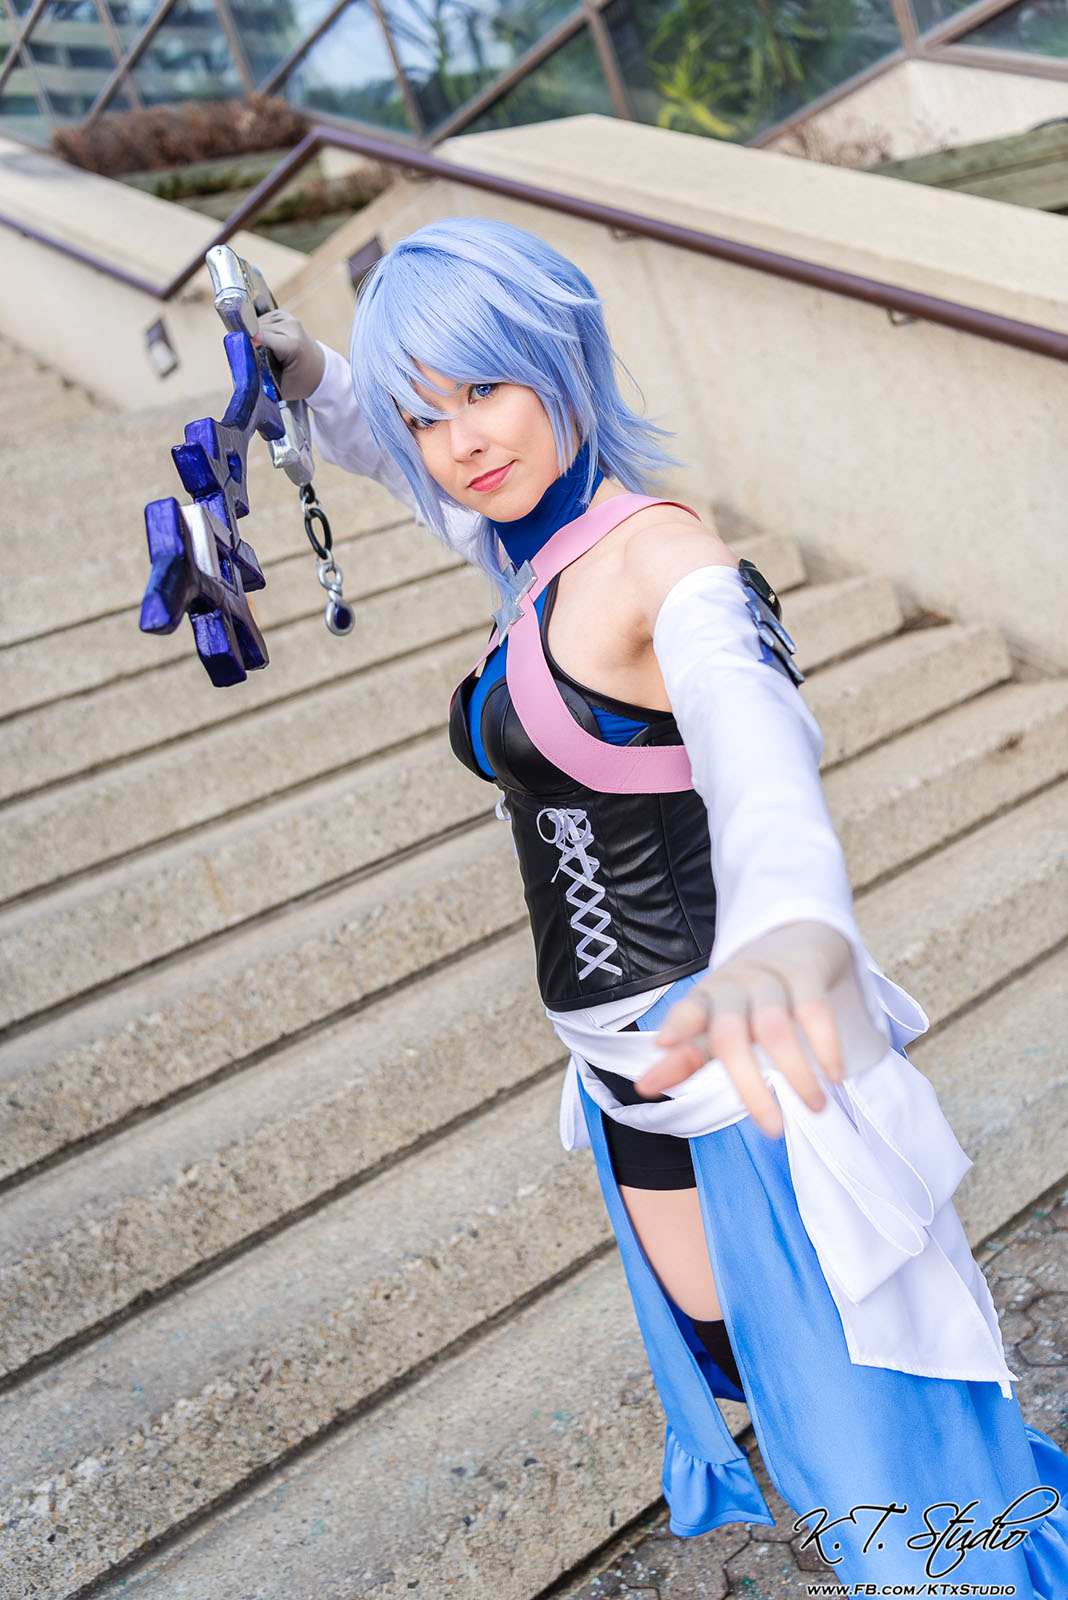
Last but not least: the keyblade.
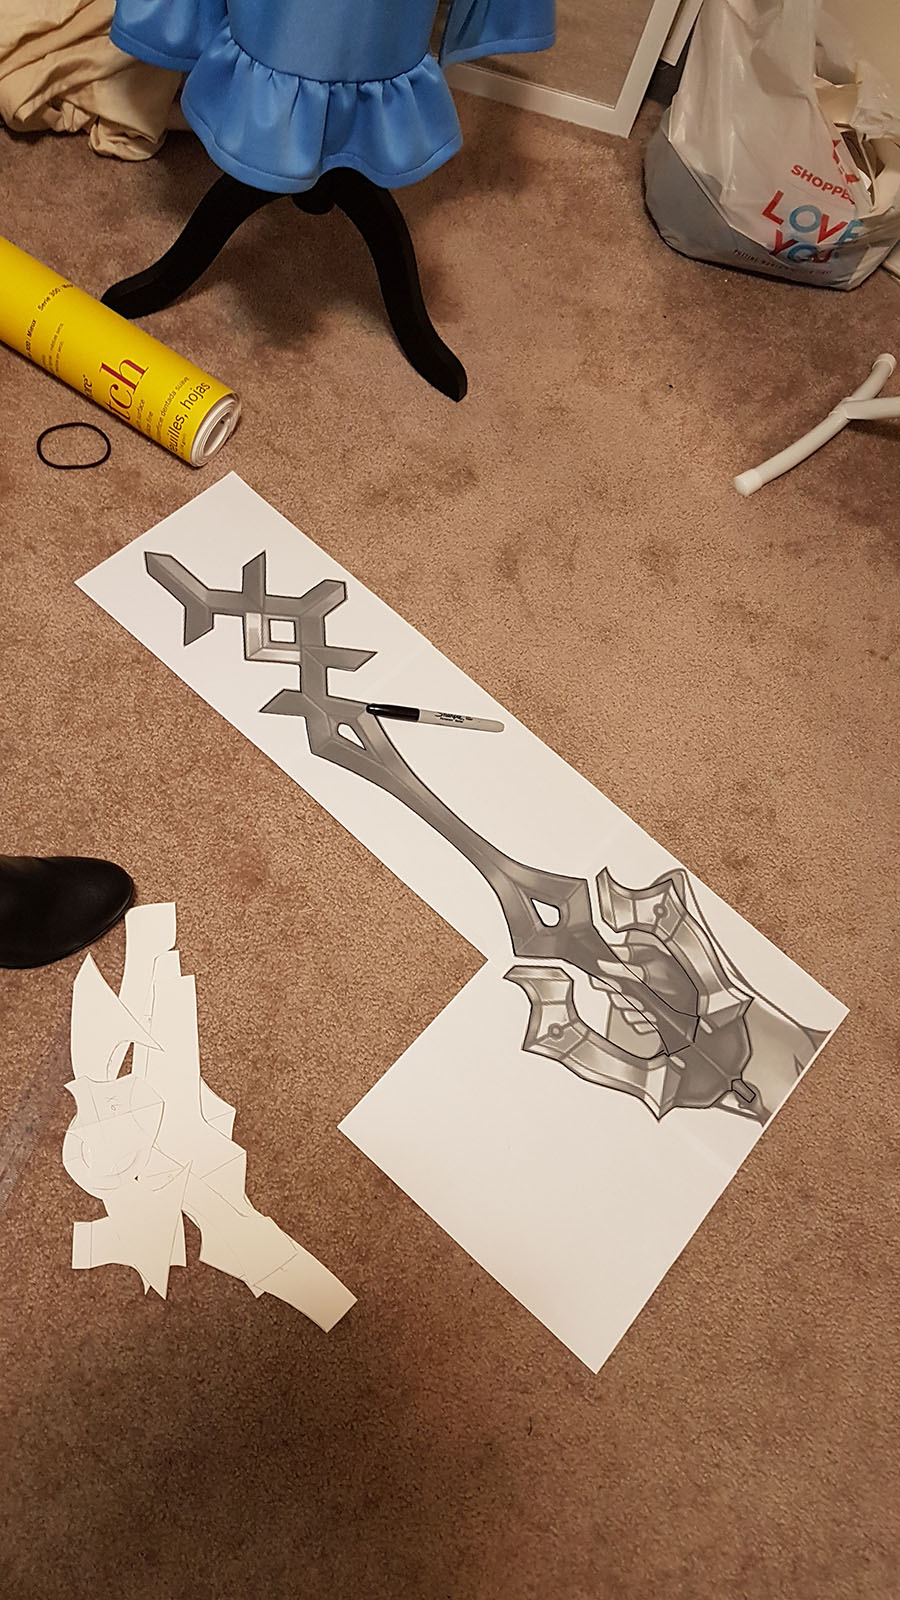
I had hemmed and hawed over making the keyblade as I was working on the costume. On one hand, props weren't really my thing and I wasn't sure if I would be able to pull off Aqua's keyblade with its geometric bevels and cutouts. On the other, cosplaying Kingdom Hearts without a keyblade would be like eating Oreos without milk: fine, I guess. With about a week before Taste left, I ultimately decided that I'd at least give it a shot. Worst case scenario I was using materials I already had so I wouldn't be out the money at least, and the costume would still be fine without a prop.
I started by making a vector tracing of her keyblade in Illustrator and scaled it up to be proportionate to my height. This was then printed out and broken down into more manageable pieces as I didn't want to attempt to cut out and carve the whole thing as one piece. Everything was transferred to EVA foam that I layered for thickness, then I took my dremel and carefully sanded all the bevels in and cleaned up the cuts. Once that was done, I covered each piece with worbla.
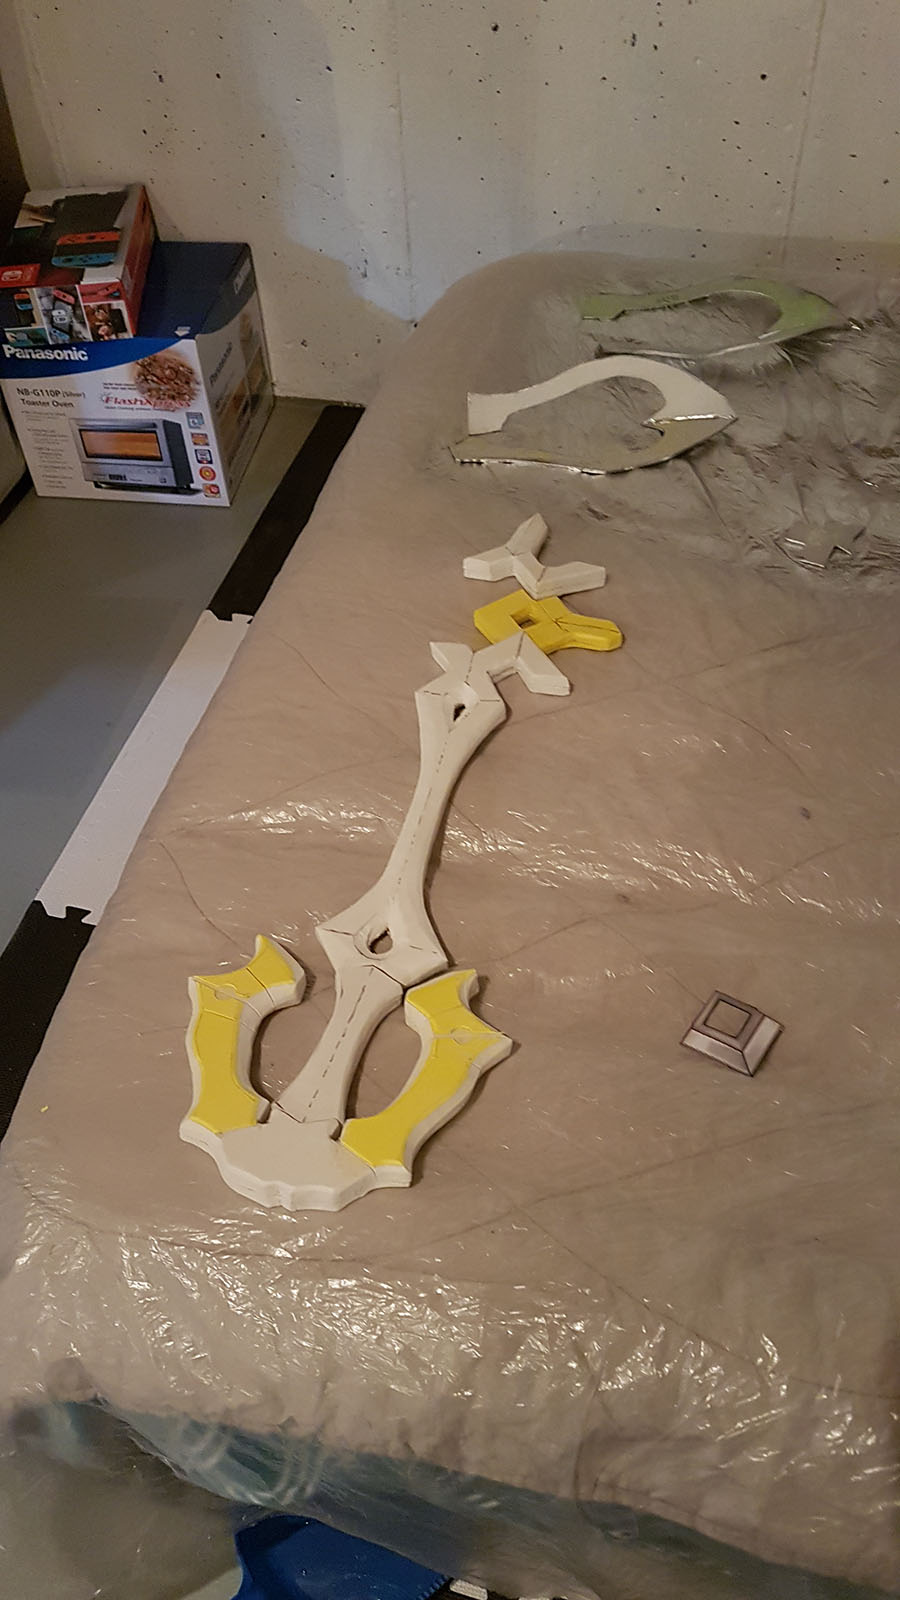
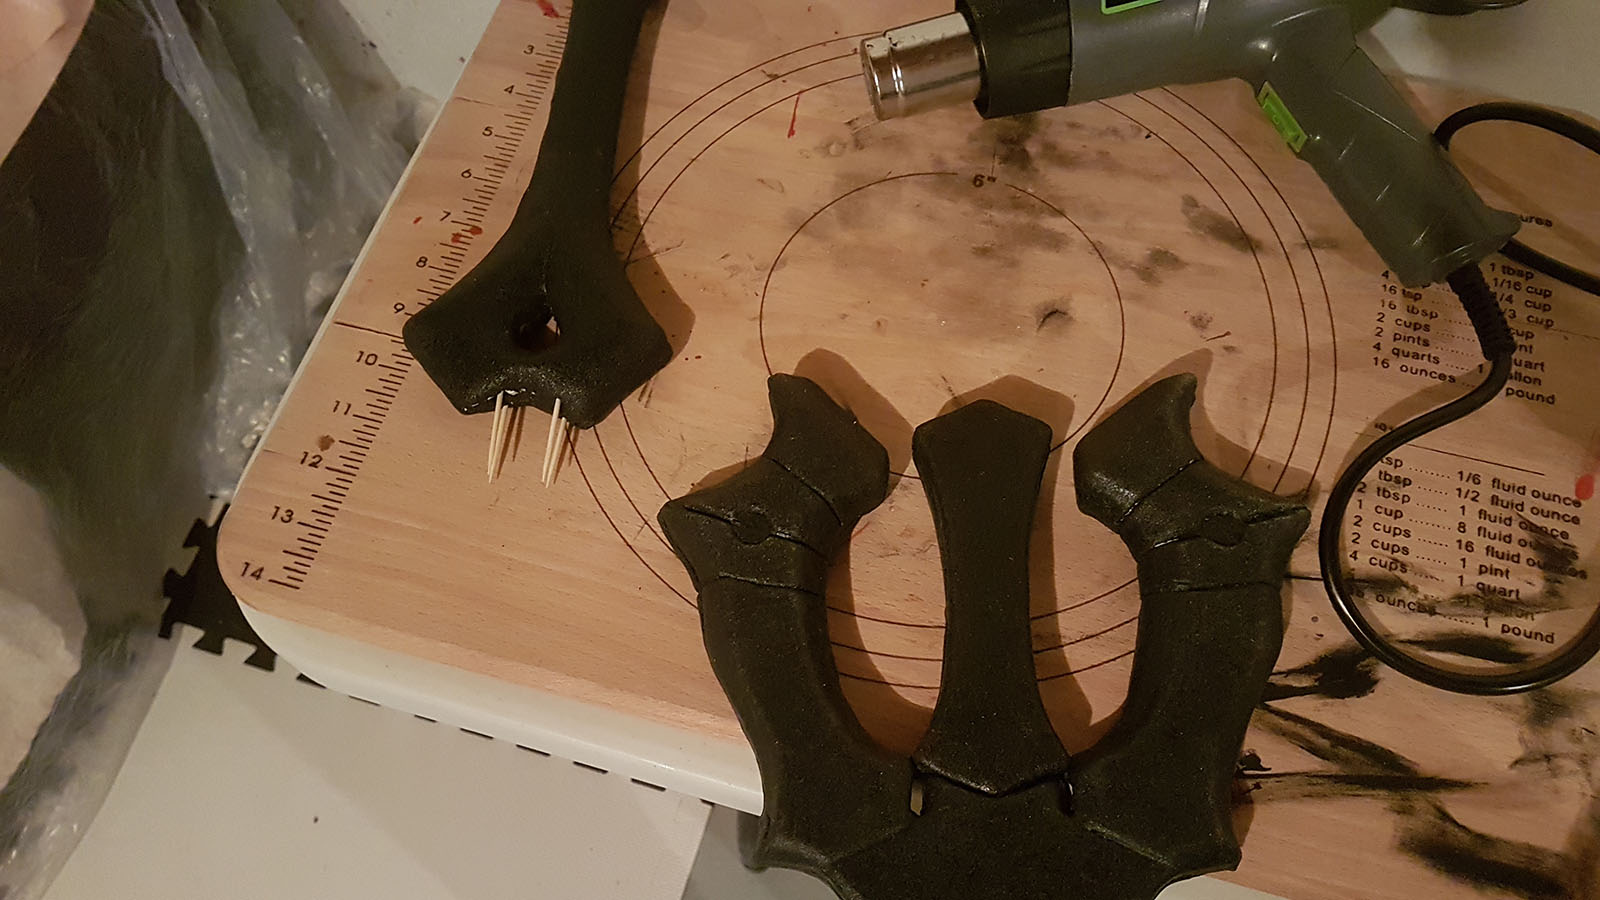
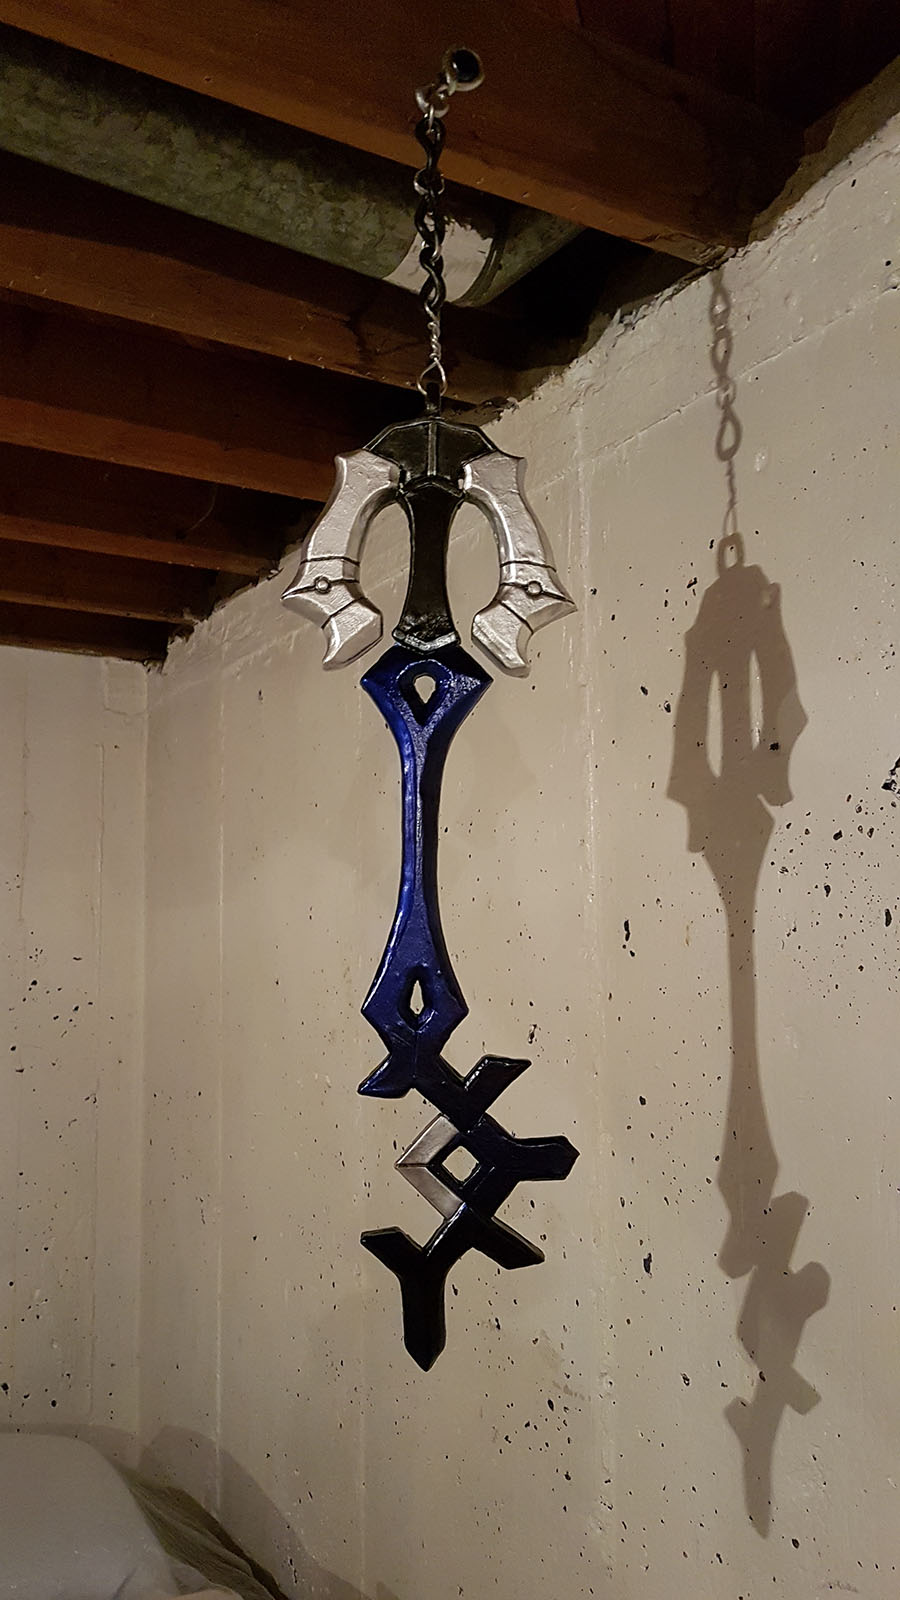
As I had no stabilizing piece within the length of the keyblade to keep it sturdy, the worbla acted as somewhat of an exoskeleton that made the whole thing solid. After everything was covered, I fit the individual pieces together using toothpicks inserted into the foam at the ends to act as a joint and heating the worbla up to fuse everything together. The final product is something that is incredibly light and surprisingly sturdy, all things considered. I wasn't sure if my method was going to work so I was pleased that it worked well.
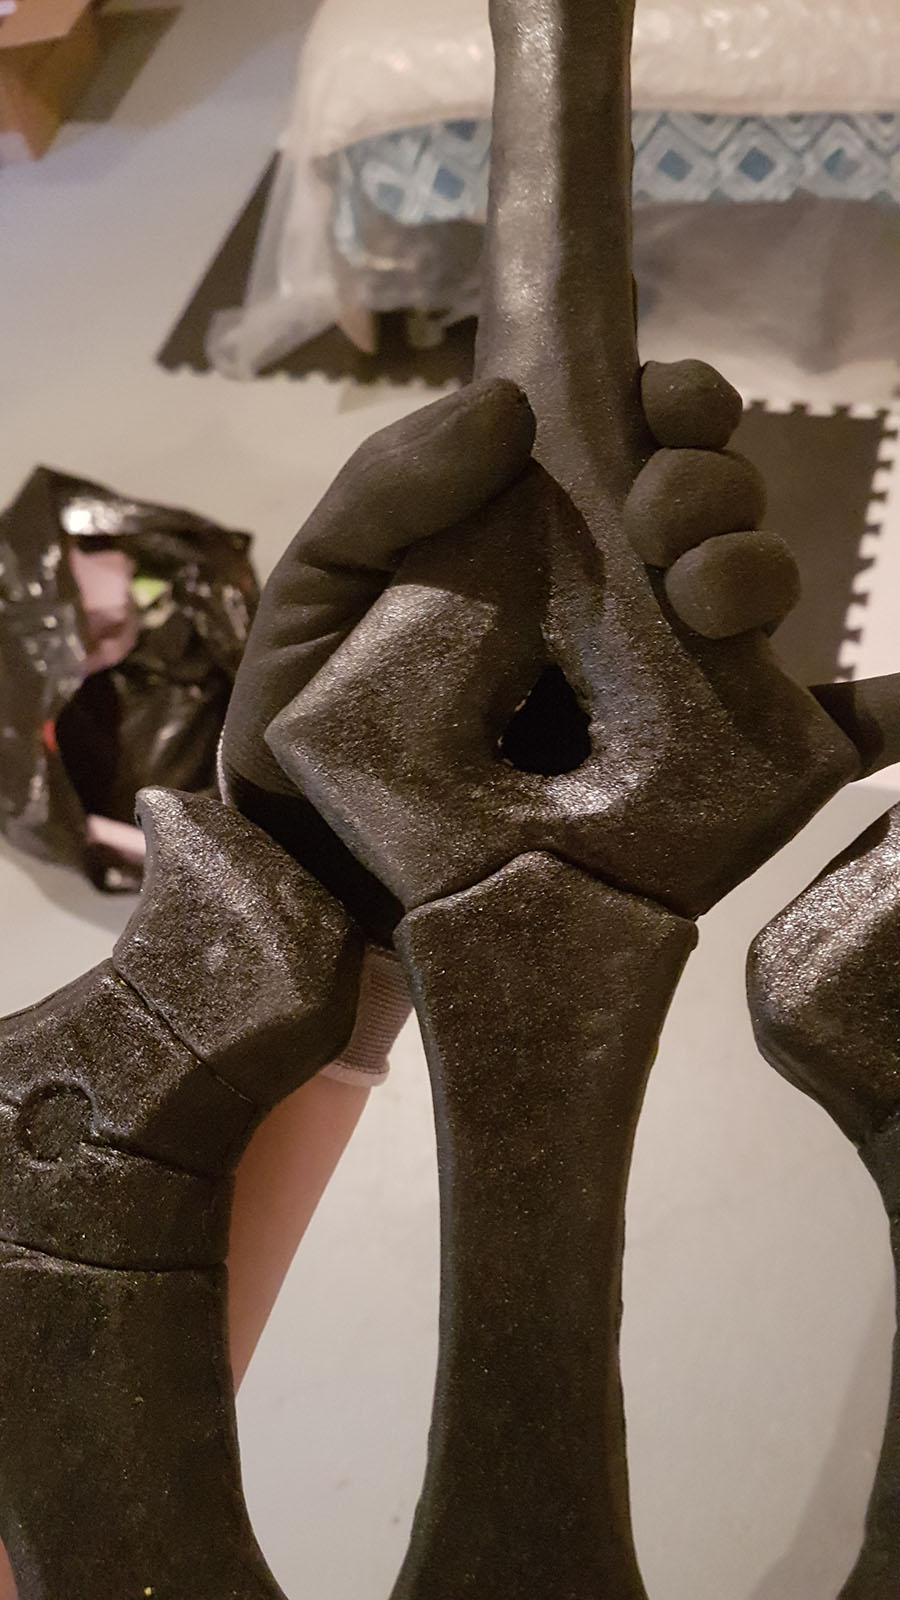
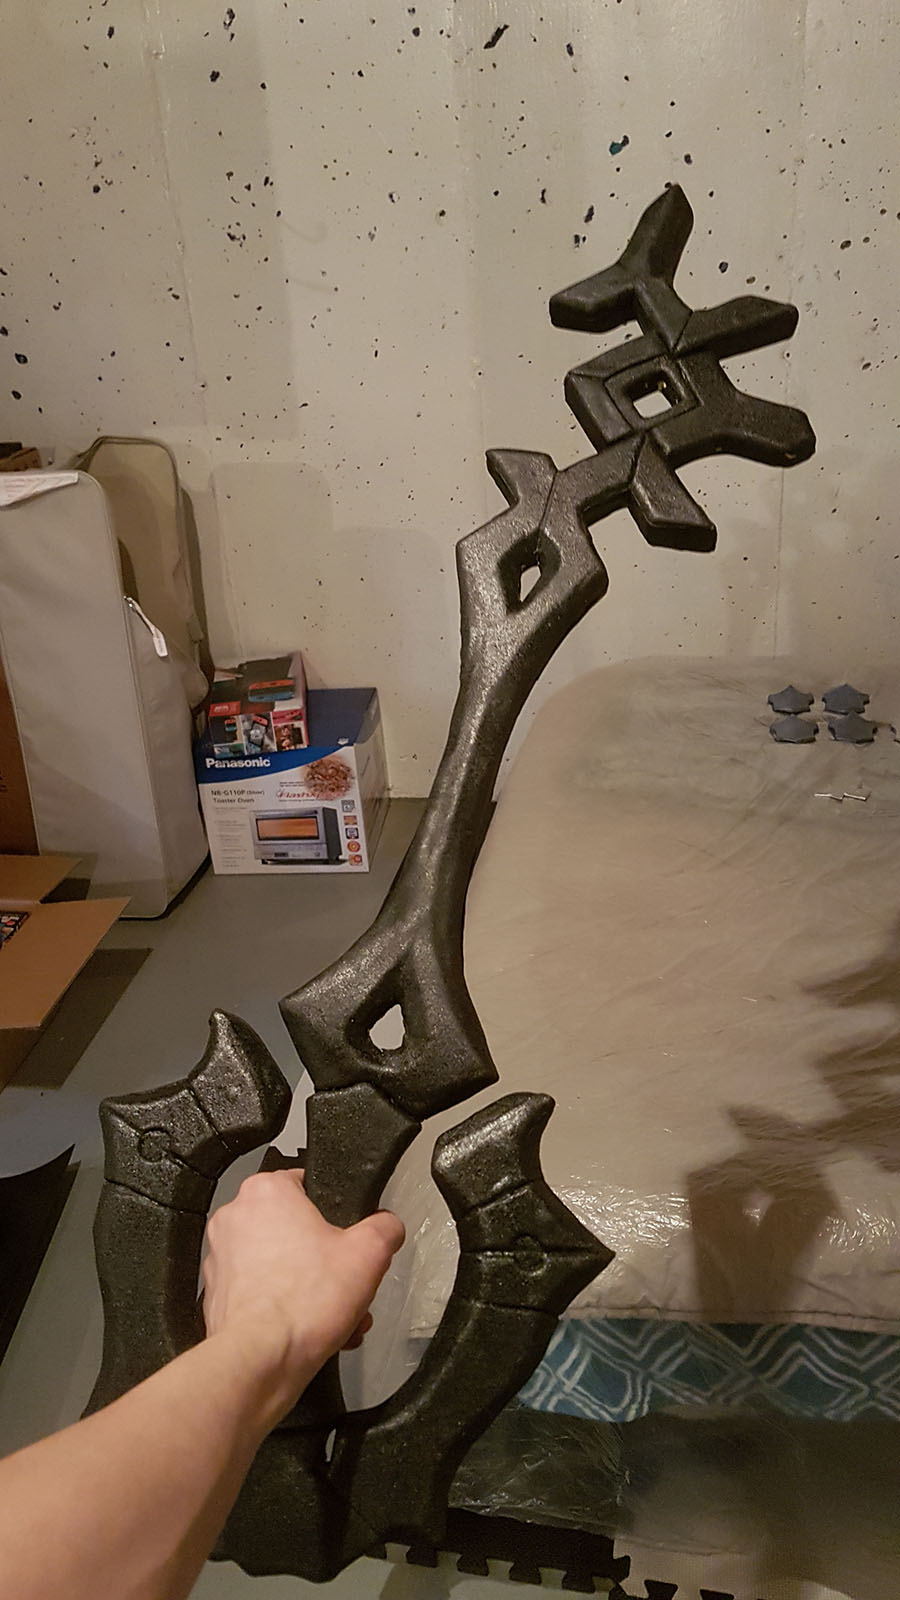
The worbla was then sealed with mod podge and I painted everything with a combination of metallic blue and silver spray enamel paint with a touch of black for details and weathering.
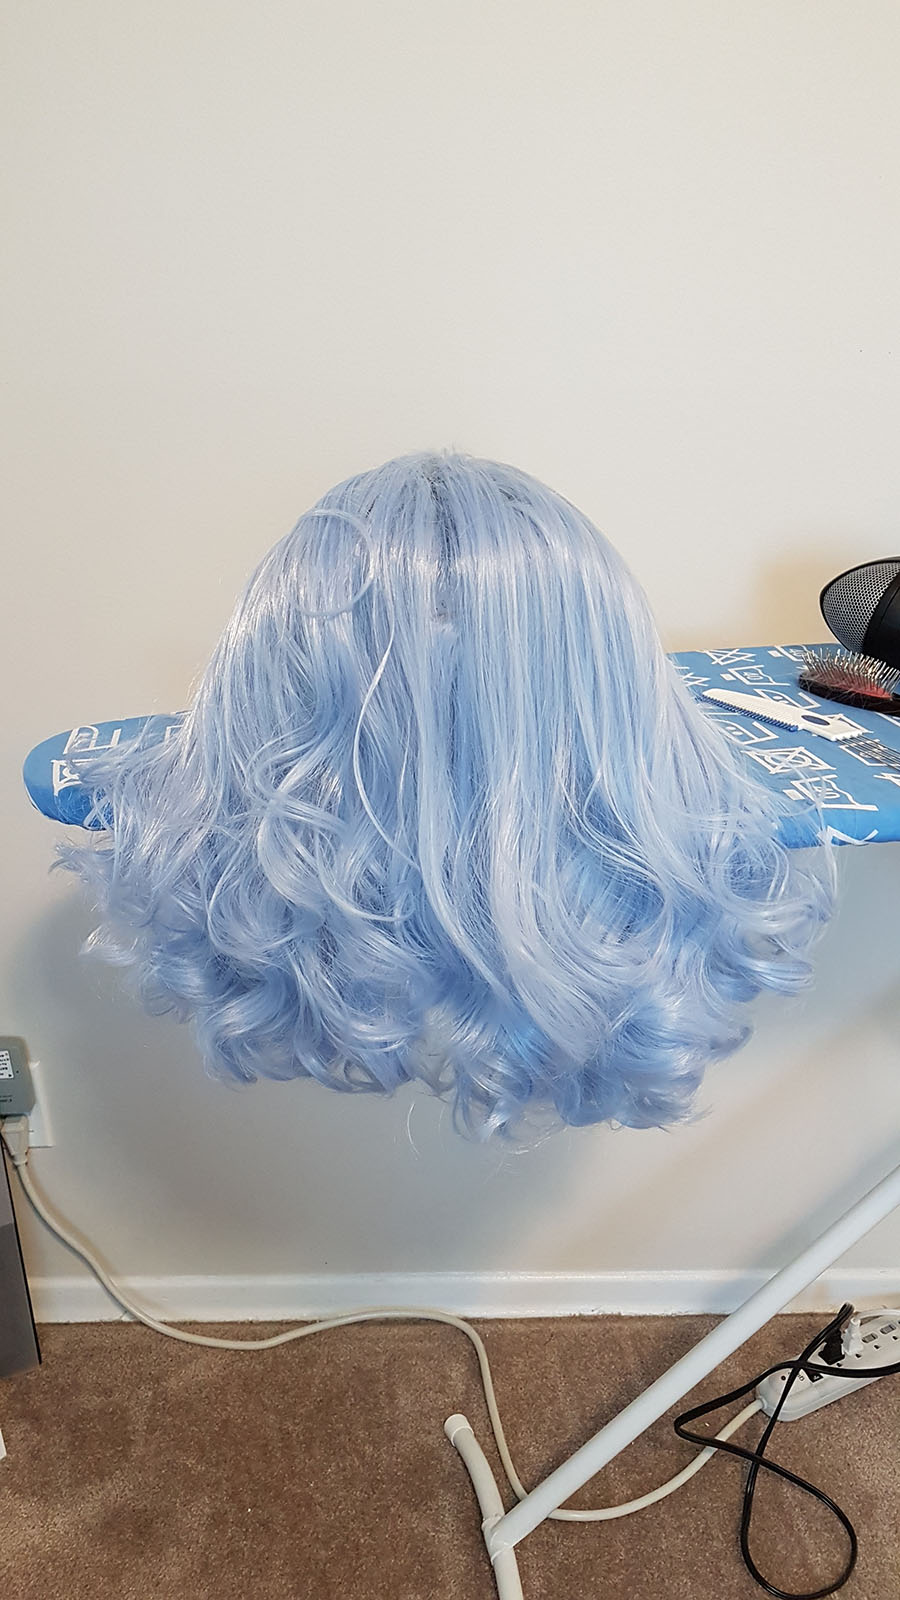
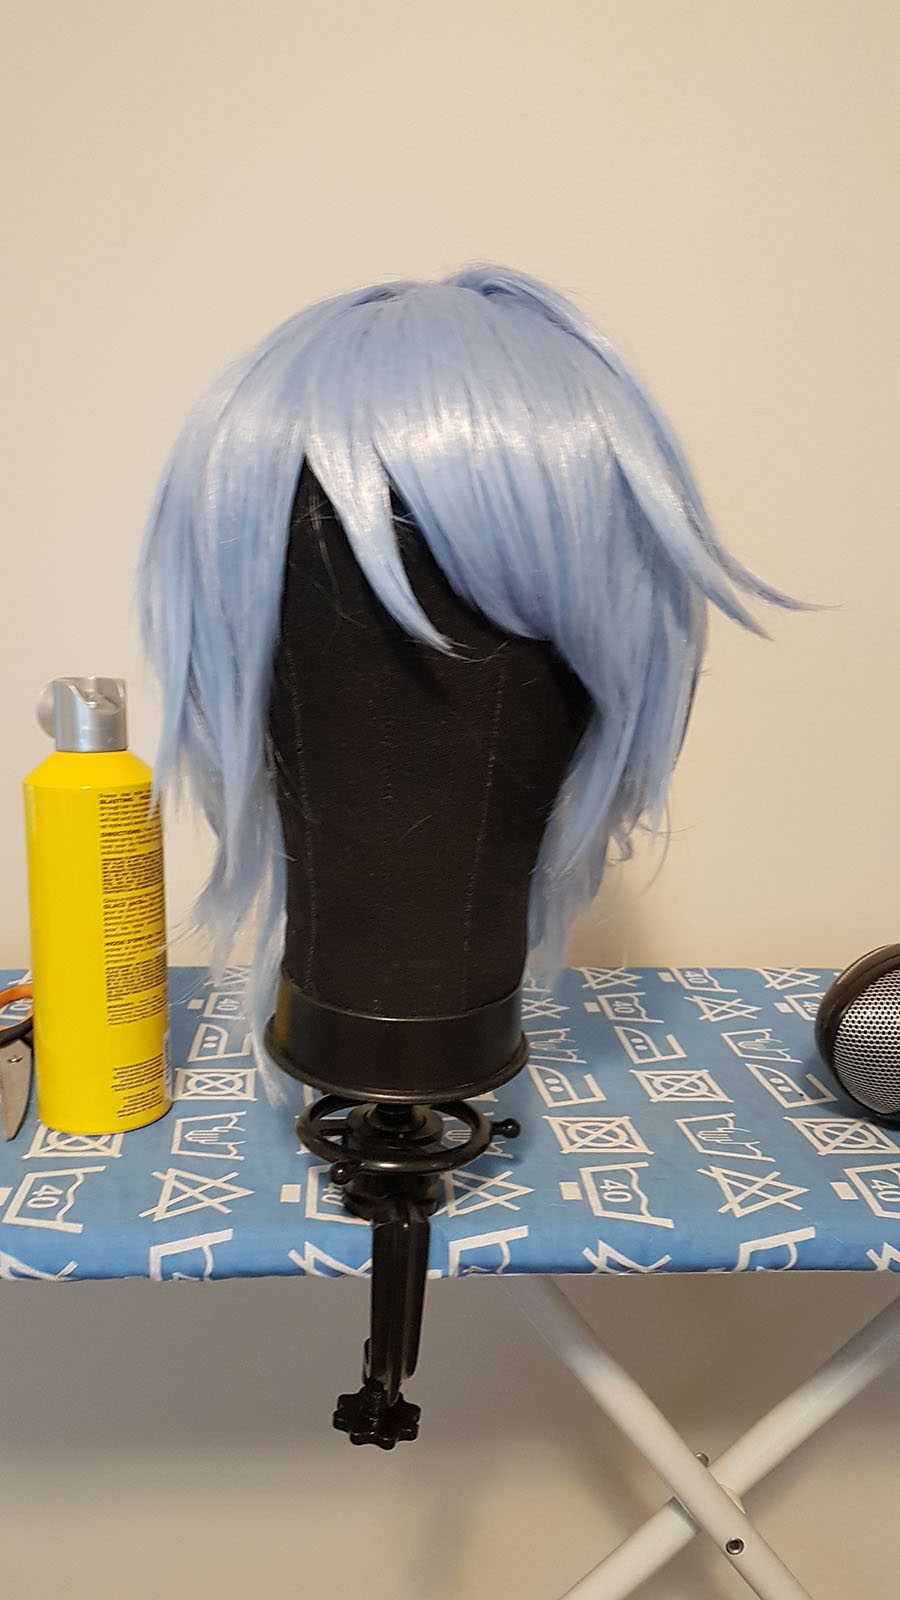
I went with a pale blue wig for Aqua--her hair colour varies a lot between the various artworks, in-game renders, cutscene renders, and 2.8 model and I've seen everything from slate blue-gray to bright blue used by other cosplayers. This colour proved useful in the long run as I'm now able to repurpose it for cosplaying "Darqua" without needing a new wig. Excellent. My wig was purchased from Epic Cosplay and styling it was a matter of using a blow dryer to fluff it up, then hairspraying the bejeezus out of it to make it a Kingdom Hearts hairstyle.
Completing Aqua was a dream come true, and I even got to compete with her even though it wasn't in my original plan for the costume. I entered her into the A Taste Of Animethon contest where I wound up getting Best Costume for my efforts. Woo! I do need to fix her up before I wear her to another event, however, as I unfortunately lost one of the shoe armor wings at Anime Expo as it got knocked off somewhere while I was walking. I can use this chance to at least revisit the shoe armor in general as I've since learned a lot about working with foam from my projects this year.
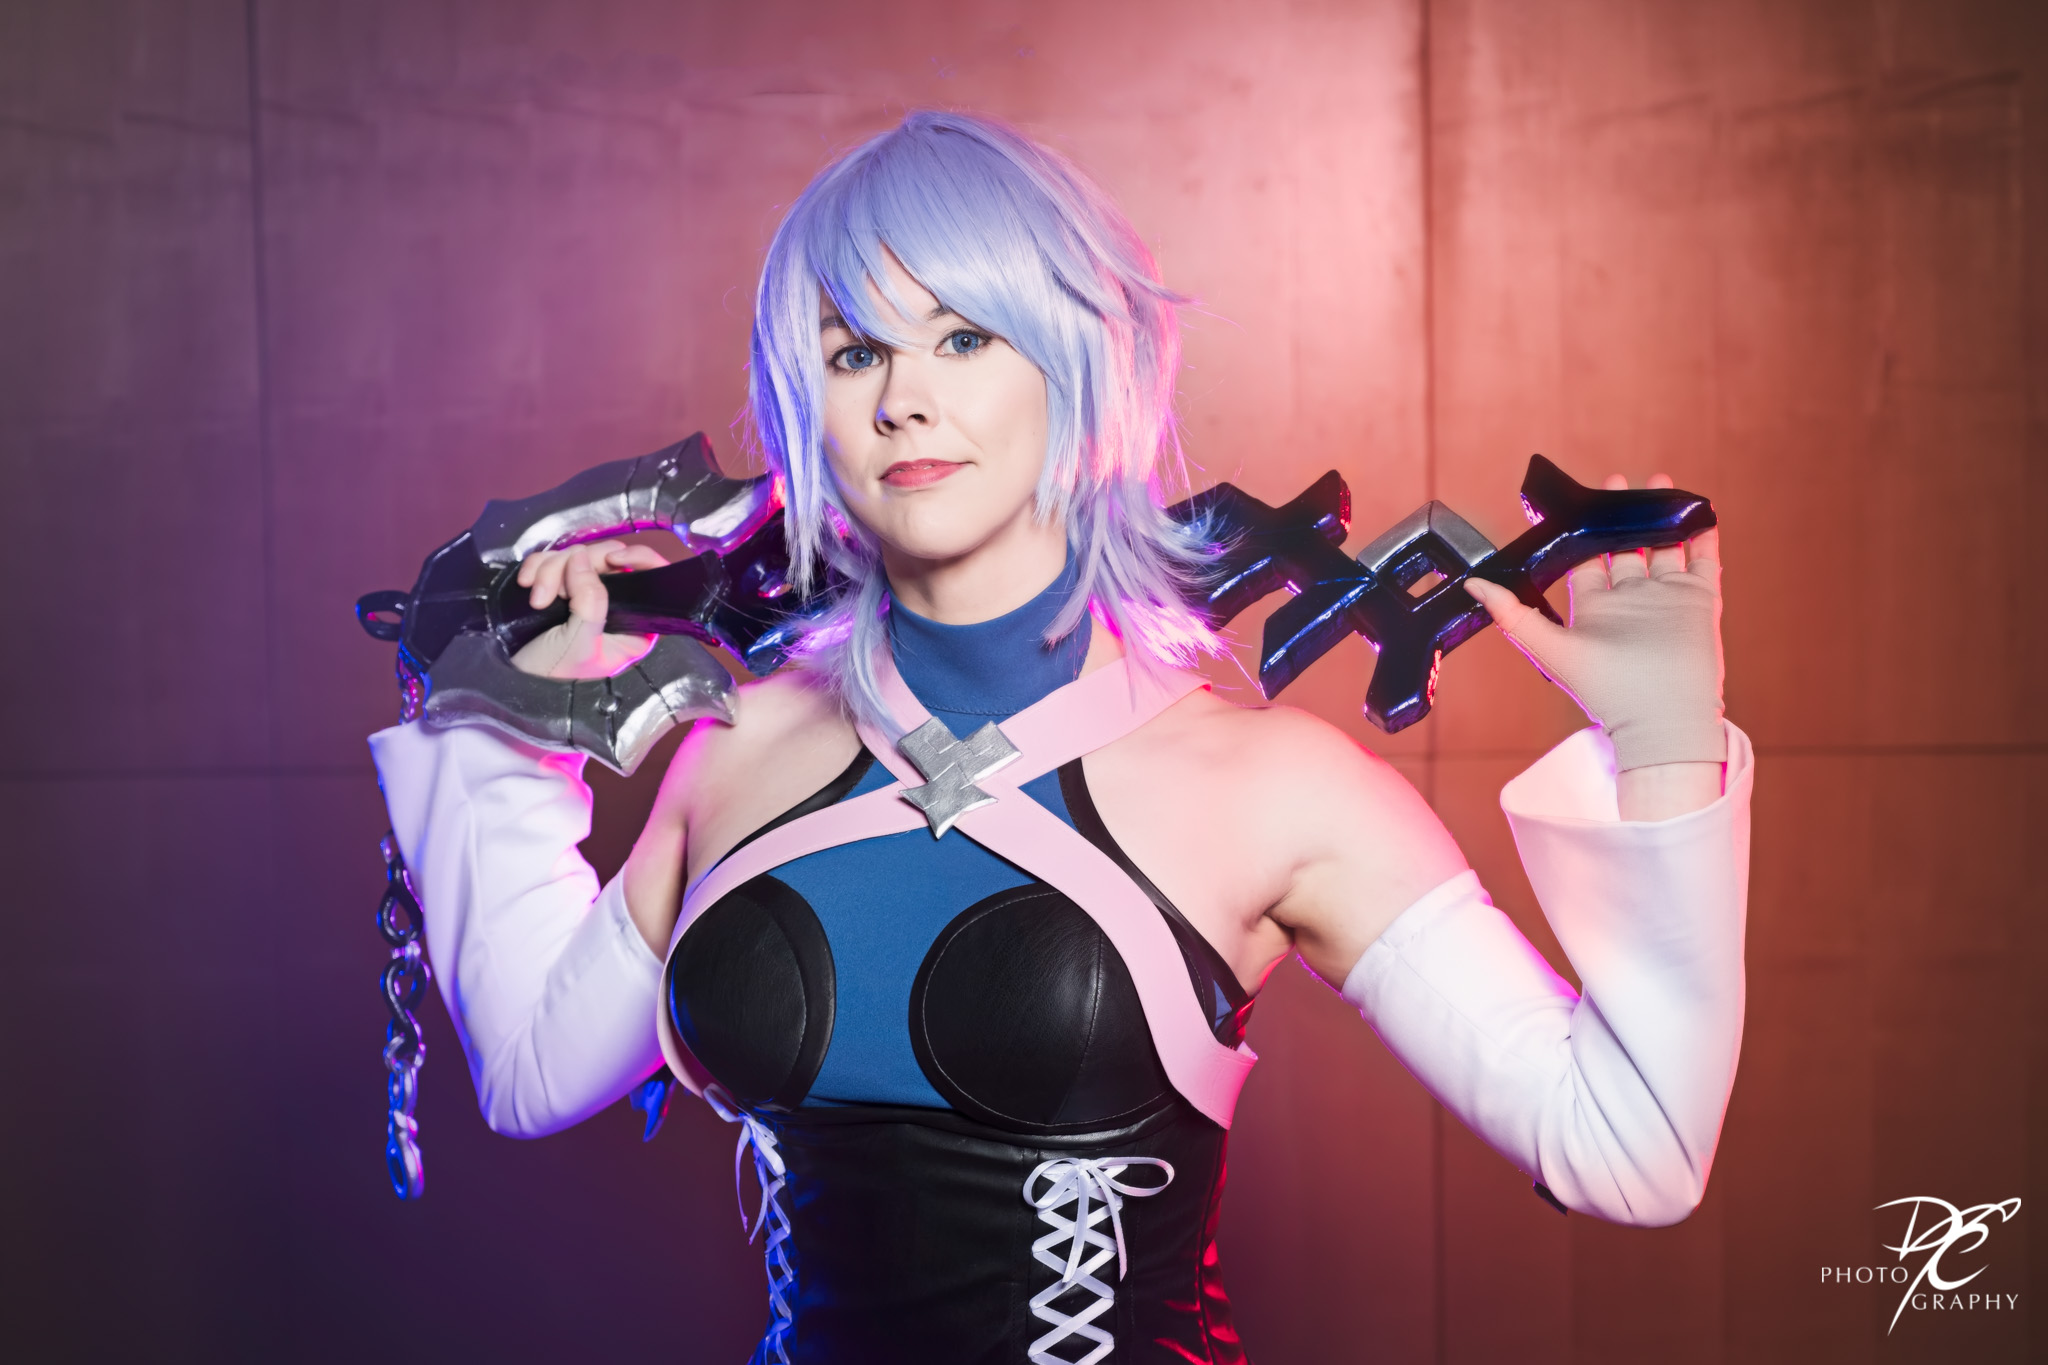
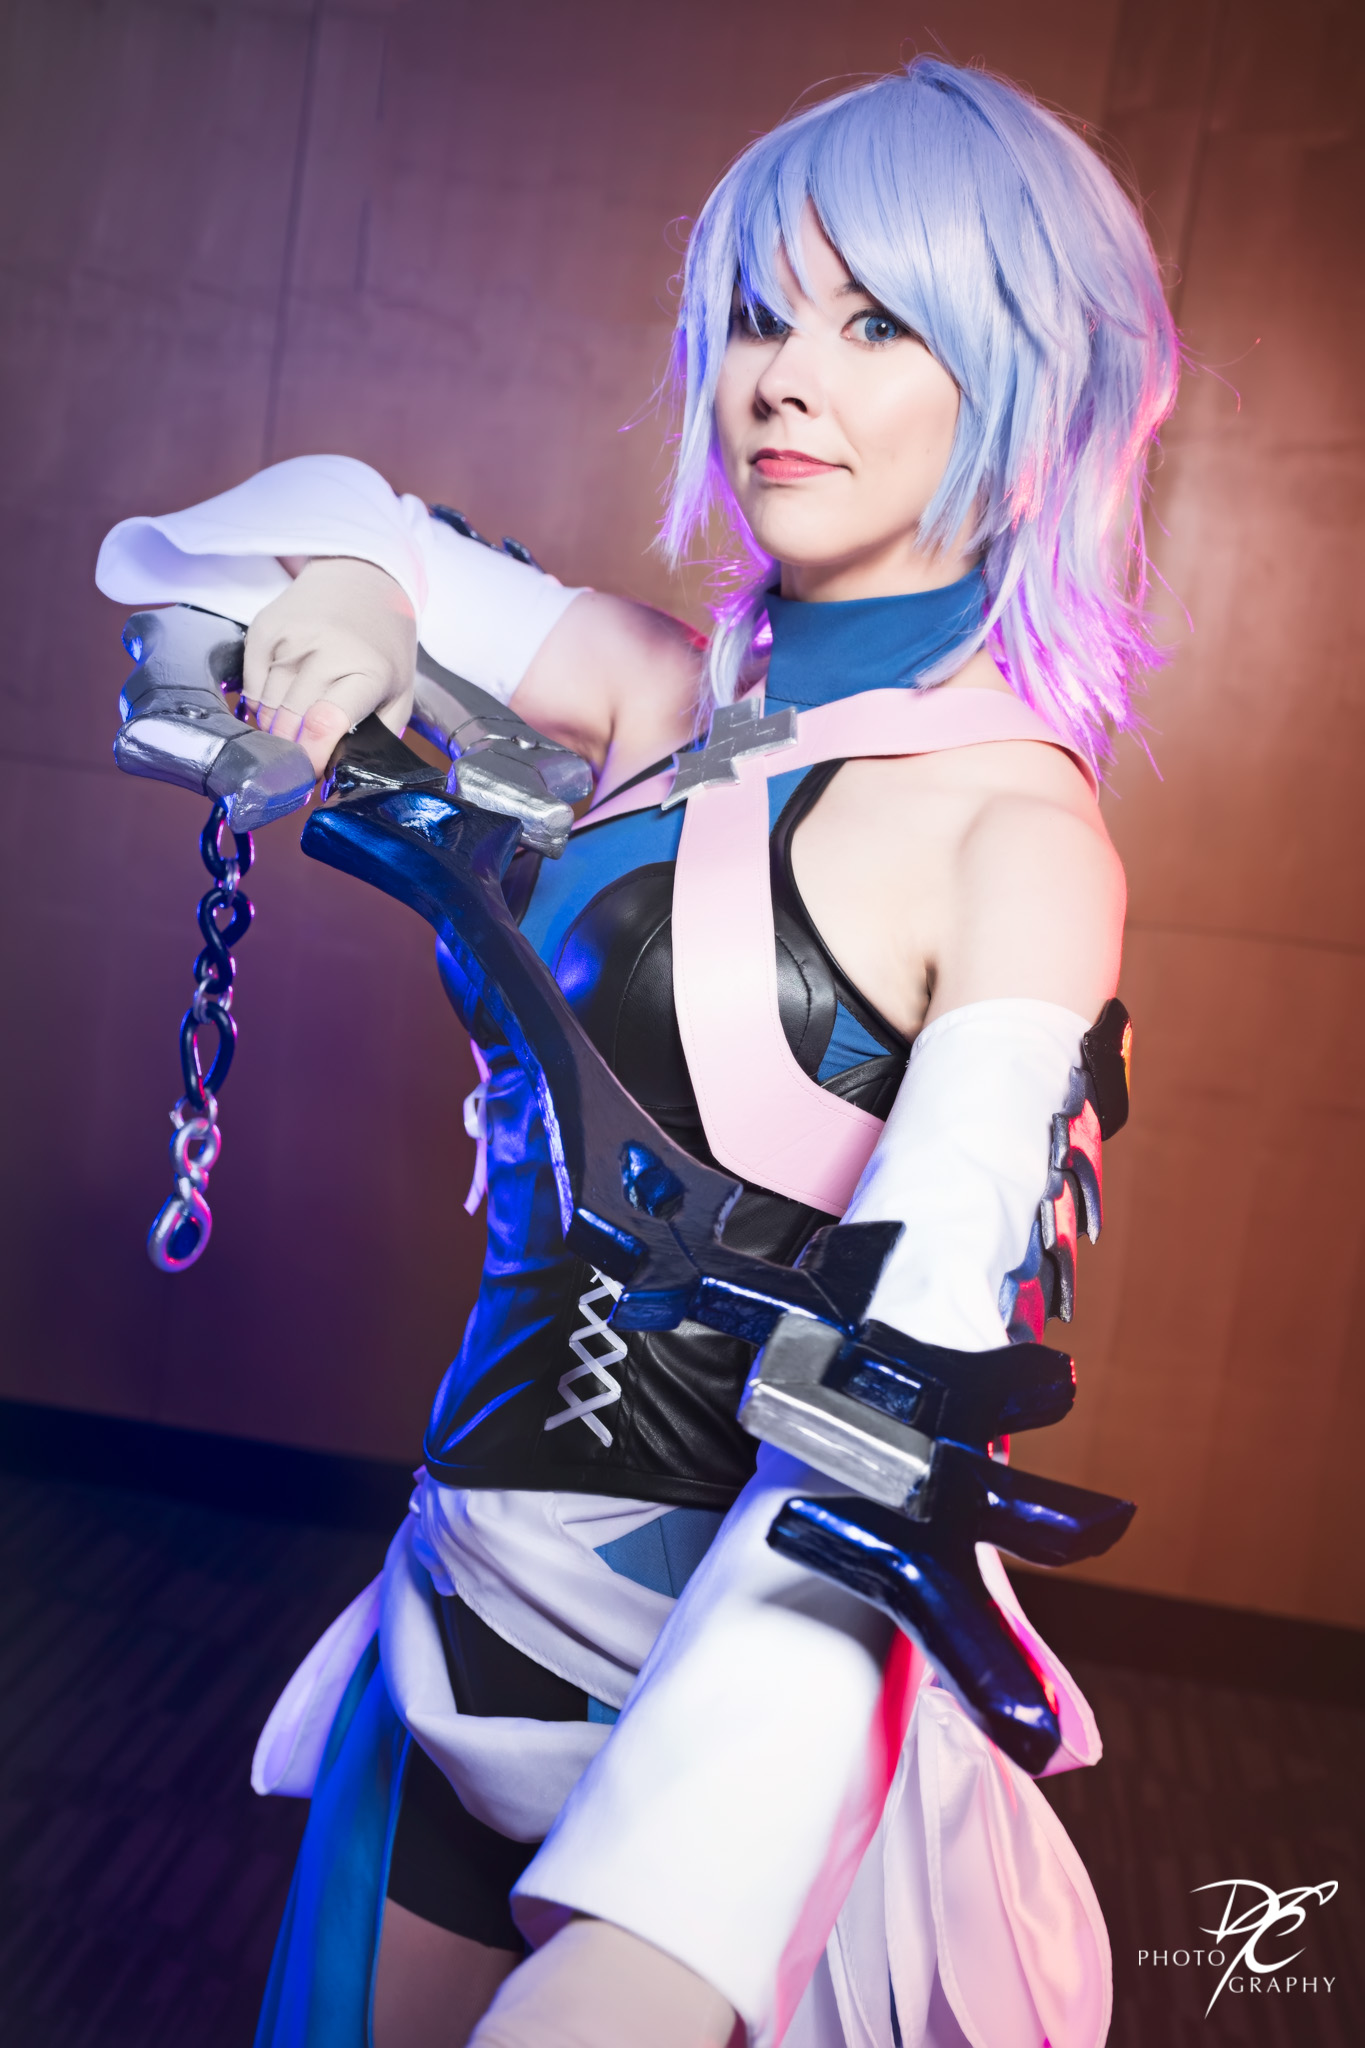
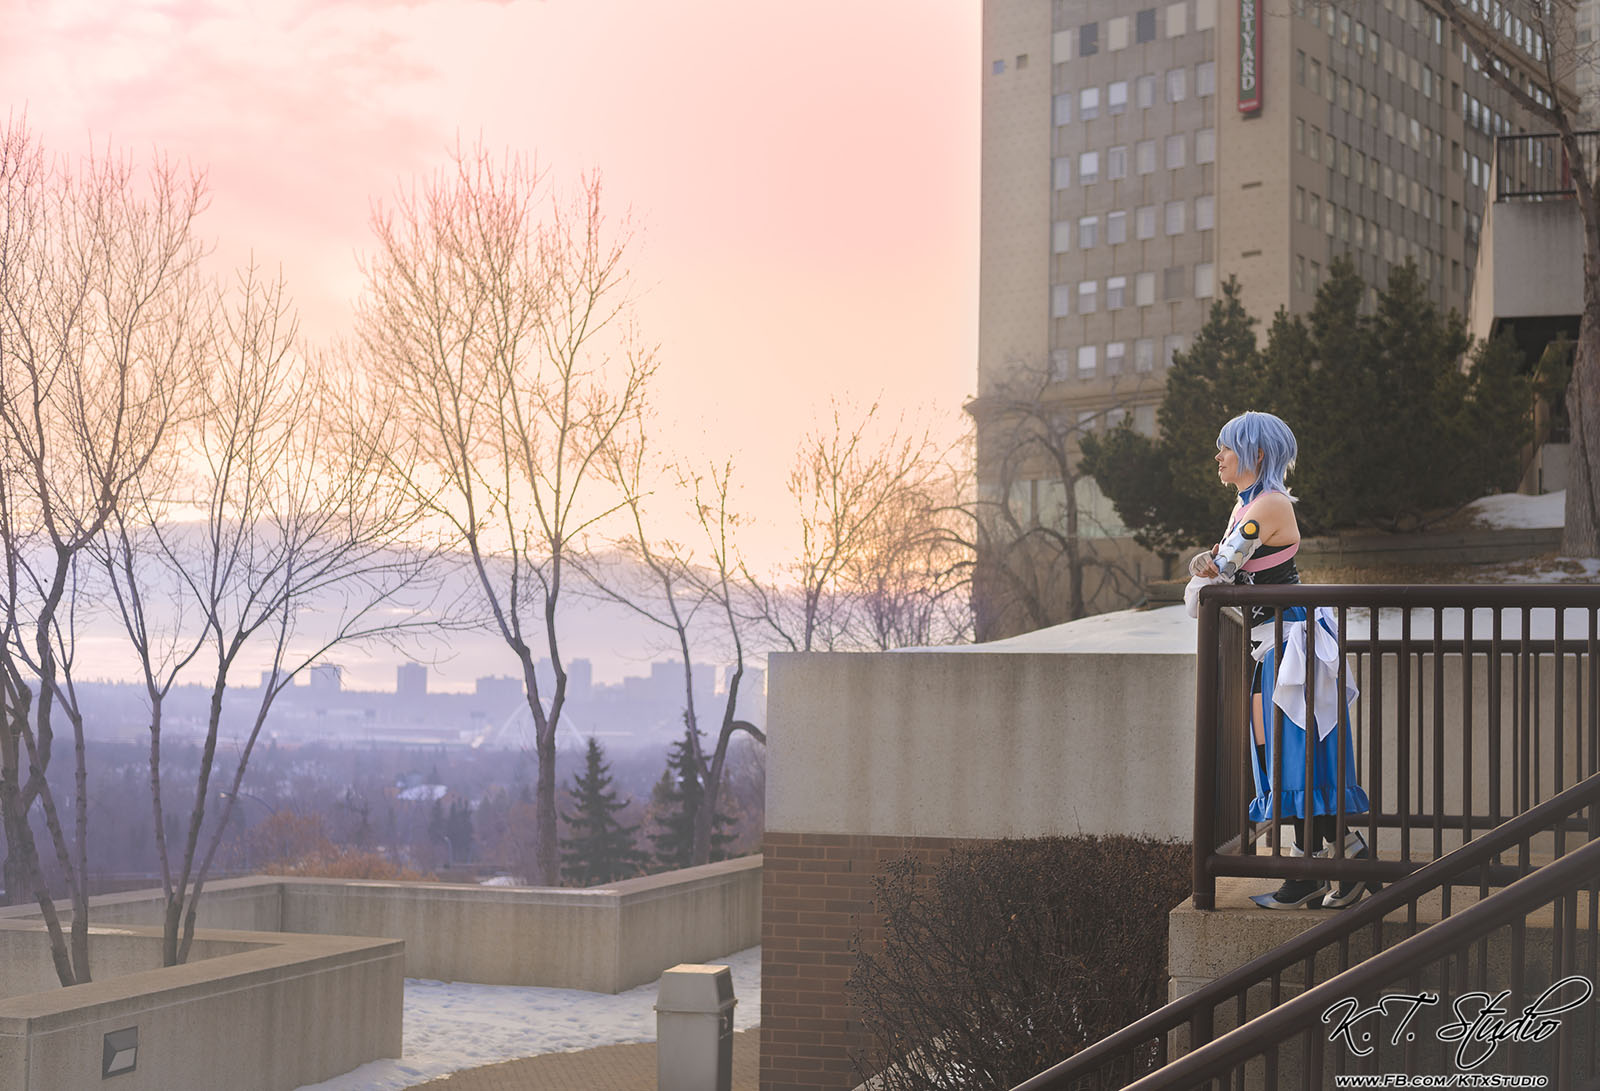
Here's a small gallery of photos taken by K.T. Studio and Destiny’s Curse Photography at Taste!
Thanks so much for reading!
— (。ゝω・。)ゞ