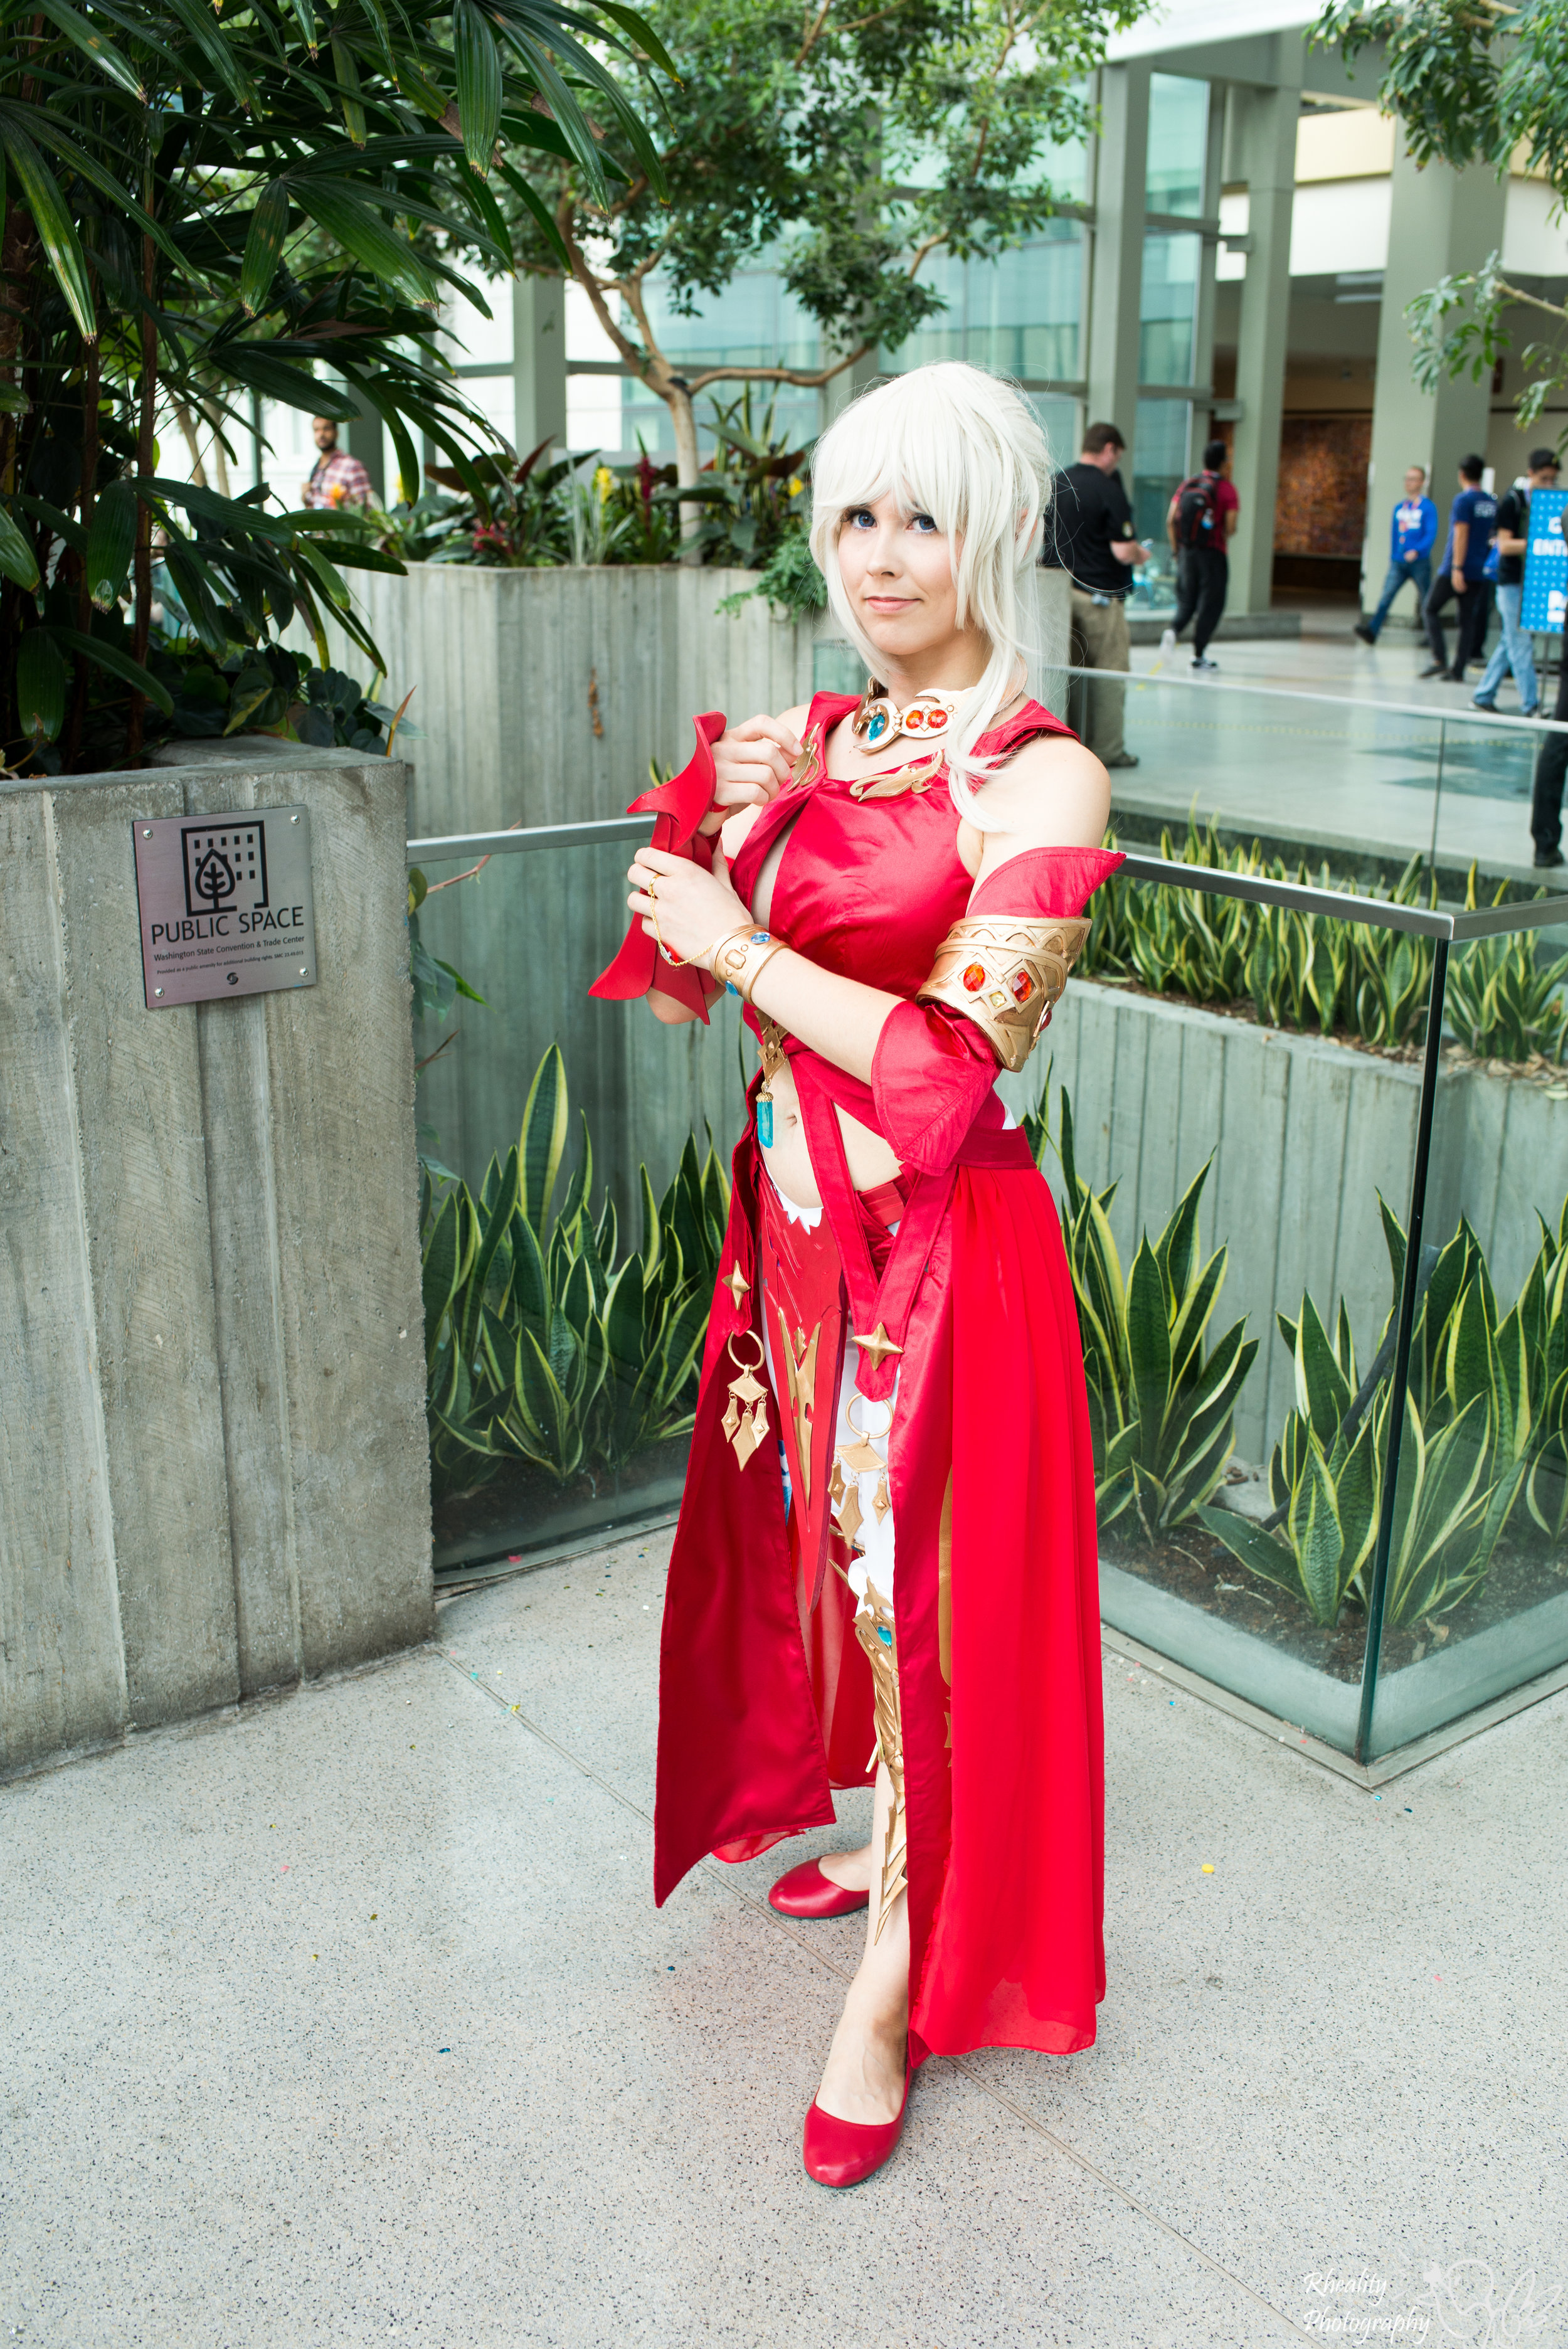
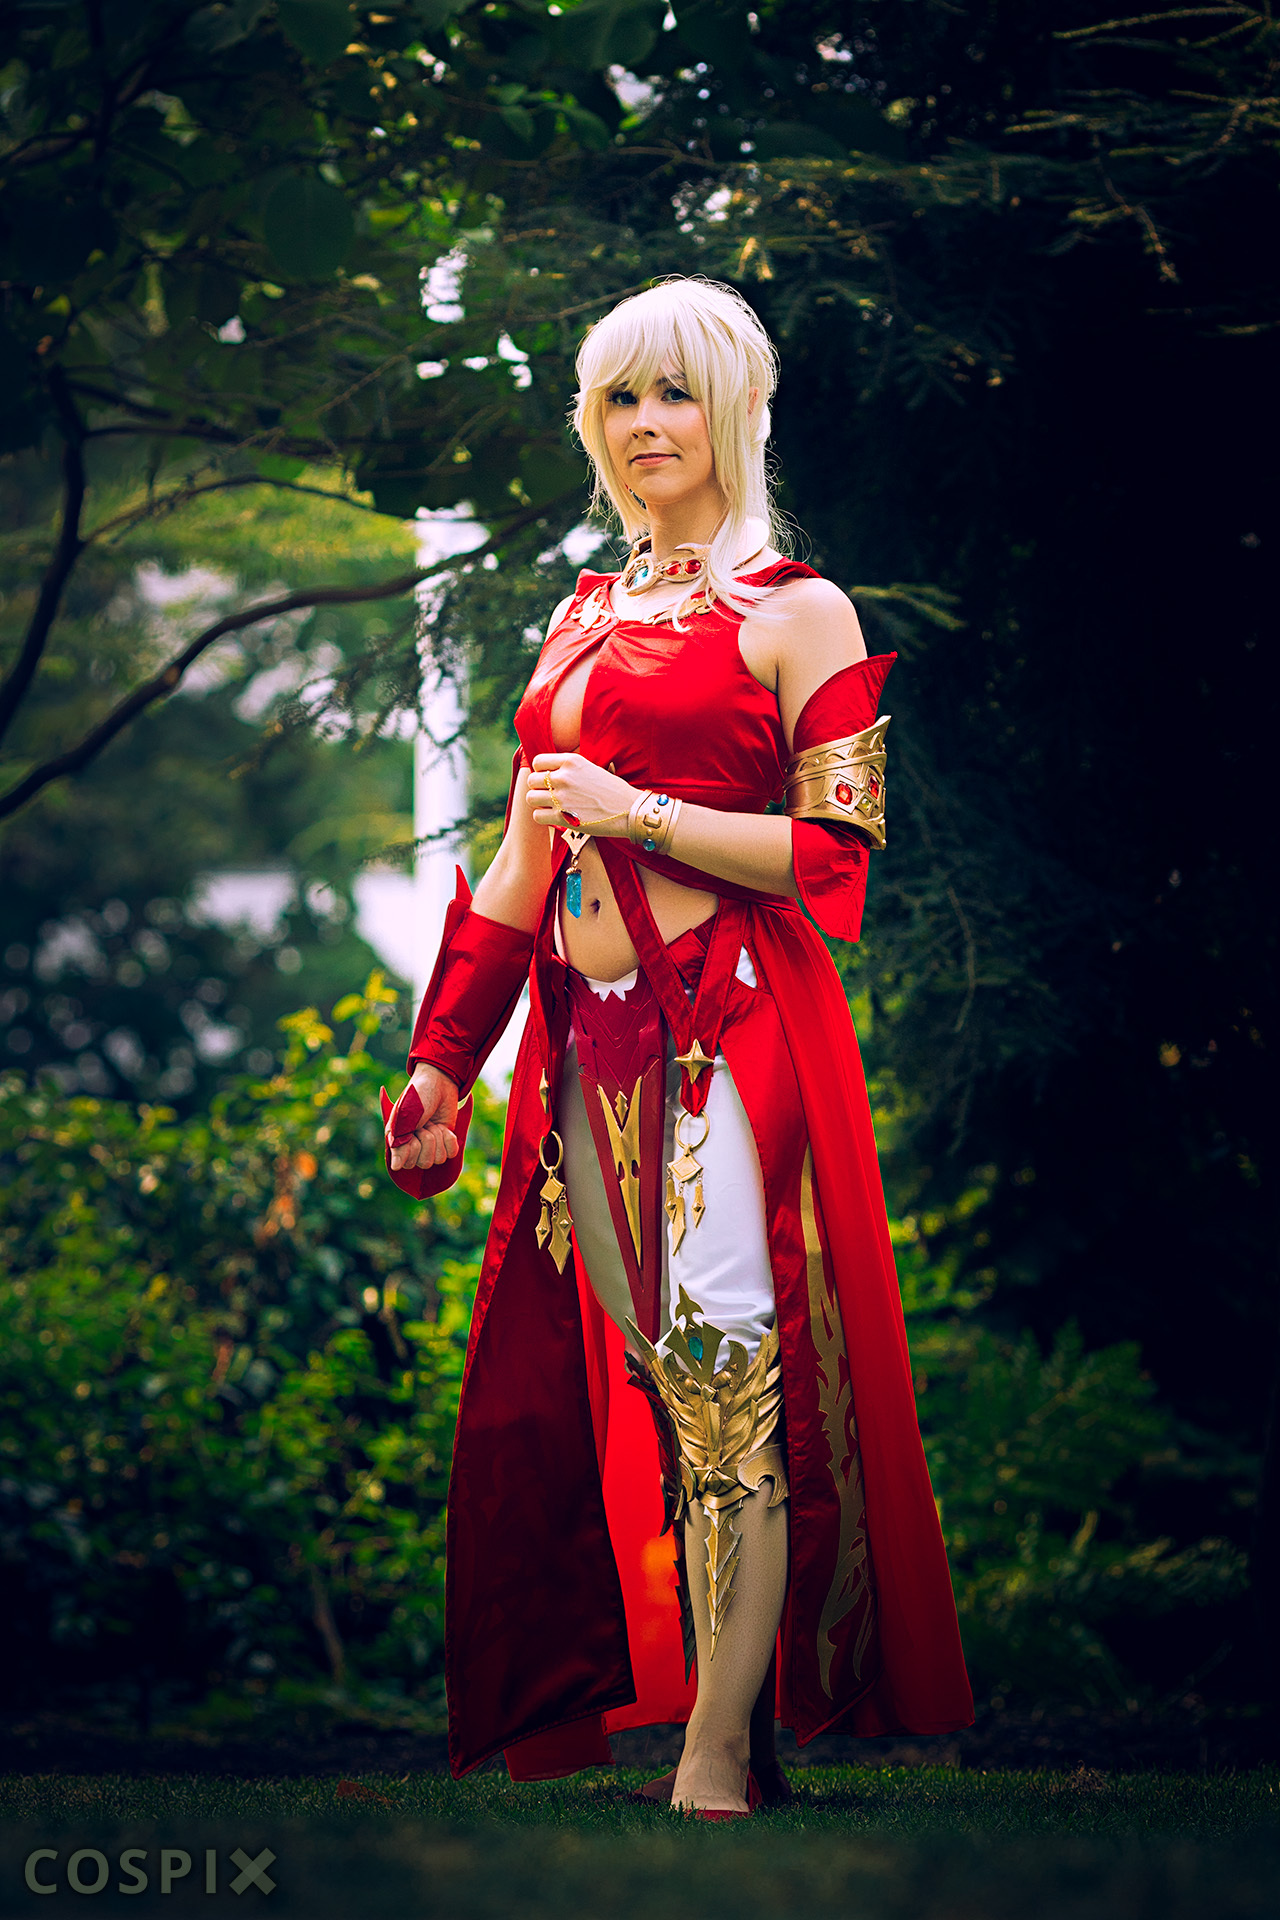
Cos-truction Notes: Lyse Hext from FINAL FANTASY XIV

Photo by Cospix
Originally published February 7, 2018.
August 2017 was a thing. With Animethon and PAX West so close to each other, you’d think I’d do the smart thing and make just one costume to wear at both, right?
Haha nope.
Final Fantasy XIV’s newest expansion had come out earlier in the year and the moment the first trailer played at Fan Fest 2016 I knew I had to make that red costume. PAX West presented the perfect opportunity to wear it as Square Enix always has a booth and they’d be promoting Stormblood hard. Also the character is a monk that wears sensible shoes and has no props ergo she is the perfect PAX cosplay. Winning!

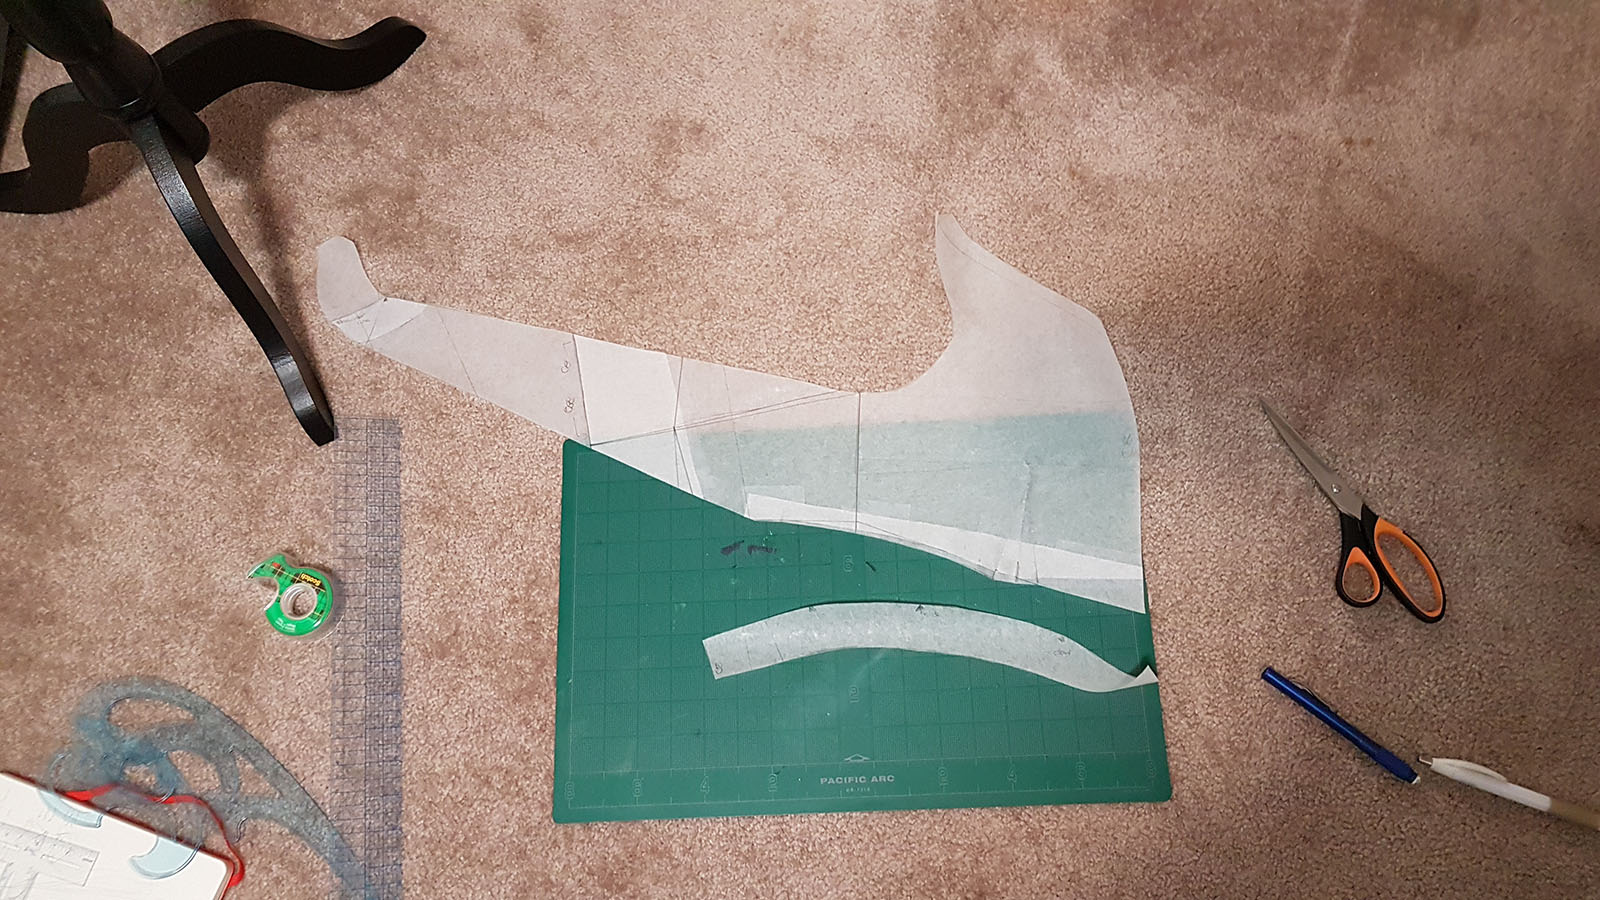
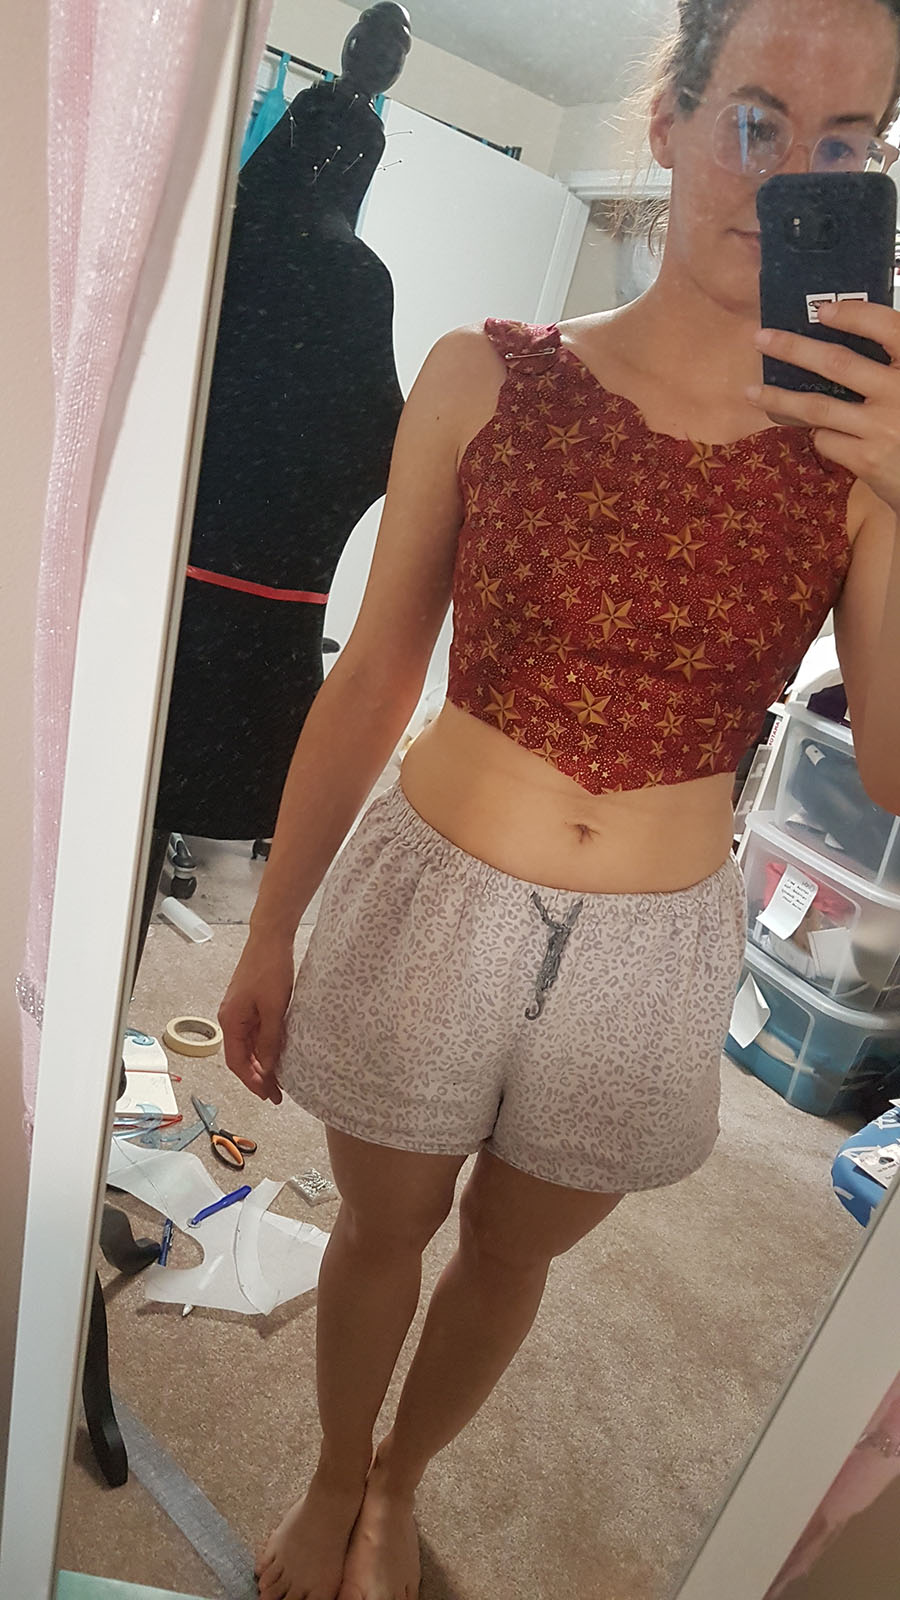
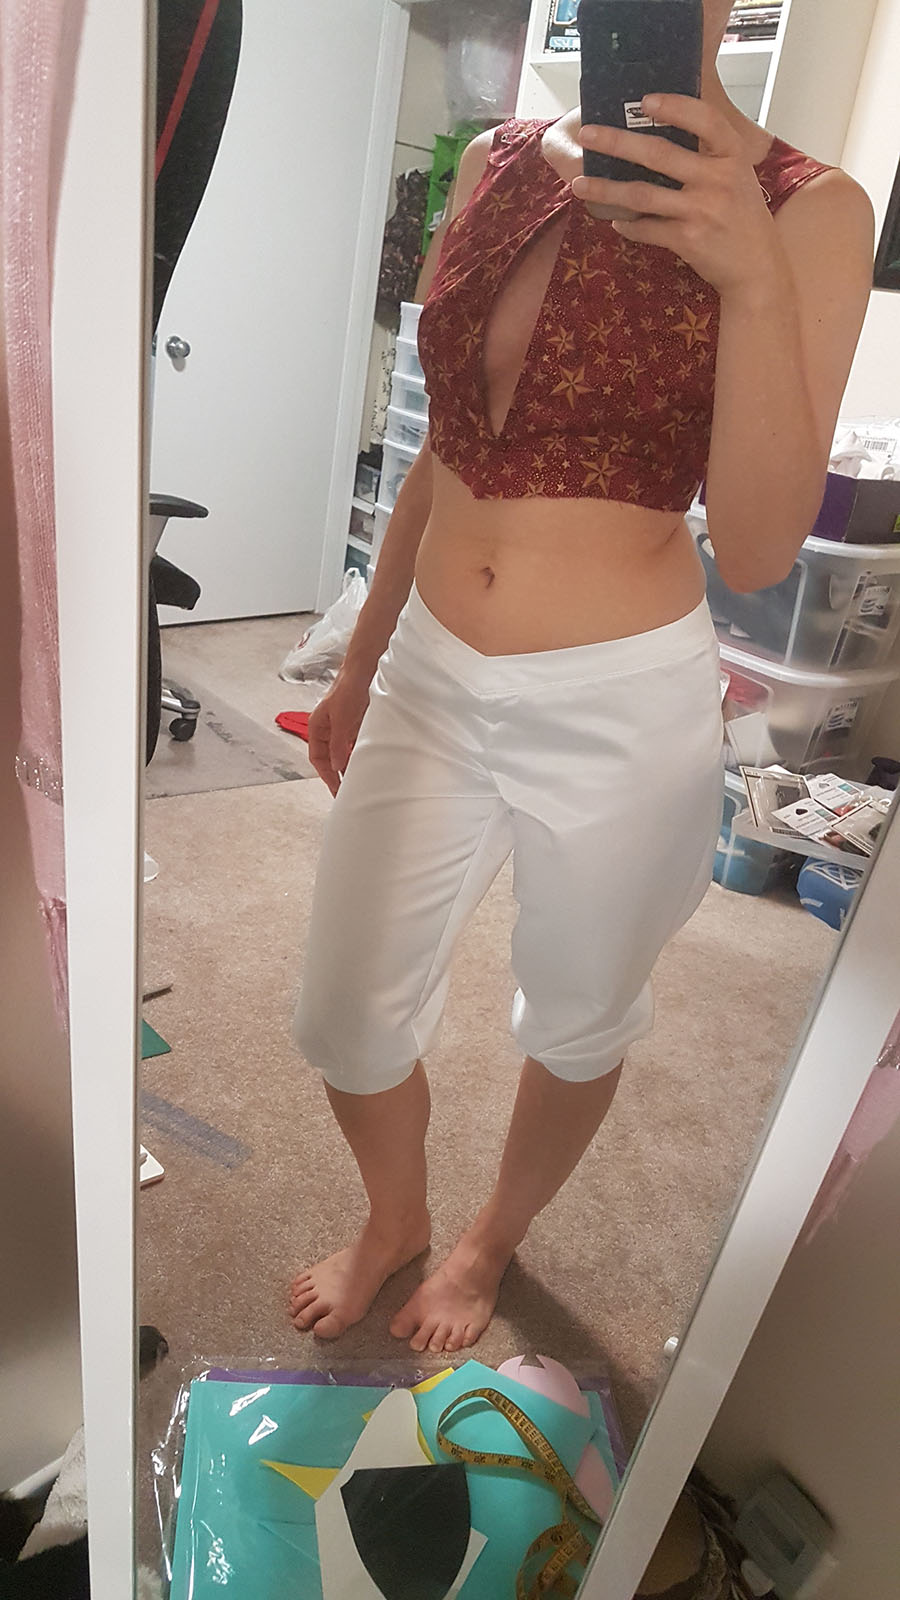
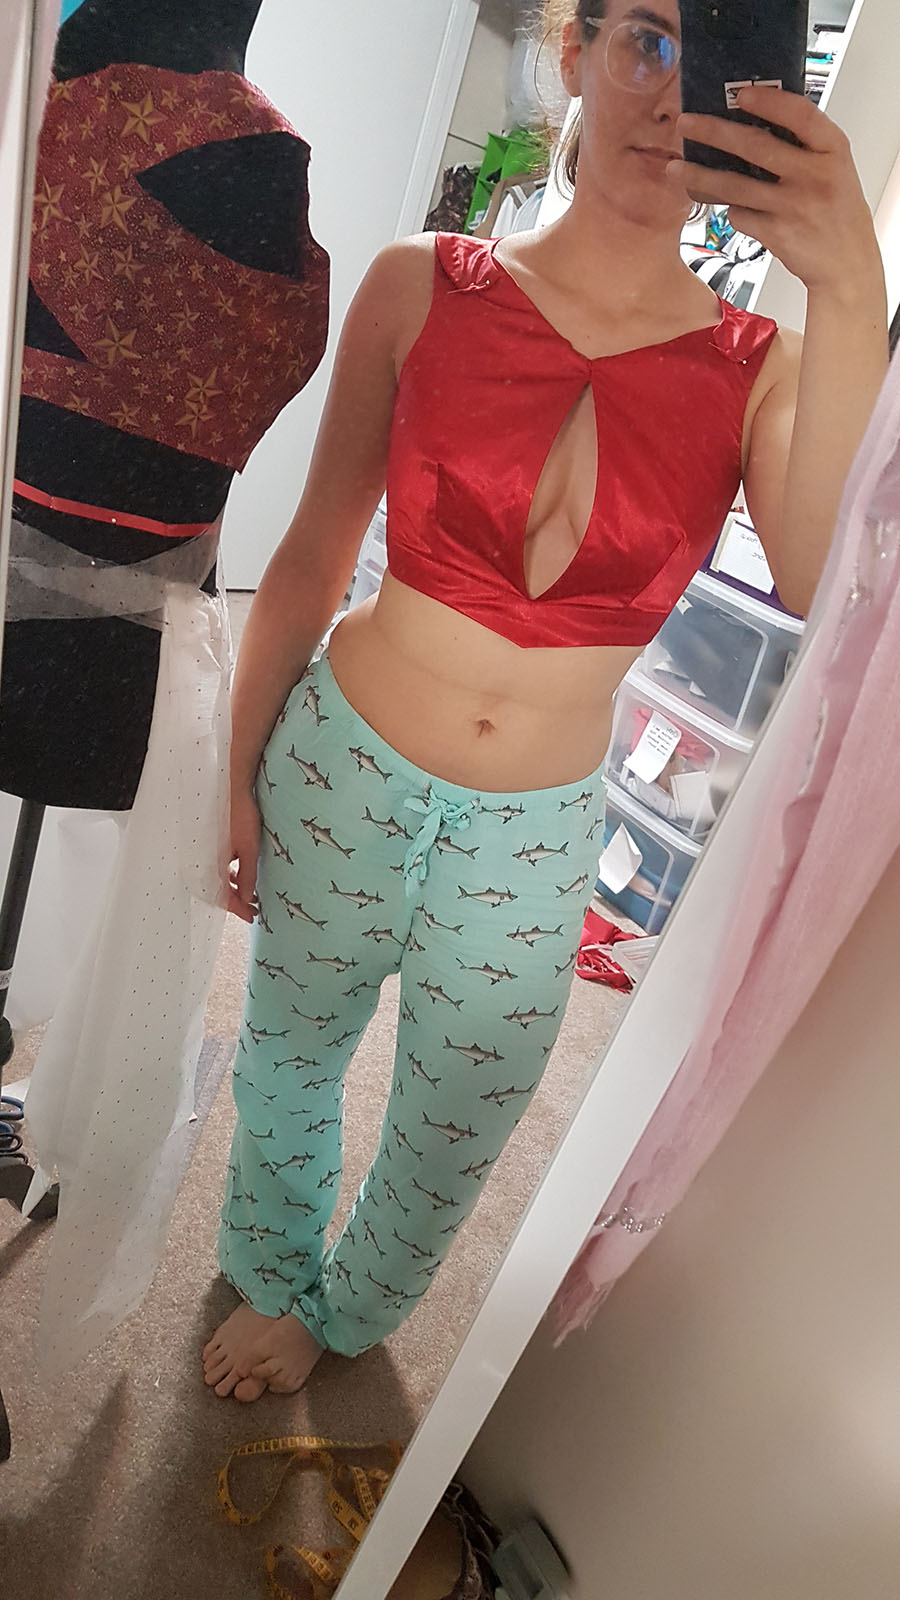
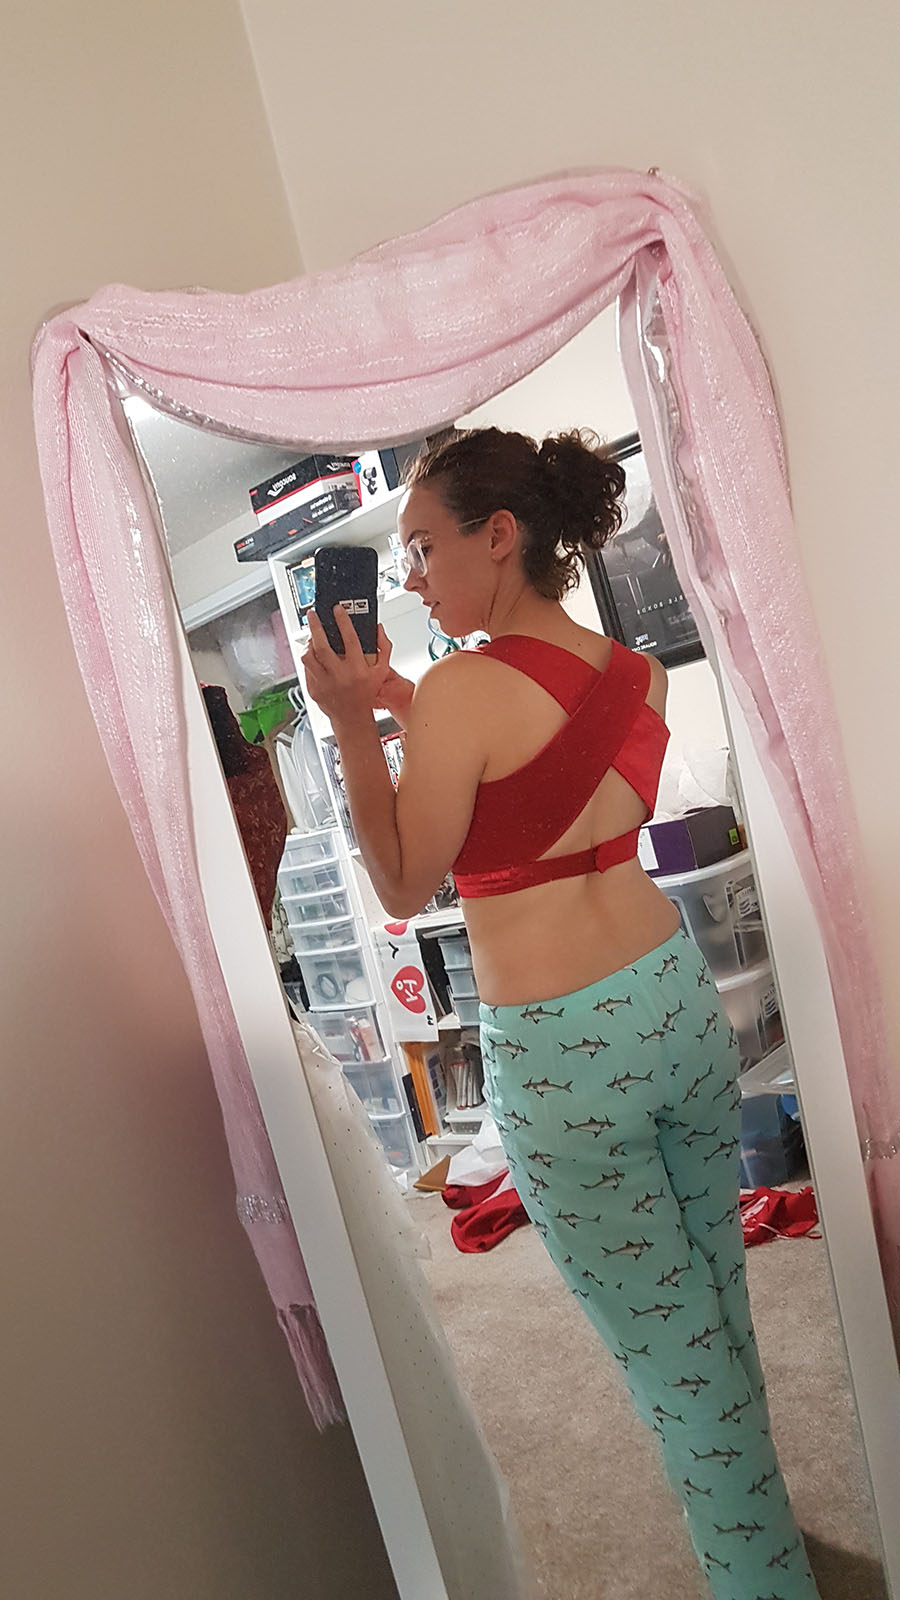
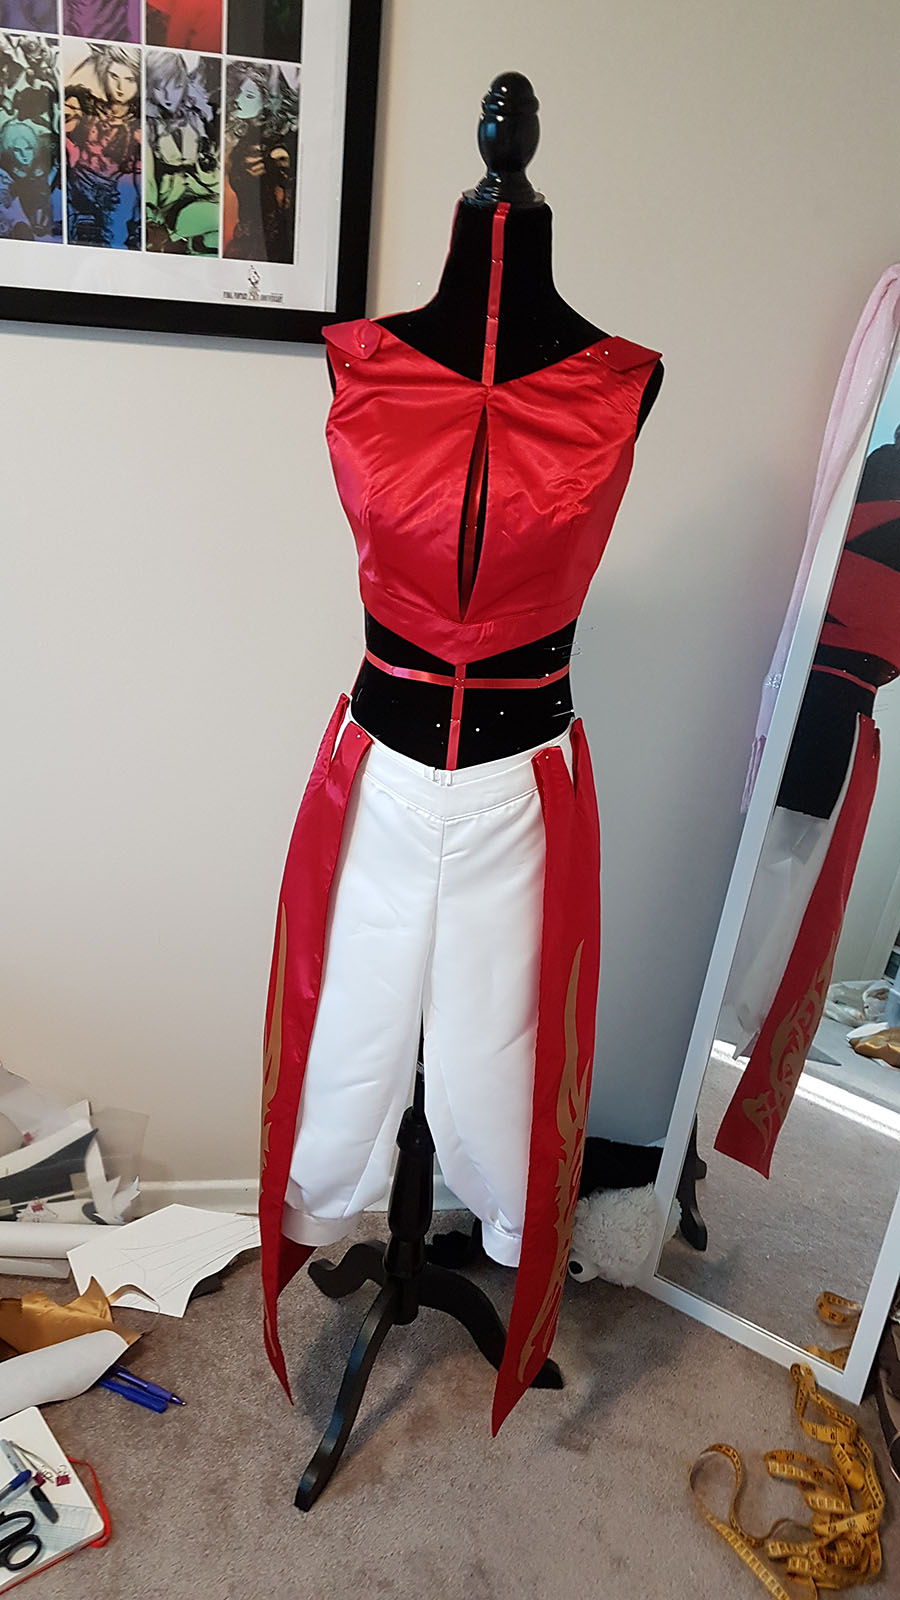
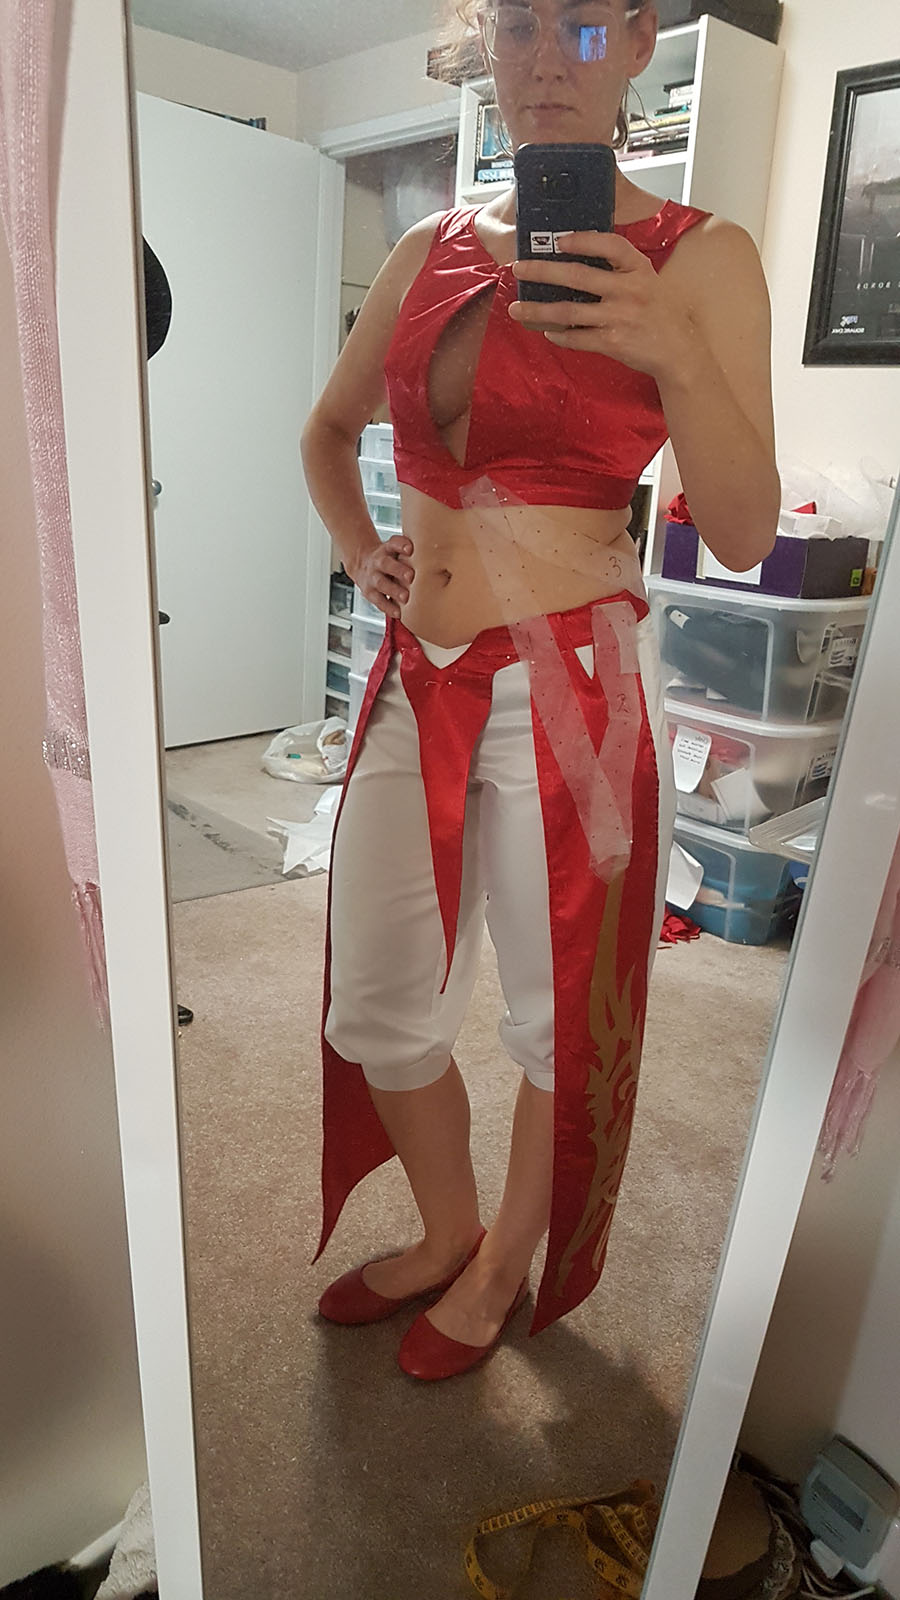
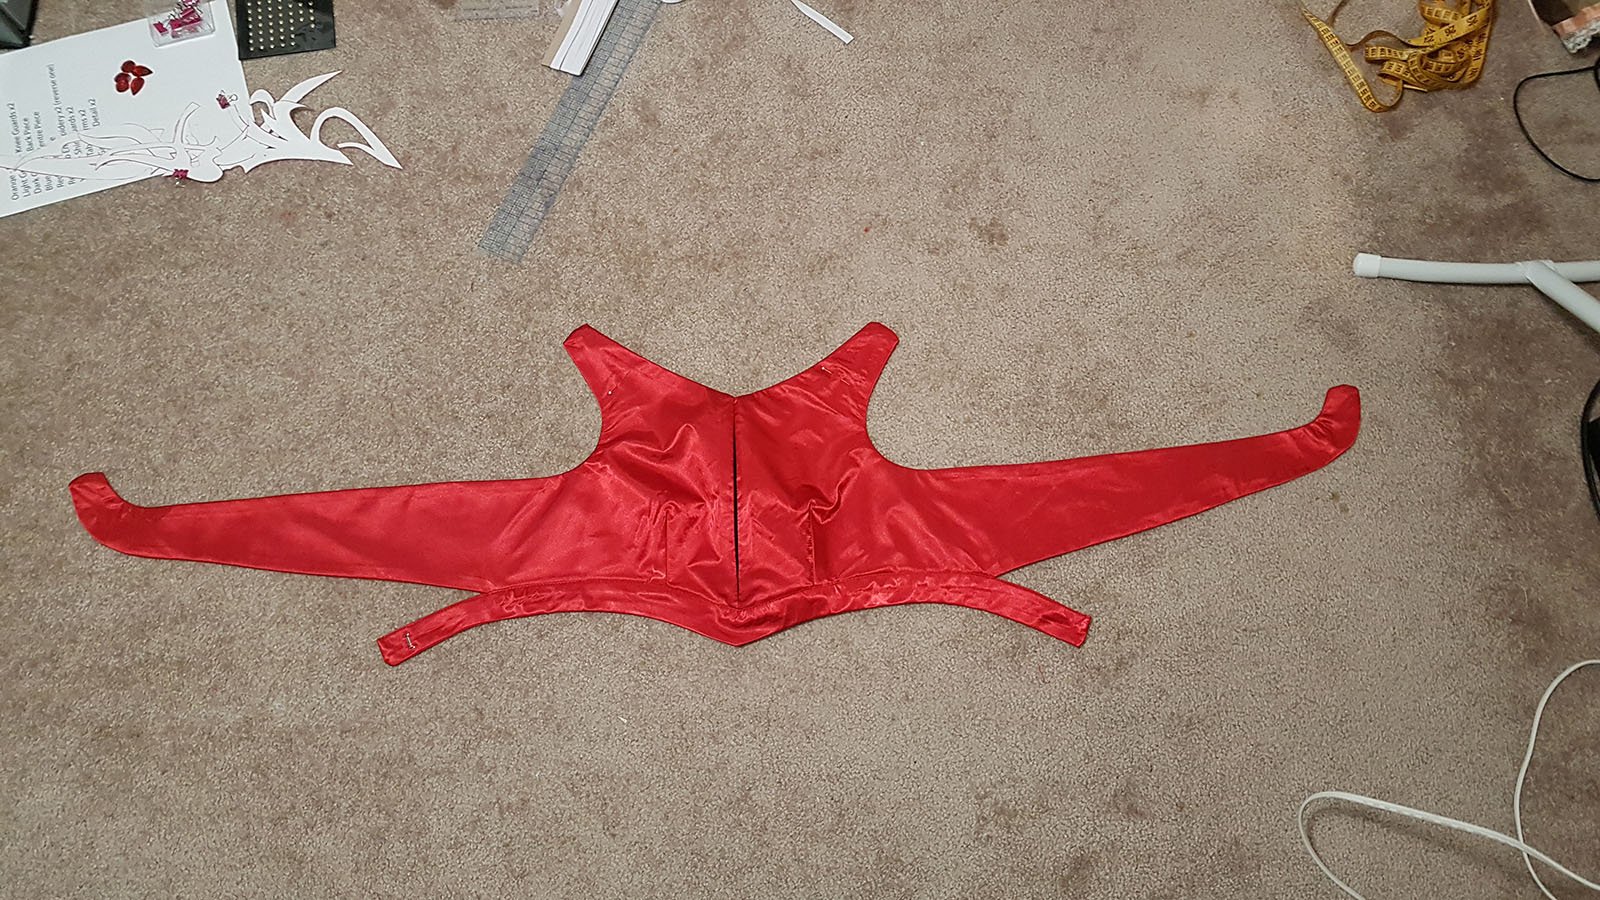
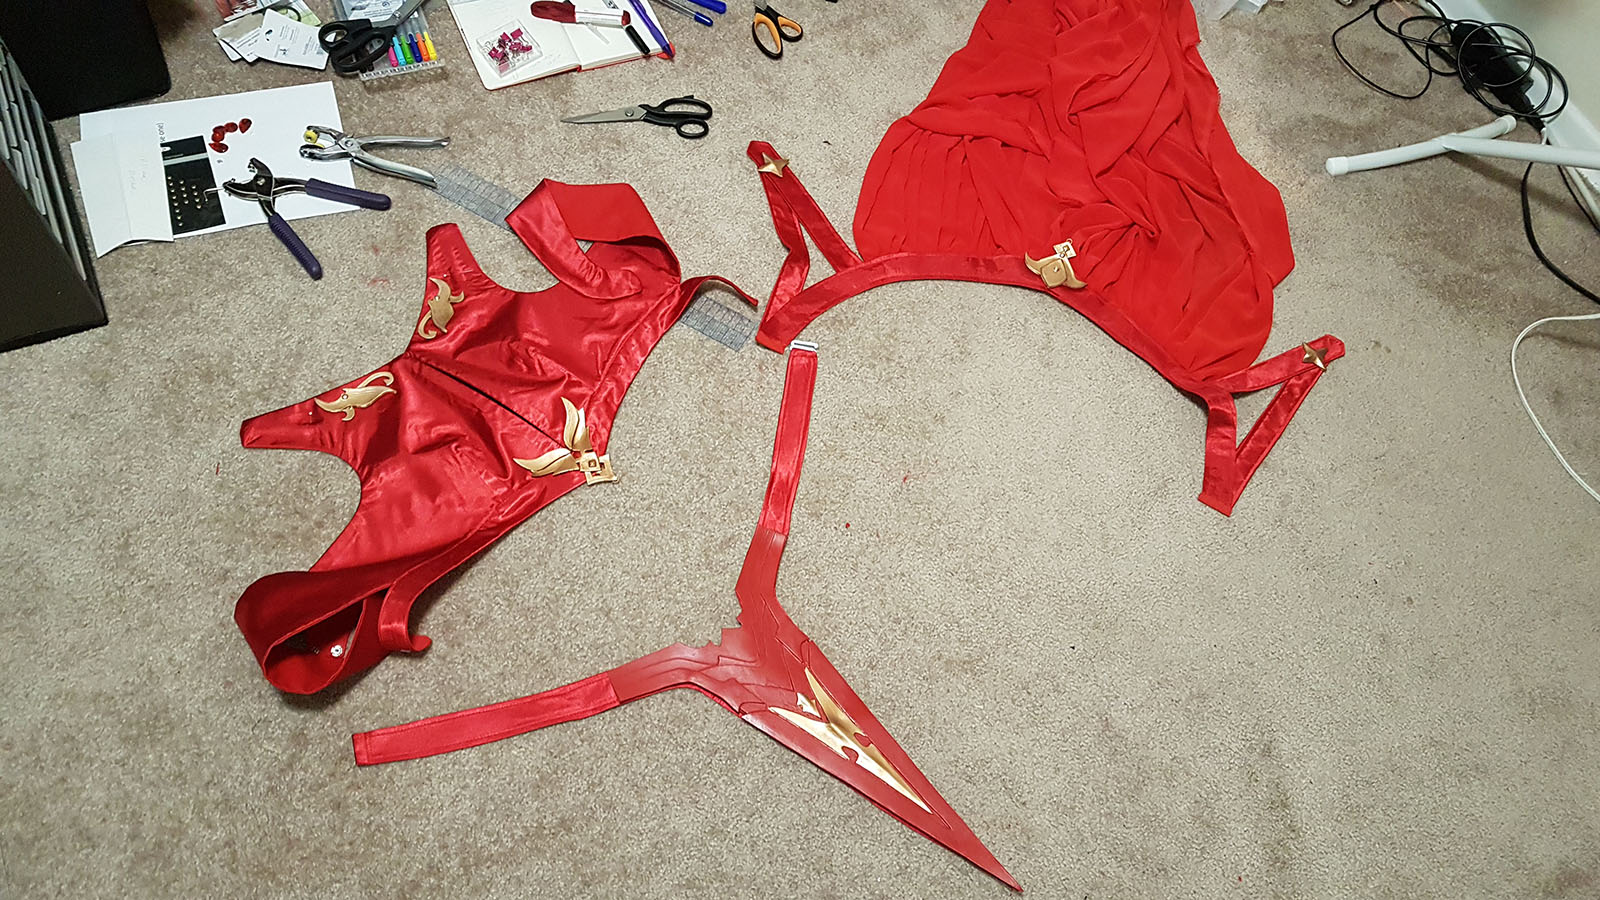
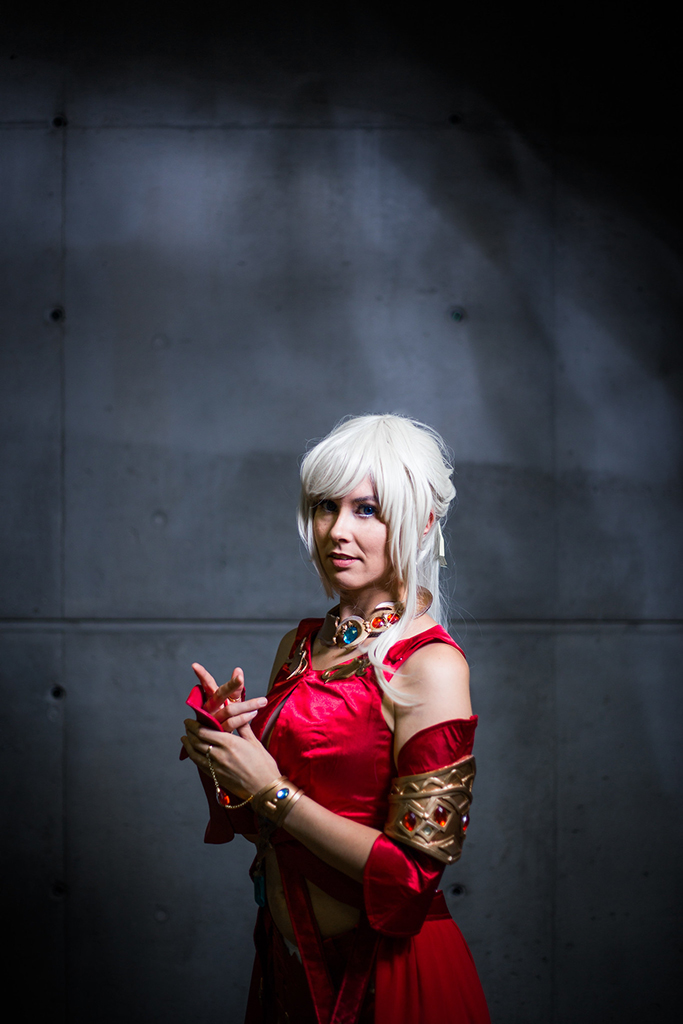
To my surprise, working on Dizzy did not leave me as burned out as I thought it would and I was able to jump right into planning and patterning for Lyse a couple days after Animethon. I started with the top, as it would be the most complex garment due to its, uh, everything. Using my bodice block as a base, I drafted it into a two-piece pattern that would result in three pieces total with no side seams. Some boning inserted into the seams along the front opening and dart gave it the structure needed to prevent a wardrobe malfunction (though I still wore pasties just in case) and wrap shoulders gave it a wonderfully snug fit that was both comfortable and supportive.
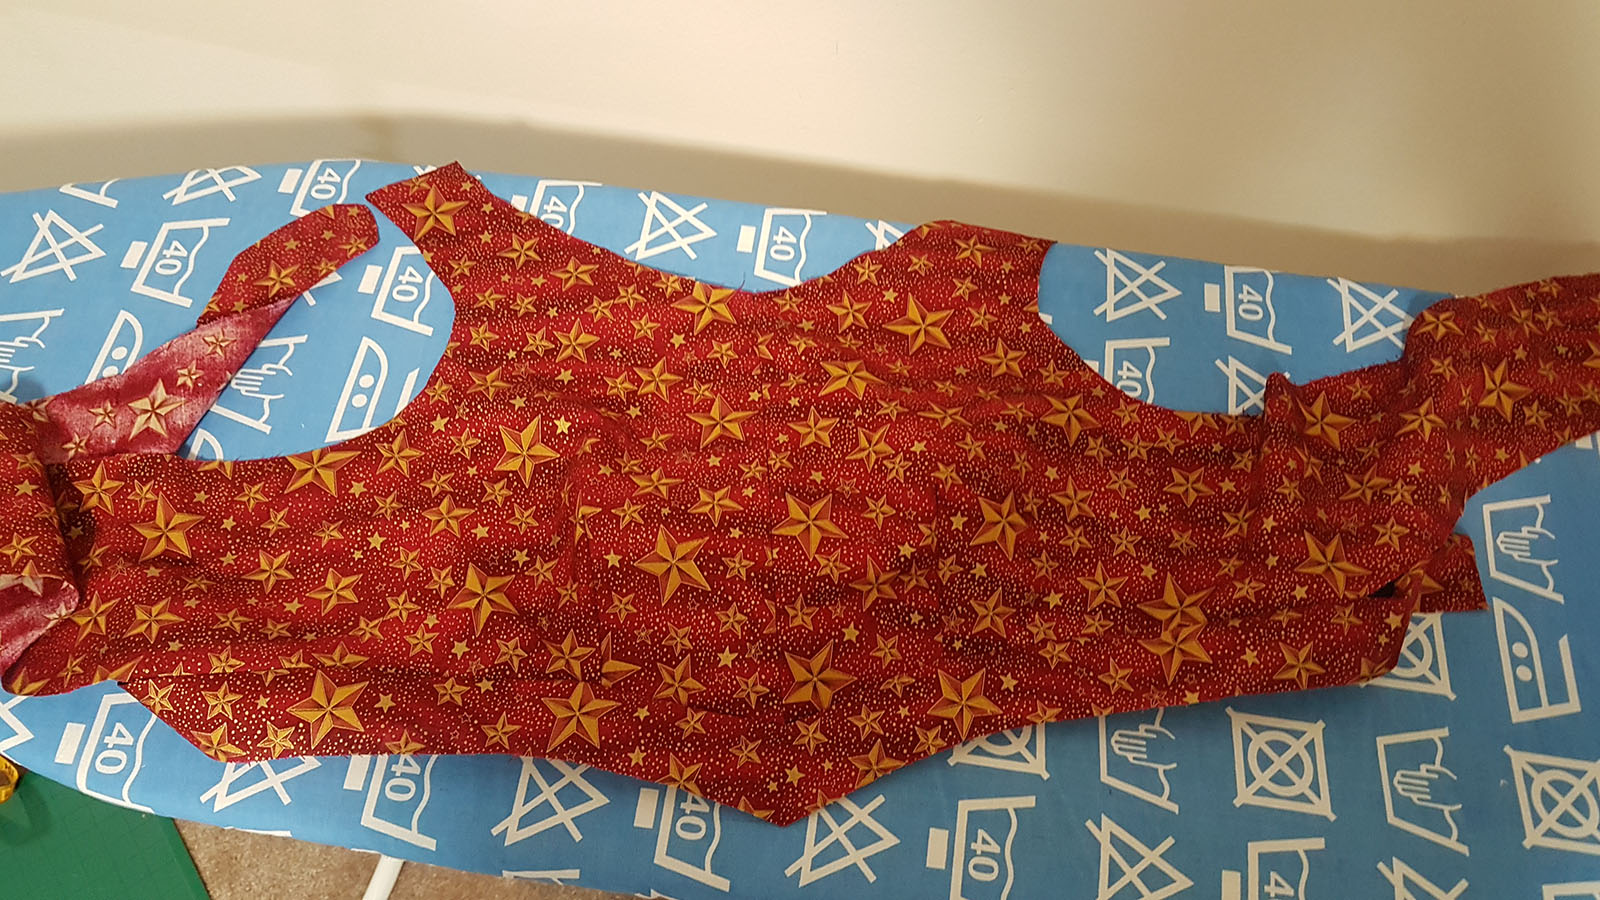
Once I had that pattern figured out I could go fabric shopping. Since I already had white fabric for the pants leftover from Saber and Dizzy, all I needed was a butt load of red. I used a thin poly bridal satin for the top, belts, and tabs, while the skirt was poly chiffon.
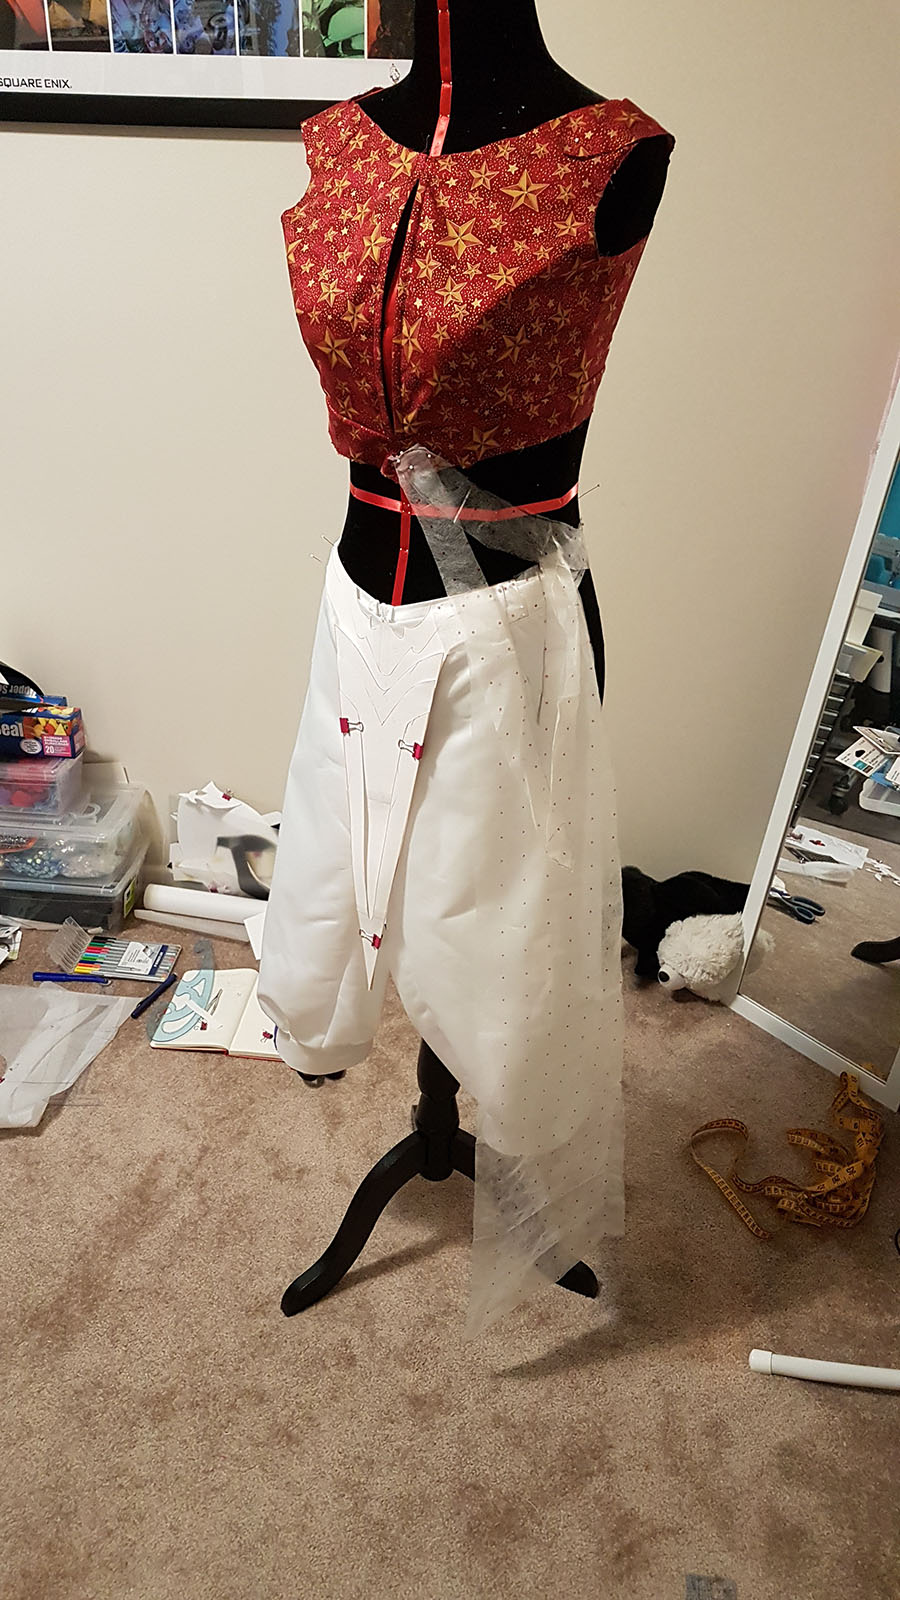
The pants were drafted from a pair I already owned and sewn in about four hours, then pinned to my dress form so I could figure out the draping of the belts and skirt. With the gold on the tabs, I had originally wanted to edge stitch the applique down but the fabric I used frayed easily so it wasn’t worth the risk. Thankfully the glue on the Heat’n’bond held up nicely. The belts were a bit tricky due to how they attached to the top, skirt, AND tabs, but with some trial and error I figured it out. The majority of the sewing was done in about four nights of work total, spread out over the two and a half weeks I worked on the costume.
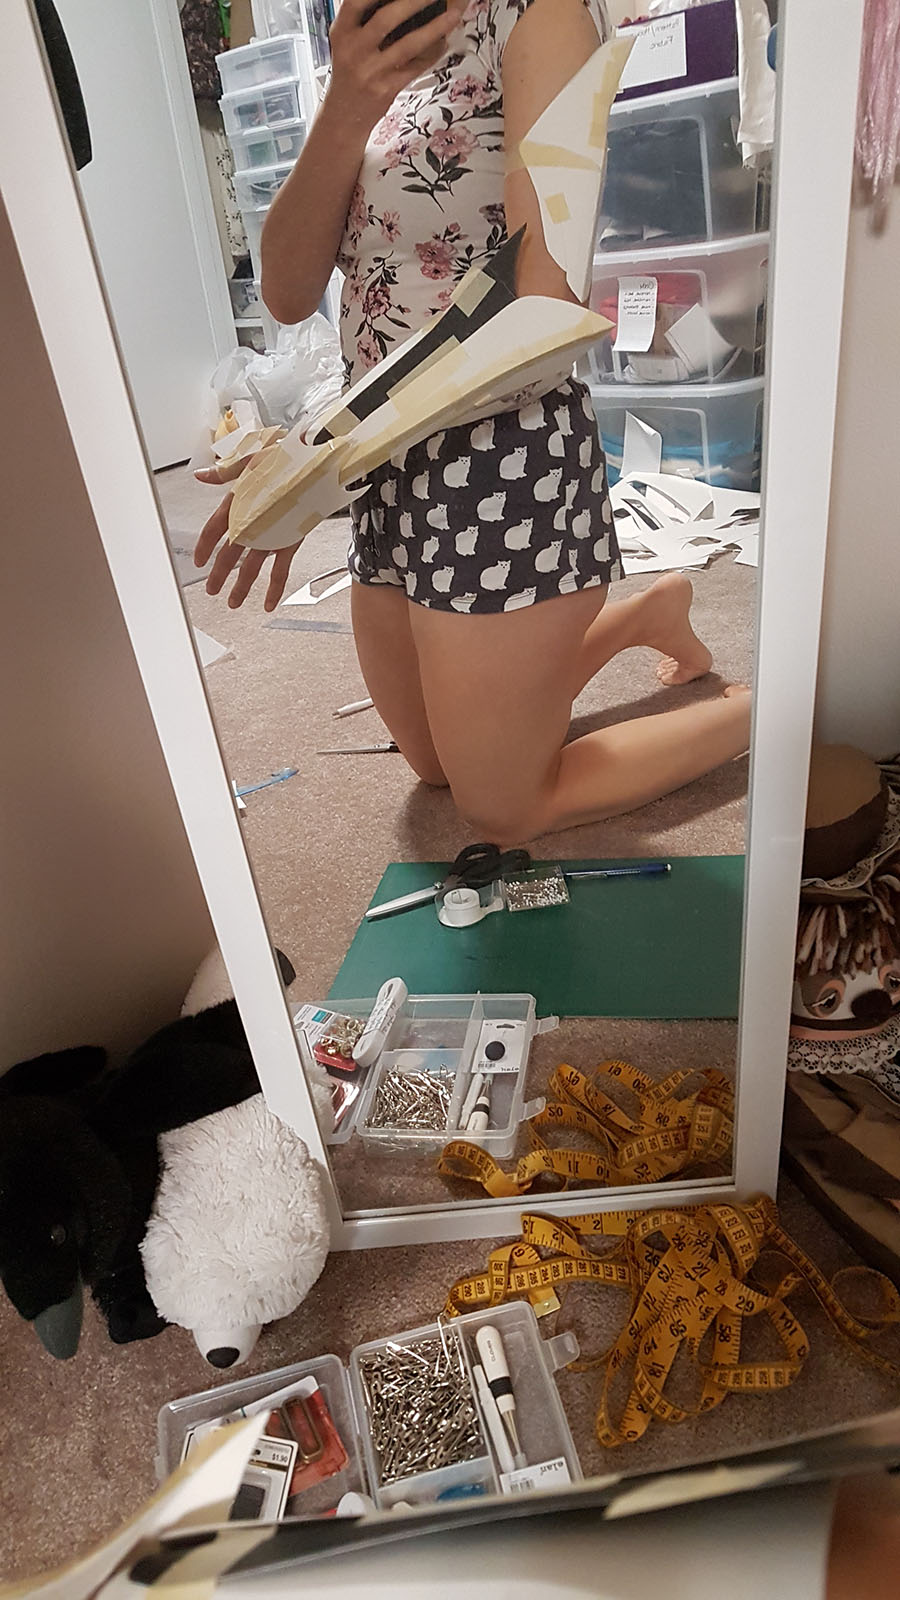
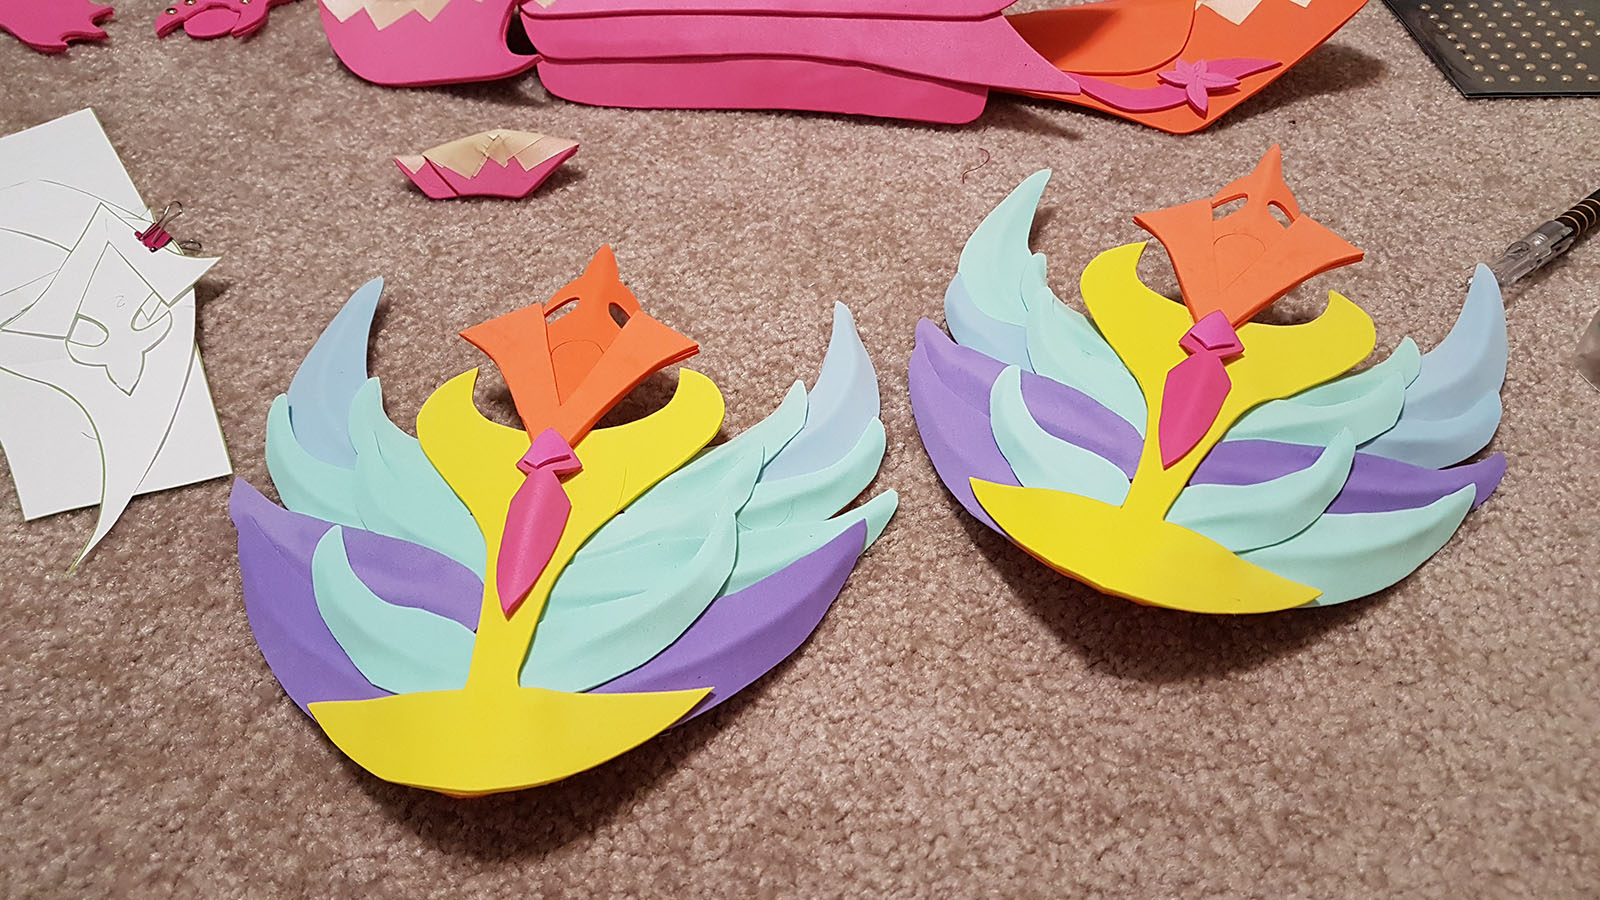
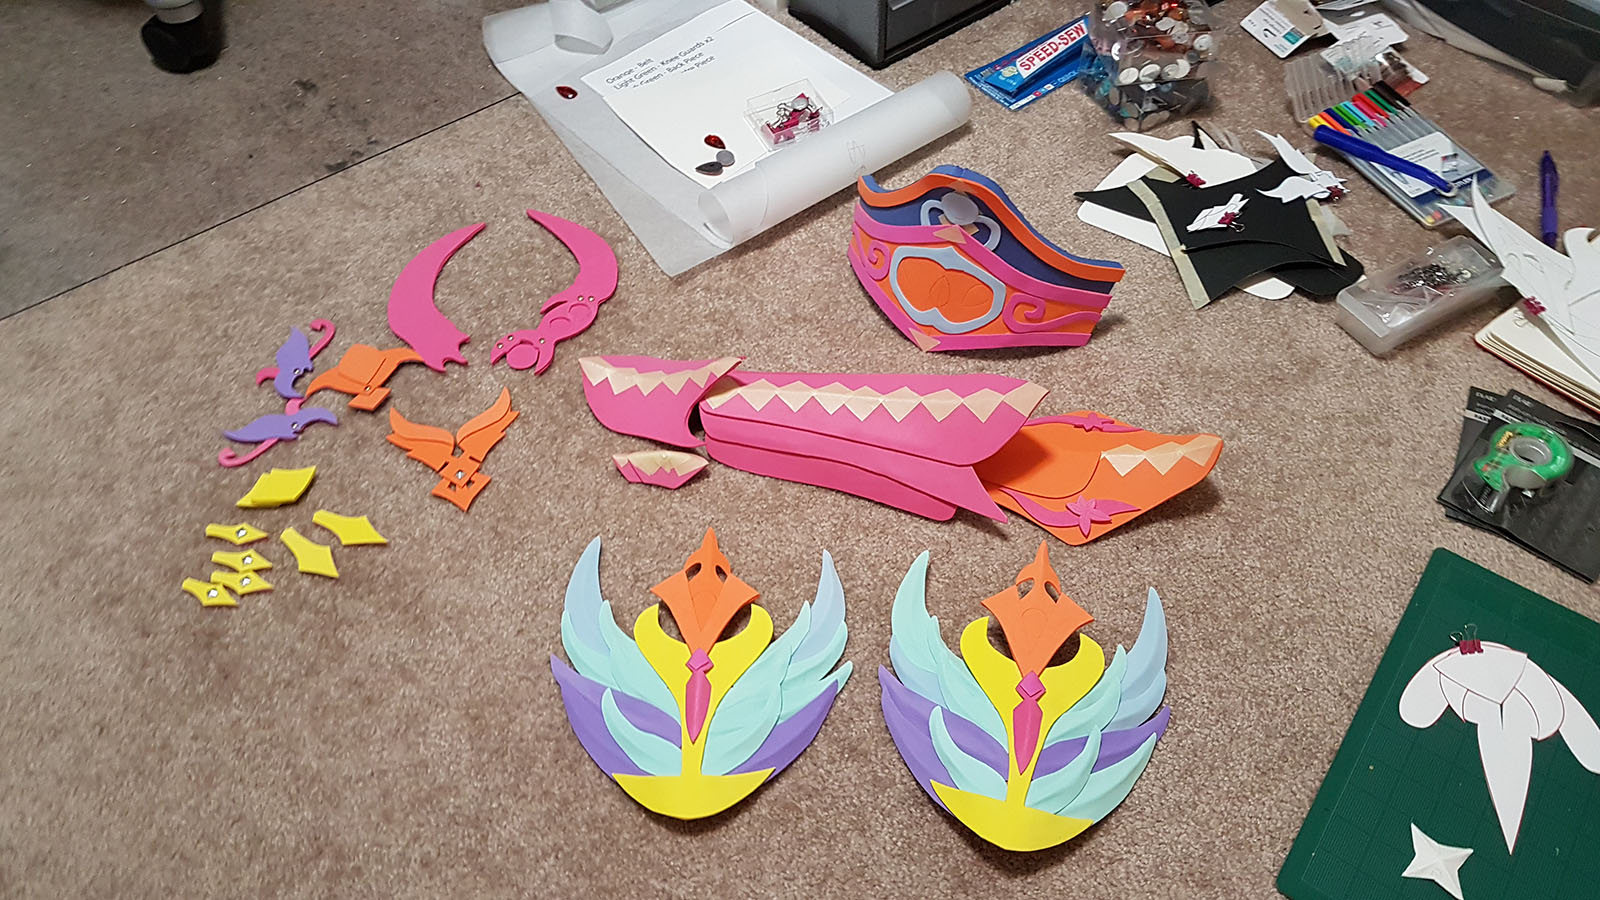
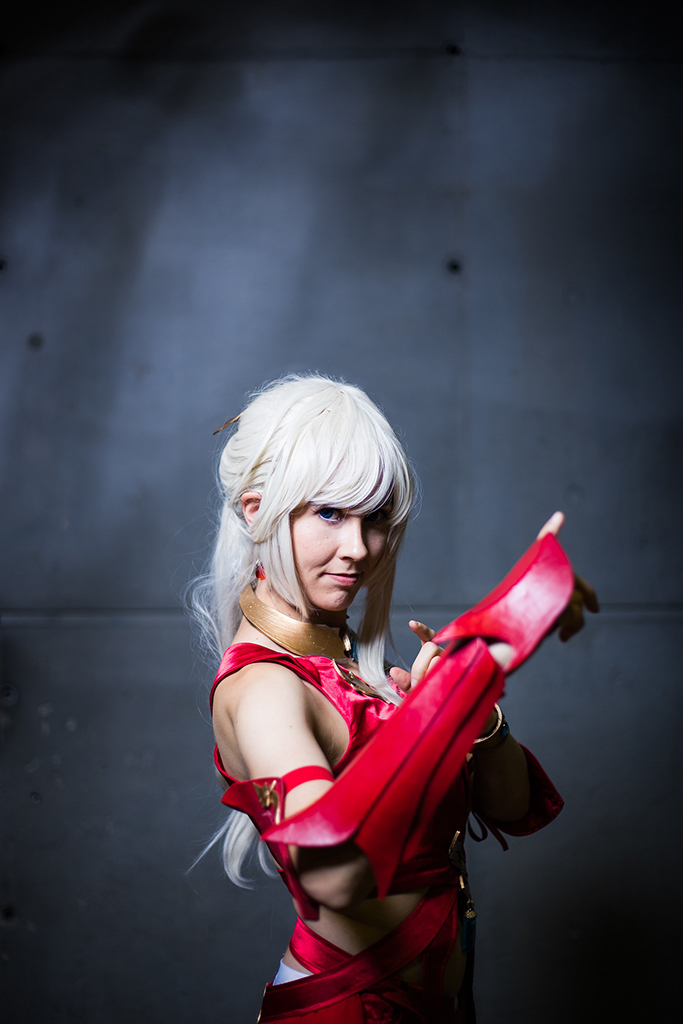
With the time for sewing accounted for, I needed to focus on the armor as it would be the most time-consuming aspect. Thankfully as I was playing I could take a bunch of screenshots that I could trace in Illustrator to create a pattern for most of it while only needing to freehand the gauntlet. The pattern was scaled up to my proportions and printed out so all I needed to do was cut it out and trace it onto 2 mm craft foam. I then added details where needed with 1 mm craft foam and then everything was carted down to my basement for sealing, priming, and painting.
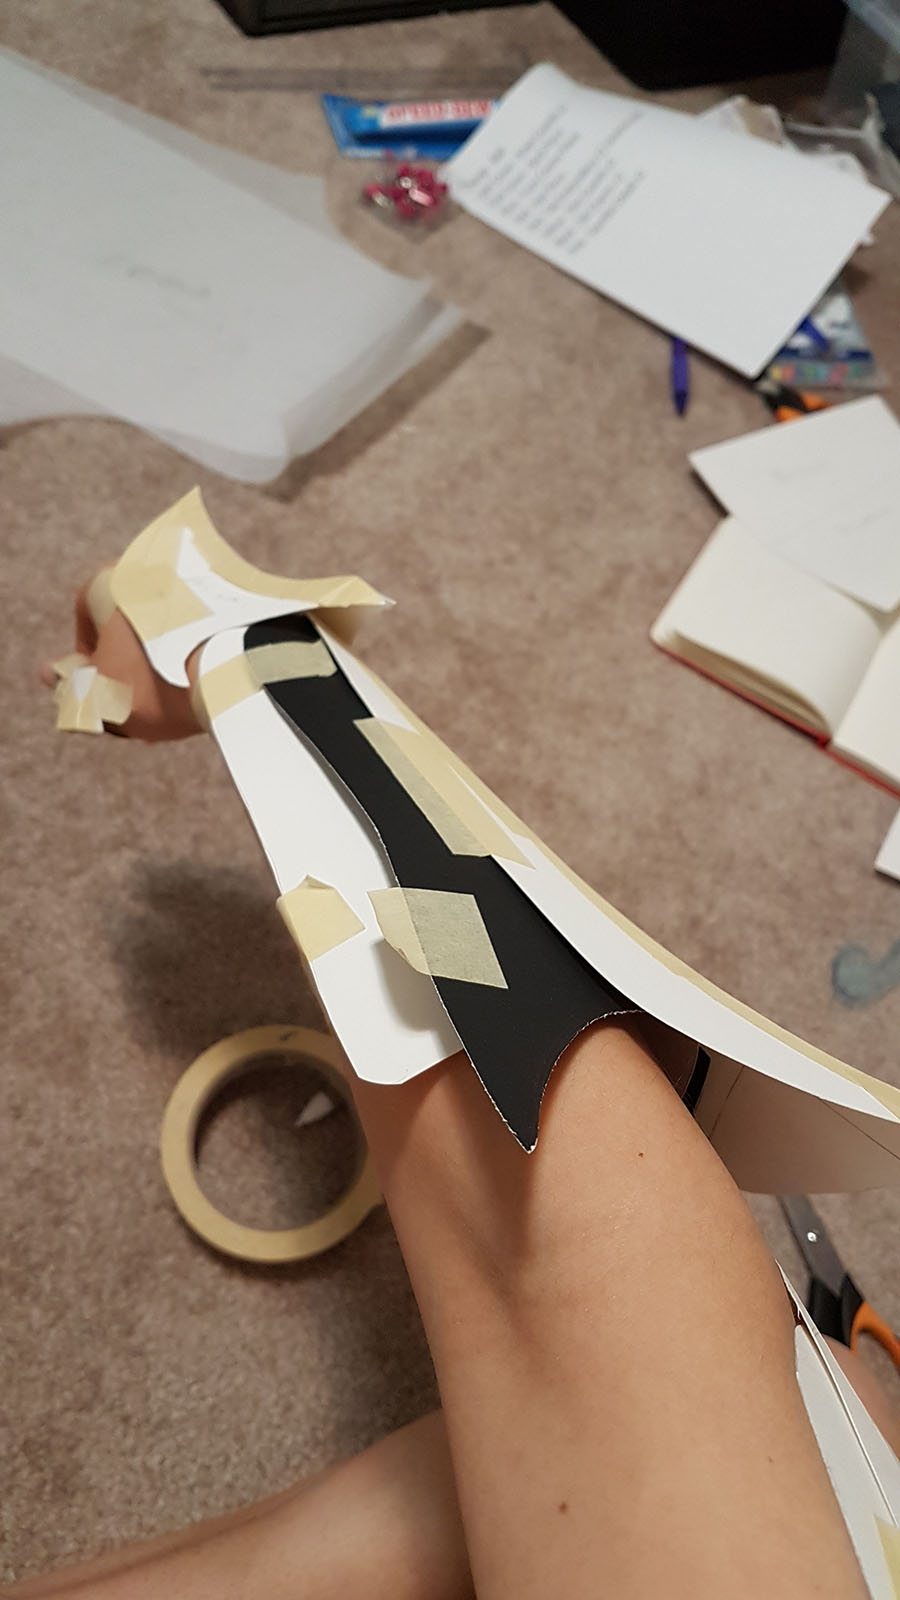
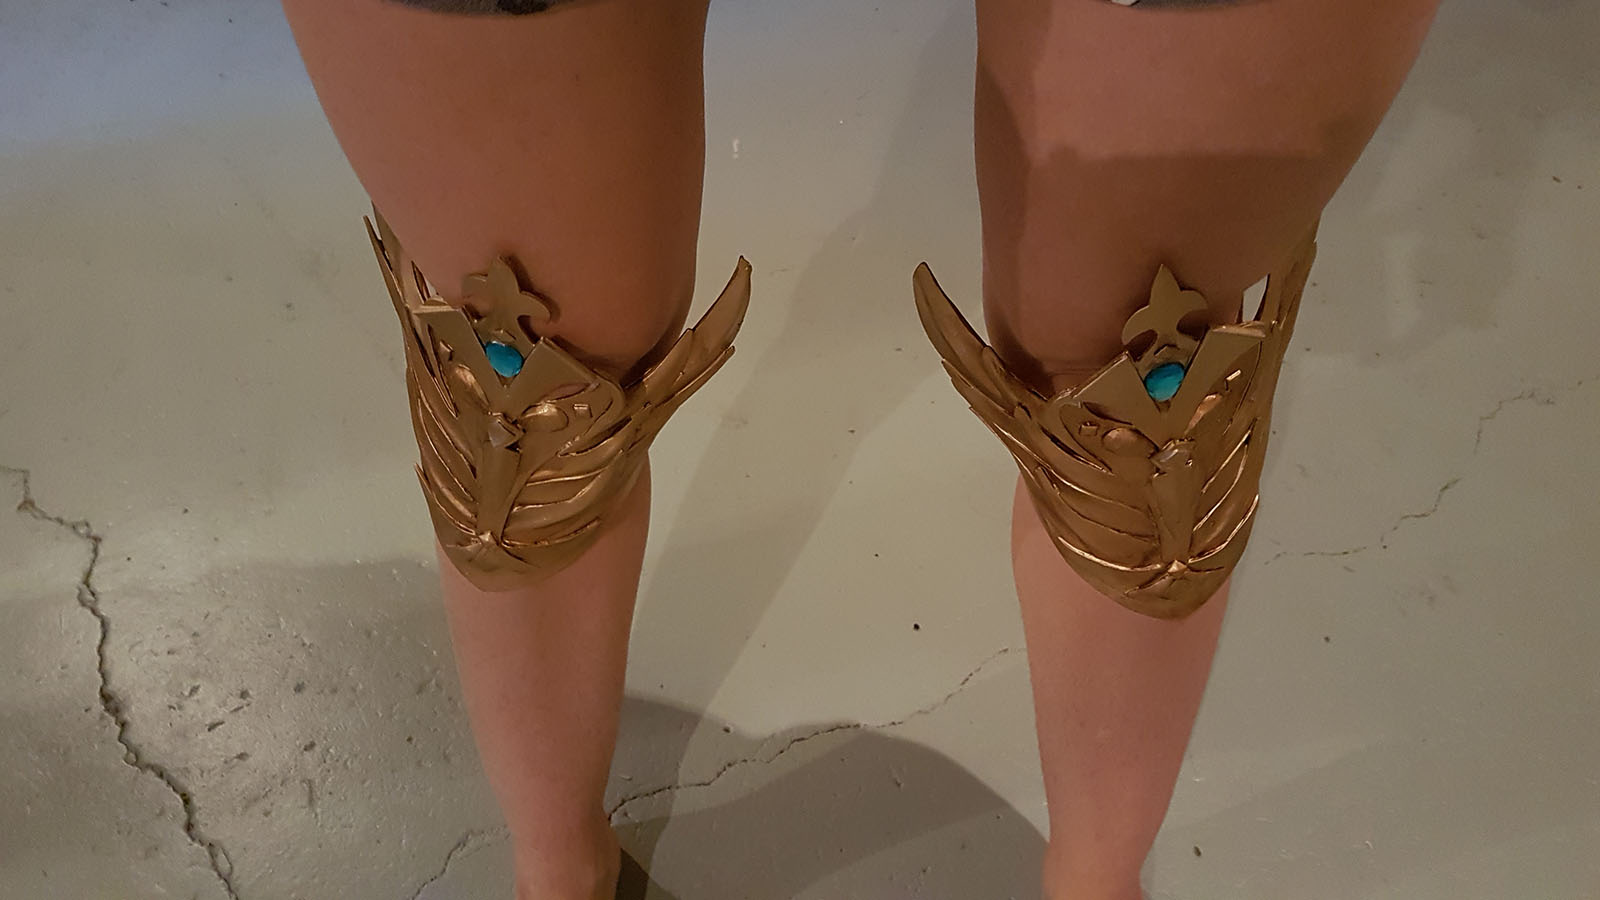
Sealing came in two forms: Plastidip for what needed to be flexible (leg pieces, upper arm) and mod podge for things that weren’t moving much (accessories, main gauntlet, gold arm band). This was only my second time using Plastidip and from the two costumes I’ve used it on so far I think I’m going to invest in the black spray as I initially bought the clear version and it made it so much harder to see what was actually coated.
Everything gold was spraypainted, though I ran into some issues with that thanks to some humid days, and the red pieces were done with acrylics. I’ll be getting an airbrush in the near future as a late Christmas gift from my in-laws, so thankfully I won’t have to deal with spraypaint getting ruined by Alberta storms anymore.
Then came figuring out how to attach it. Most of the accessories just needed to be glued to the base costume, but the knee guards and gauntlet needed some straps and elastics to hold everything in place. That said, I find time I want to revisit the armor to make it more durable as it’s took a bit of a beating in Seattle.
Final assembly of everything came down to a bunch of hand sewing and gluing as I needed to sew hooks and snaps to all the belts and glue the permanent armor pieces and accessories to the top and belts. The wig (a Phoebe from Epic Cosplay) was also quickly styled as all it needed was some bangs and flippy side pieces set into it.
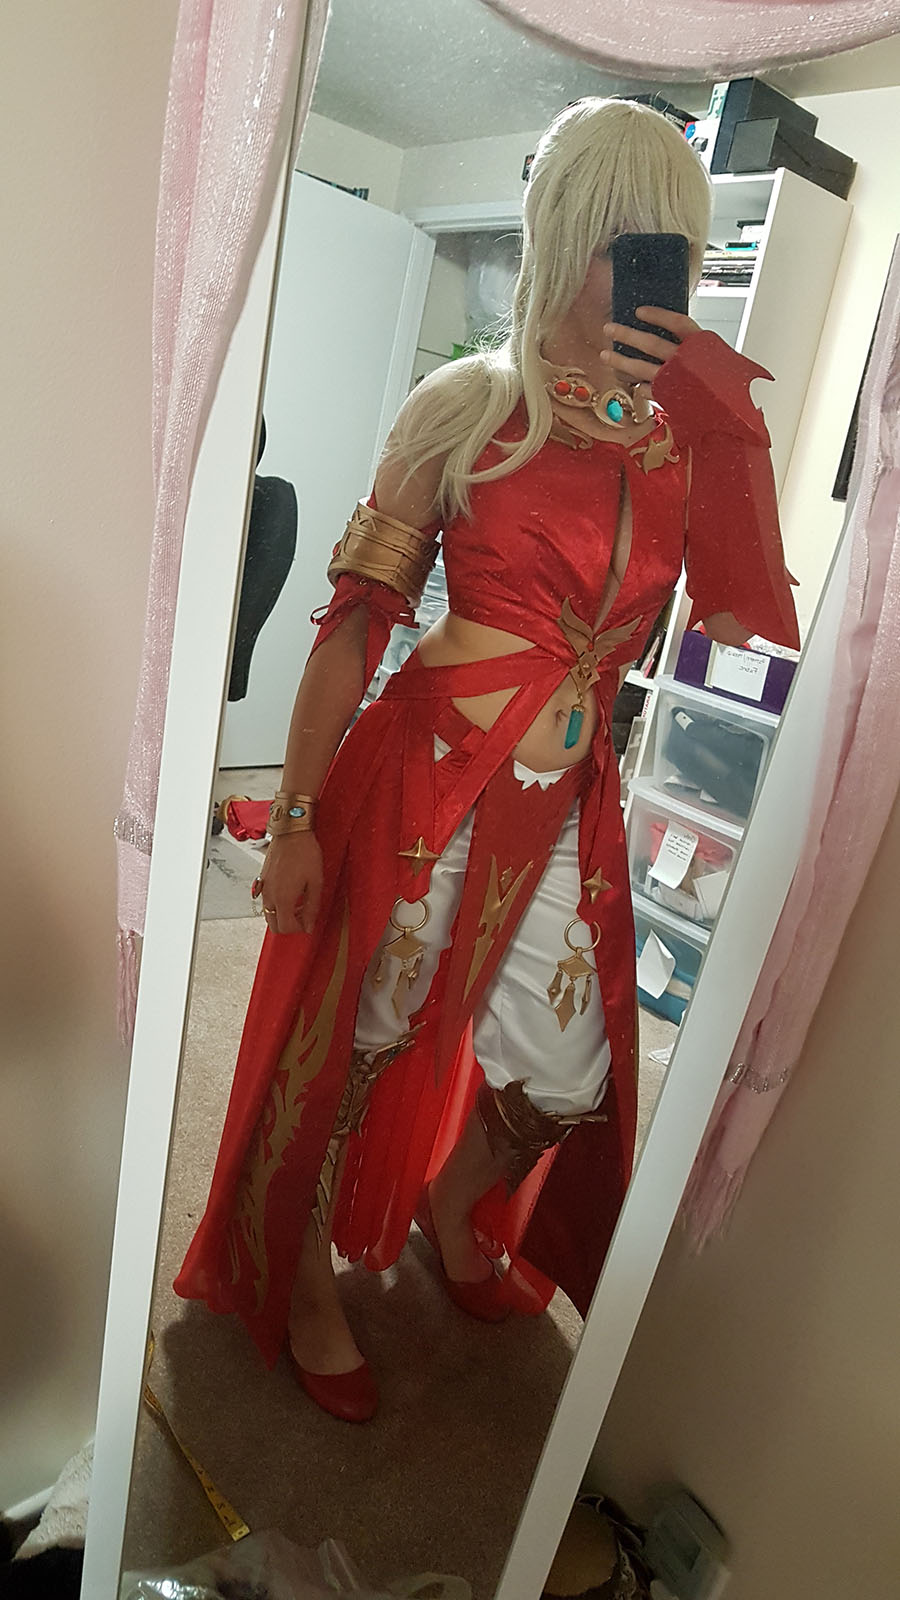
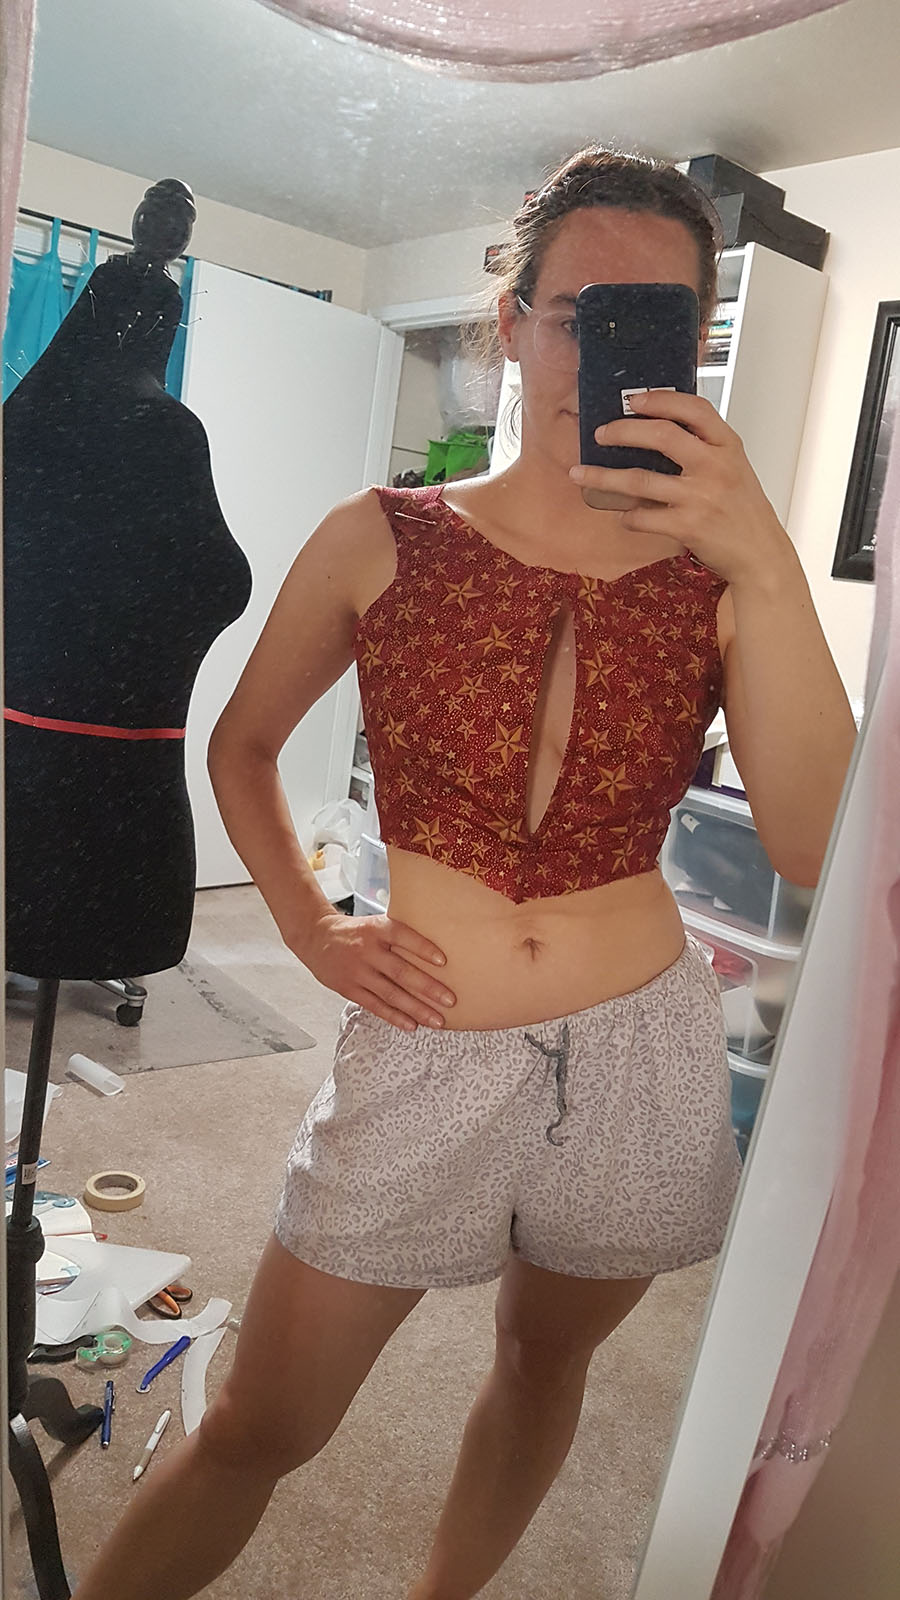
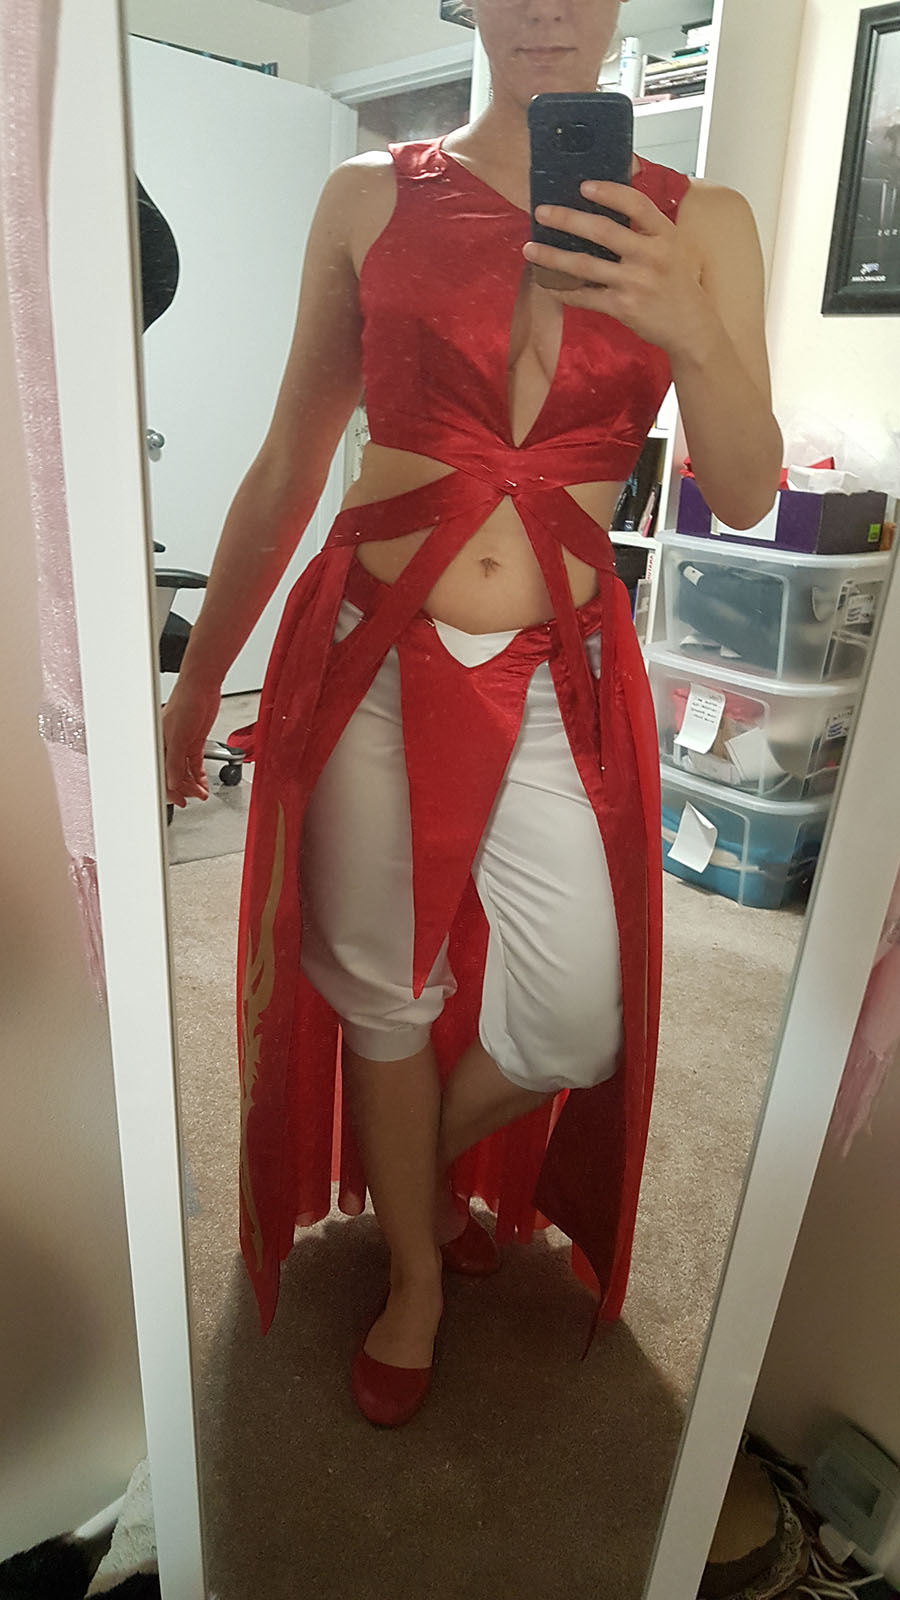
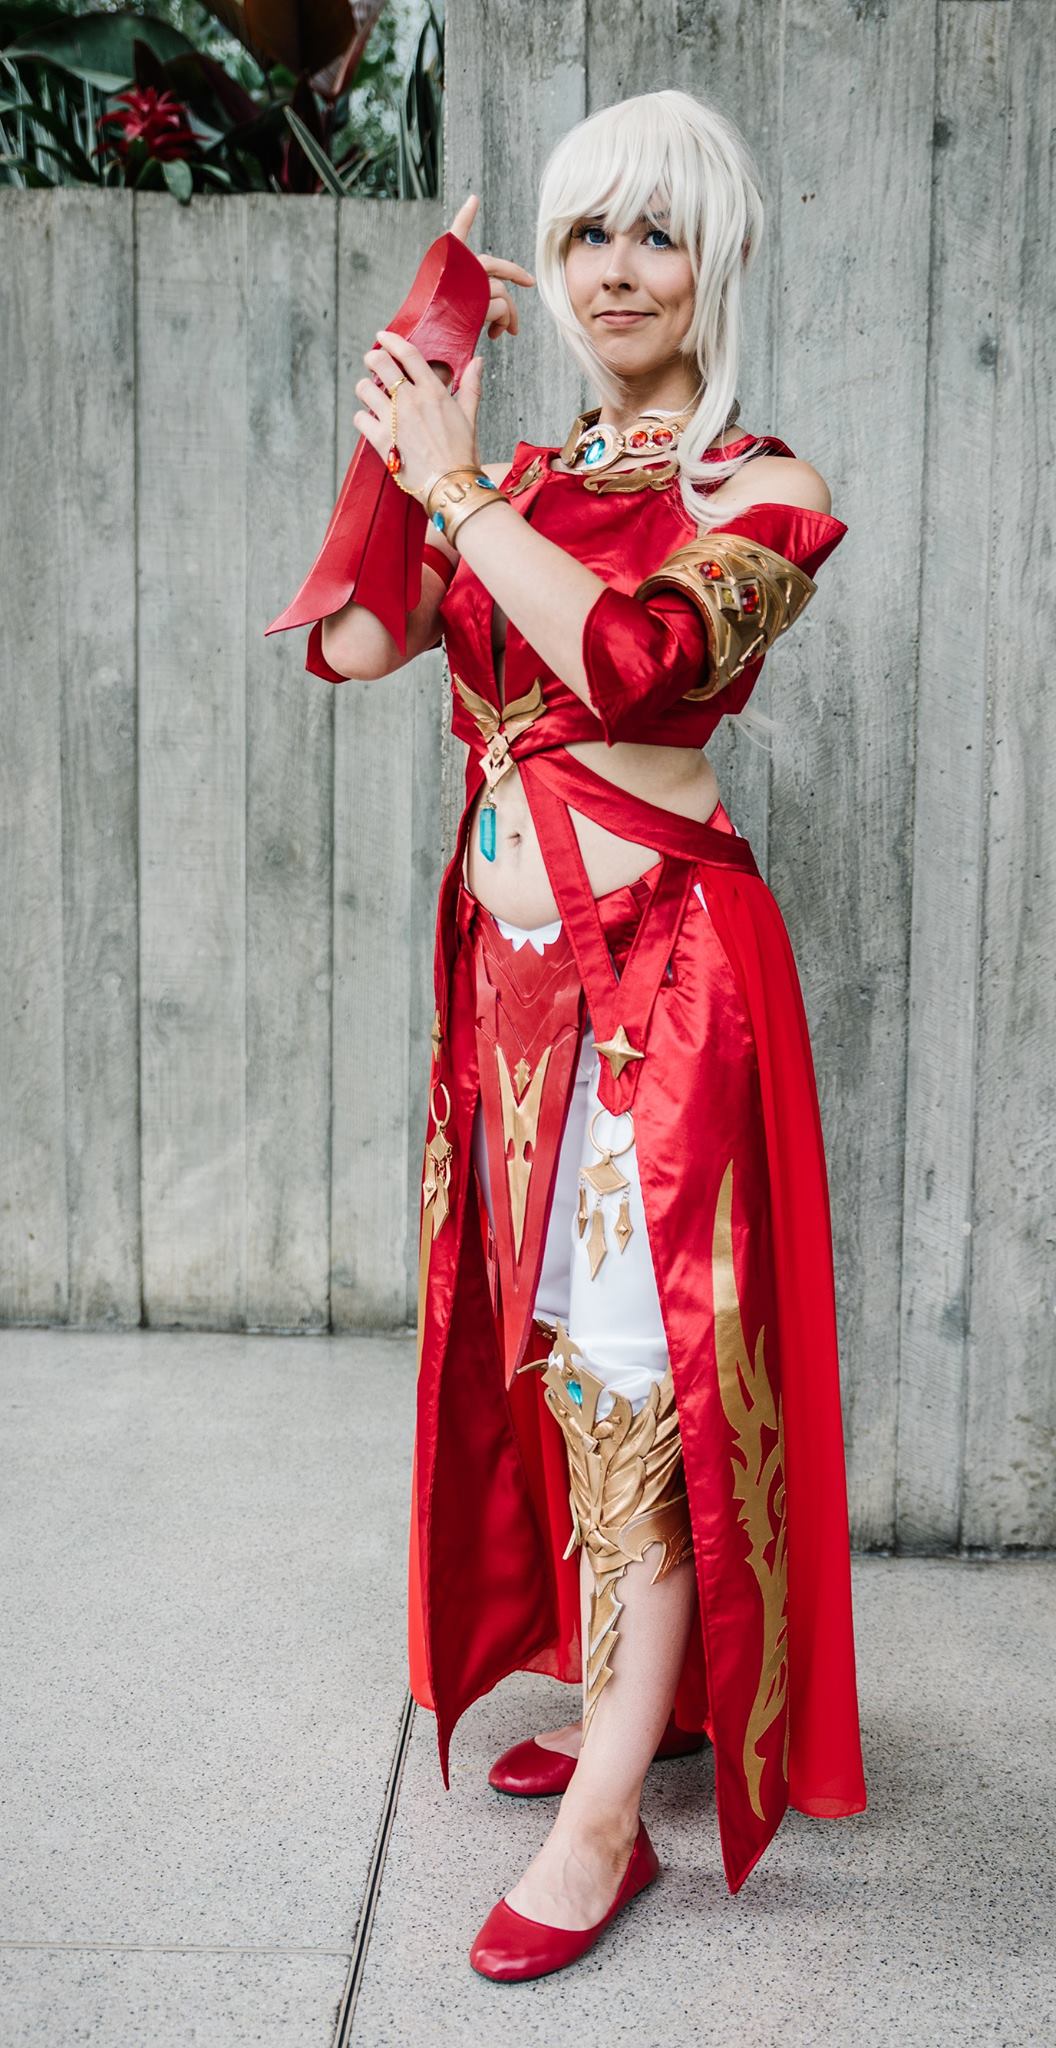
Honestly? I freaking love this costume. The skirt is so damn fun to play with and pose in and it’s incredibly comfortable to wear. I admit I had concerns about the top being a huge wardrobe malfunction risk as the openings made it impossible to wear any sort of bra, but turns out with some expert patterning and a bit of boning that wasn’t a worry at all.
As I said, I do want to re-do a bunch of the armor before I wear Lyse again, and possibly remake the pants as they’re a bit short in the knee (unnoticeable due to the armor but makes it hard to pose in), but I’m otherwise really happy with how she turned out. The booth people at SE loved it and I even got a mention on the official FFXIV blog in their convention report!

I love showing my love for this game through cosplay and I can’t wait to start on my next project. I’ll be making Yugiri’s Stormblood outfit and I’m already kind of crying at the screenshots I’ve taken because the AF3 NIN gearset is ridiculous. But I did say I’d try to have her finished for Kupocon in April so… wish me luck? I’ll definitely need it.
— (。ゝω・。)ゞ